


- The Heart of Corruption Quest Location and Objective
- Clearing the Island Gates – Defeating the Champions
- Revenant Battles in Heart of Corruption Quest
- Strategy for Betrayal of Felassan
- Slaughter of the Pillars Boss Strategy
- Fall of the Protector Boss Strategy
- Revenant Dragon Battle in Heart of Corruption Quest
One of the lengthiest quests in Dragon Age: The Veilguard, The Heart of Corruption spans much of the game's first two acts. You can unlock this quest as soon as you reach The Crossroads, but completing it will take you across Northern Thedas and pit you against the game’s toughest enemy. Here’s a guide to opening the gate and defeating the final boss.
On the Dragon Age: The Veilguard Game Guides page, get all the tips and strategies you need to excel in the game!
The Heart of Corruption Quest Location and Objective

In The Heart of Corruption Quest, upon reaching The Crossroads, you’ll arrive on Beacon Island, where you’ll encounter a locked door with three slots. Early in the game, you won’t be able to proceed. To advance, you'll need to journey across Northern Thedas, defeating powerful Champions who each drop an Essence. These Essences unlock gates in The Crossroads, leading to intense battles against formidable Revenants ranging from levels 32 to 42. Once you've gathered all three Essences, you’ll be ready to face the final Level 50 Revenant.
Clearing the Island Gates – Defeating the Champions
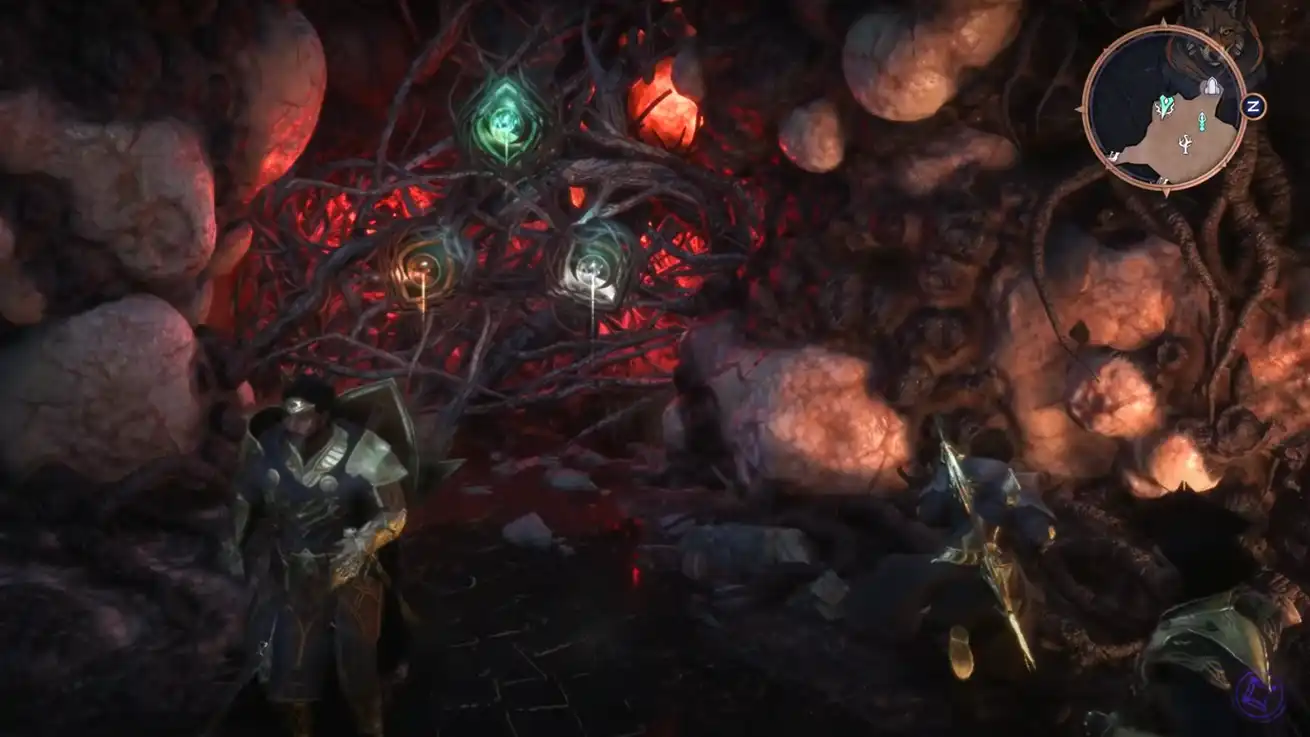
First, locate three locked gates in The Crossroads, each guarded by a Champion. To advance, you’ll need to defeat these Champions to gain access to the powerful Revenants. You’ll find details on gate locations, Champion availability, and levels in the guide below.
Revenant Battles in Heart of Corruption Quest

Once you have the Essences, return to the gates to confront the Revenants. Start by facing the weakest, Betrayal of Felassan, a Level 32 foe.
Strategy for Betrayal of Felassan
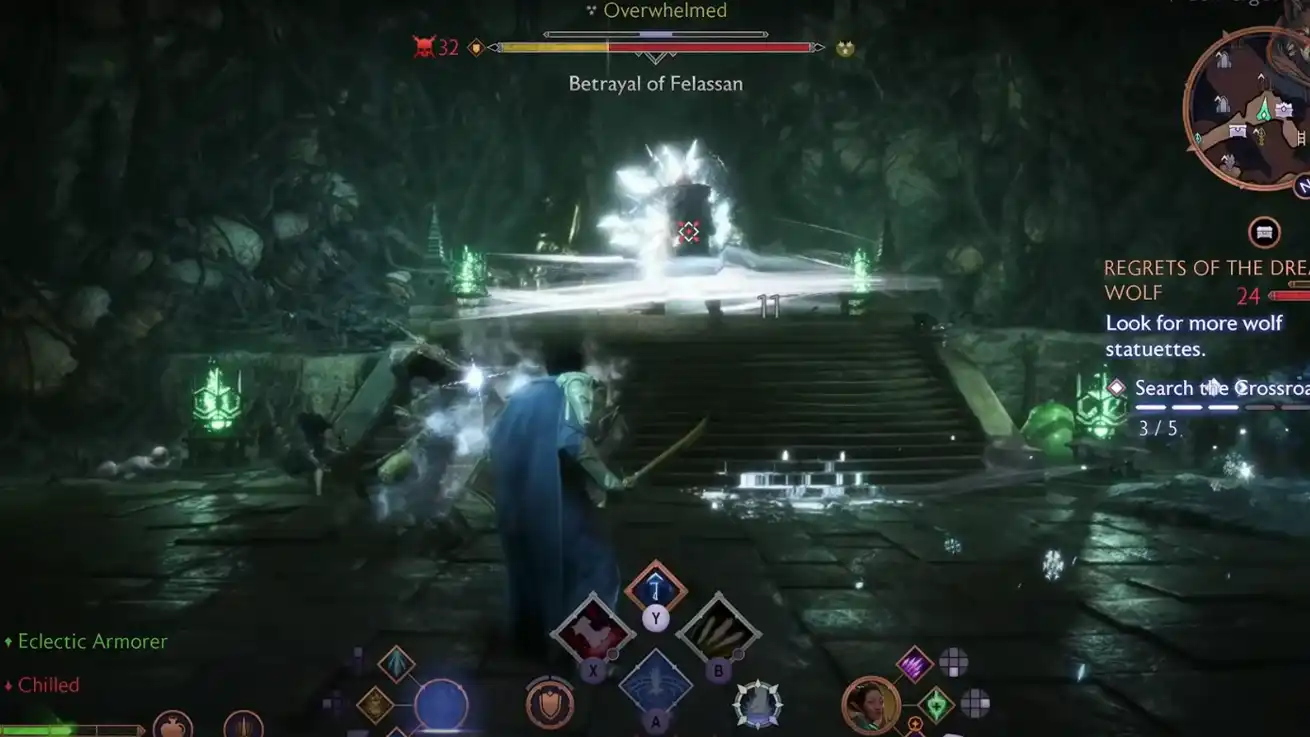
Head through the Gate of Deep Sorrows in Converged City to face Betrayal of Felassan, a Level 32 Revenant Captain. This boss in The Heart of Corruption Quest, uses a shield for both offense and defense and is resistant to Cold but weak to Necrotic. For best results, bring Emmrich and Lucanis, and equip gear that shreds armor and barriers (the Besiege Rune works well).
The small arena limits your movement, so make good use of dodge, as the Revenant’s shield blocks front-facing attacks. Dodge behind it to land successful hits. This boss fights similarly to the Warrior Class, with powerful shield swipes, unblockable charges, and the Warrior’s Kick ability.
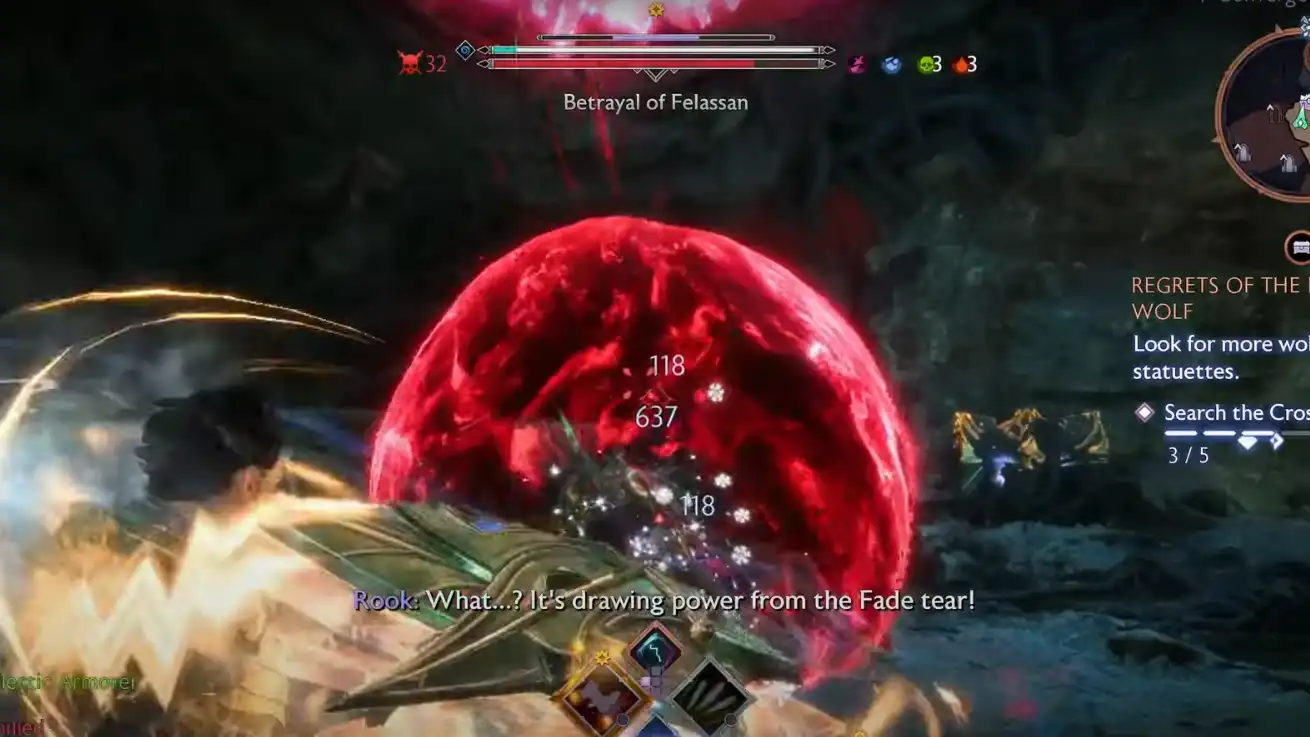
At 80% health, Betrayal of Felassan will move below the Fade tear to gain a Barrier. Quickly drain the Barrier to prevent a powerful room-wide attack. Equip Besiege and focus solely on breaking the Barrier, which will briefly stun the Revenant and allow a heavy assault. Expect the Revenant to retreat again at 40% health, with additional undead and mage enemies joining the fray. Once defeated, collect the Essence and open the Unique Chest as your reward.
Slaughter of the Pillars Boss Strategy
The next Revenant to tackle is Slaughter of the Pillars, a formidable Level 37 boss located behind the Gate of Parched Hopes in Elvhenan’s Haven. This battle shares some similarities with the Betrayal of Felassan encounter, particularly in attack patterns. If you’ve recently defeated Felassan, you’ll have a good sense of what to expect. Bring Lucanis and Emmrich along to exploit its vulnerability to Necrotic damage.
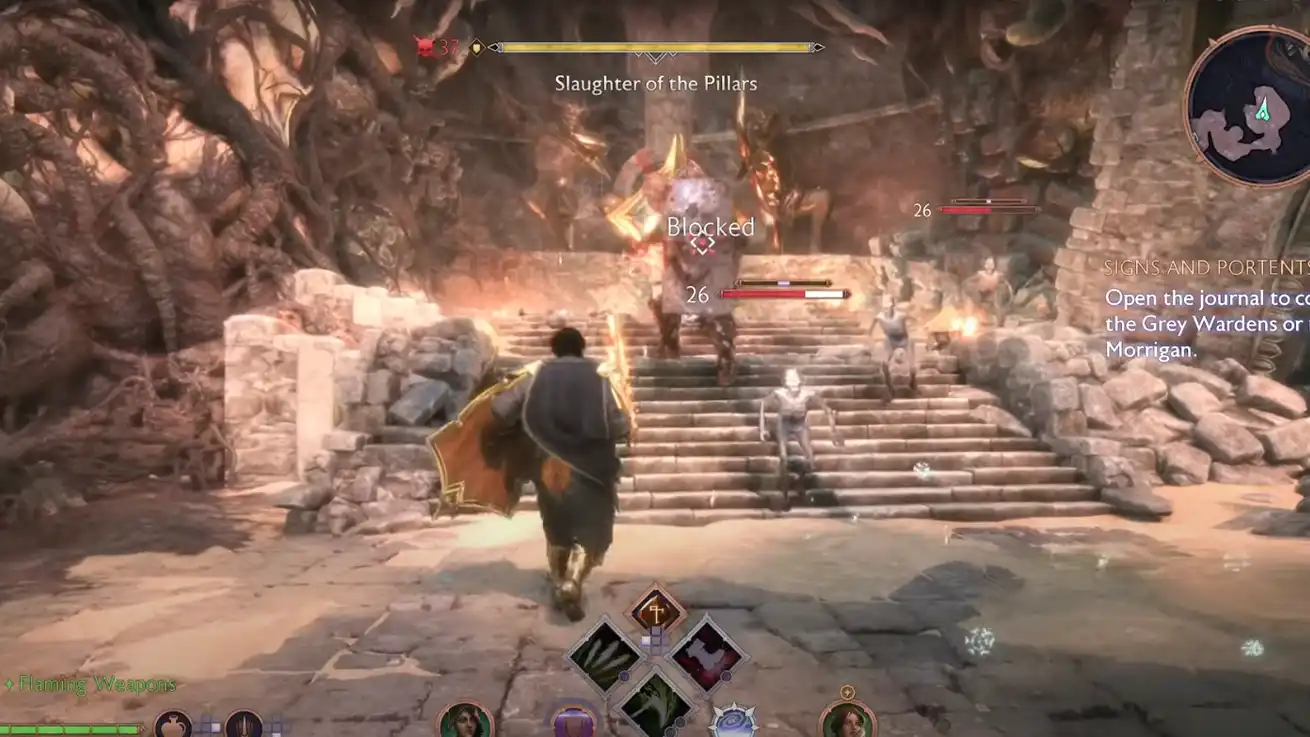
The key difference here is the cramped battle arena, which restricts movement and becomes even more challenging as Slaughter of the Pillars summons additional Undead Warriors and Mages. Another major factor is its Blight Wall ability: it strikes in a line, leaving a lingering wall of Blight that damages you on contact and limits your space further as it persists.

As with similar encounters, the boss will retreat at intervals, raising a Barrier while preparing a powerful attack. Activate Besiege and use your strongest abilities to break the Barrier quickly, then continue the onslaught. Once defeated, collect the Essence and claim the reward from the nearby Unique Chest.
Fall of the Protector Boss Strategy
The final Revenant in The Heart of Corruption Quest, Fall of the Protector, is the toughest of the three bosses and offers a unique challenge. This Level 42 boss can be found behind the Gate of Pale Reflections in the Heights of Athim. Initially, you’ll face an Undead Horde, defeating the endlessly spawning Undead until their gauge depletes.
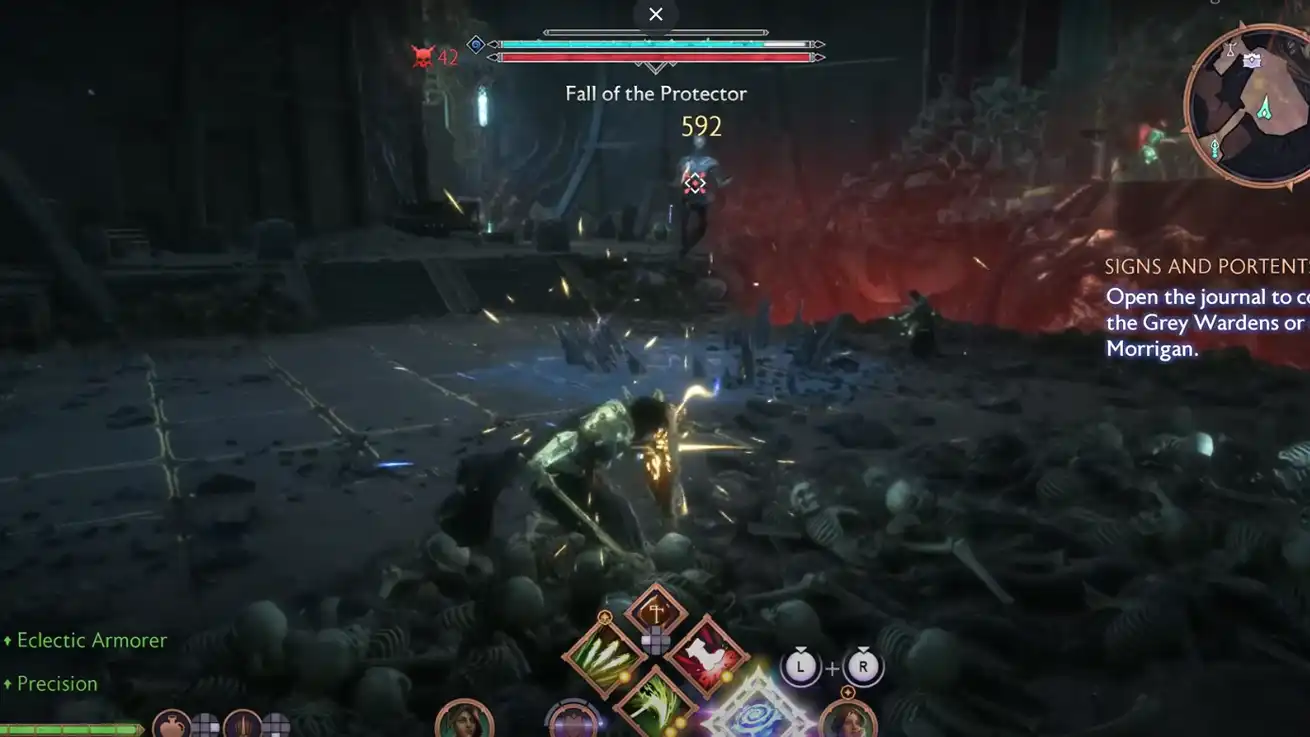
Once you’ve handled the Undead, Fall of the Protector will engage directly. This boss is vulnerable to Cold but resistant to Fire, so it’s best to bring Neve along while avoiding Davrin and Taash if they’re in your party. The Protector has a Barrier instead of Armor, so consider starting with Besiege to quickly shred it.
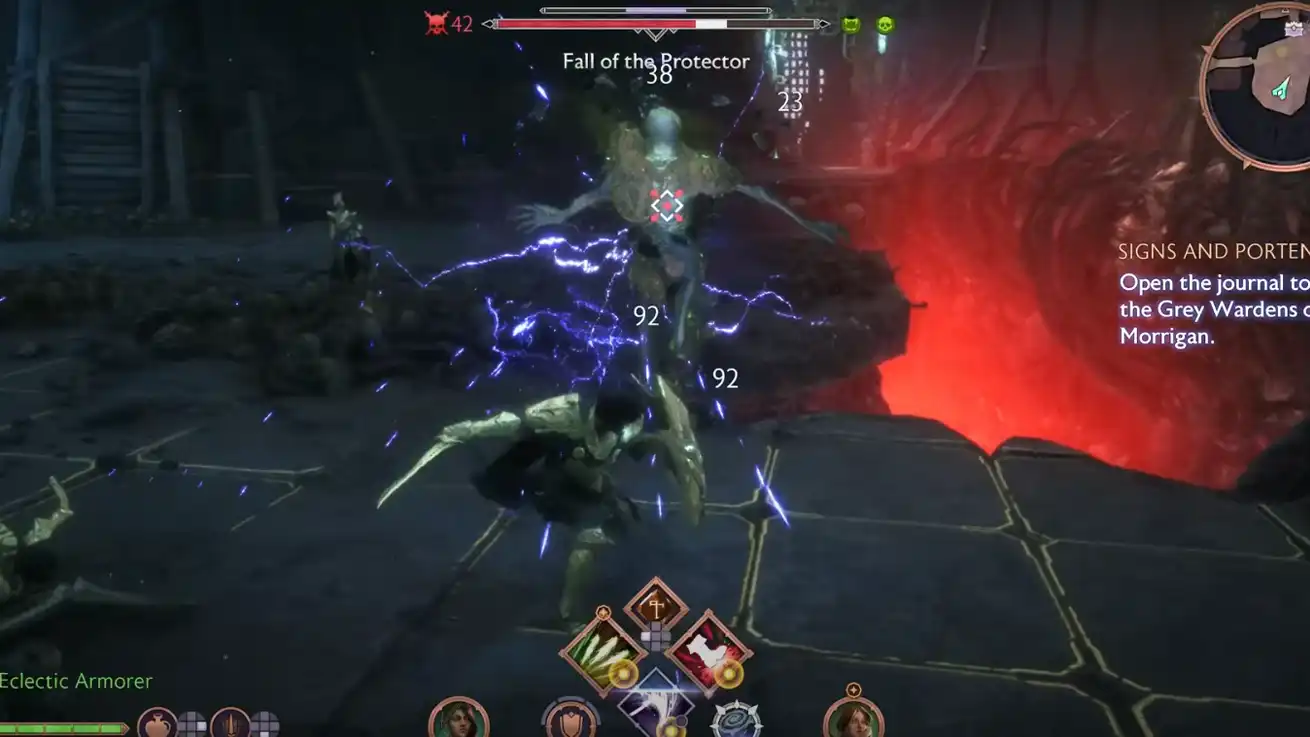
Expect constant magical attacks and ice orbs throughout the fight. The Protector also teleports frequently, keeping you on your toes, and spawns more Undead as the battle progresses. Knockback attacks can help push them into the pit, sparing you from additional combat.
At 60% health, Fall of the Protector will retreat to the Fade Tear, powering up a room-wide attack. Focus on breaking its Barrier quickly to interrupt. At this point, it will darken the screen, disable your companions, and increase its magical assaults. Look out for the Ice Beam, which becomes harder to dodge in darkness. Once the Protector falls, collect the final Essence and unlock the Unique Chest for rewards.
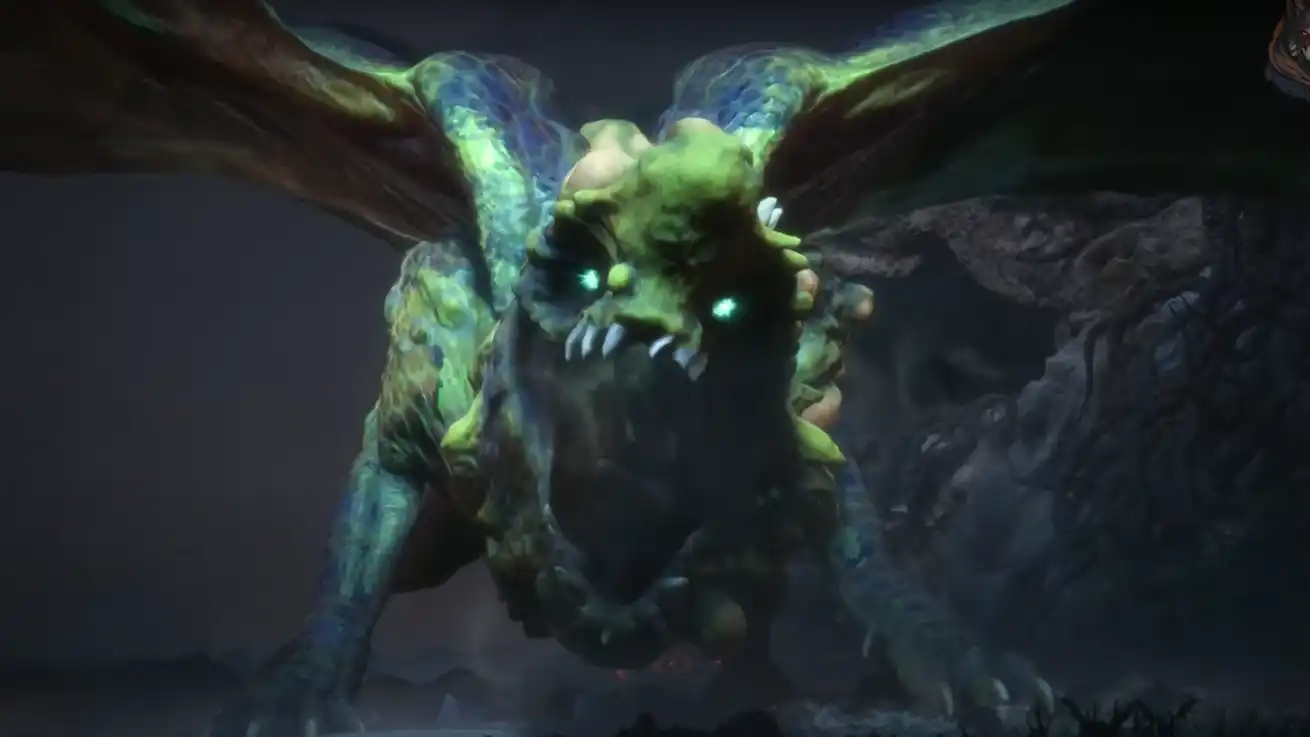
Revenant Dragon Battle in Heart of Corruption Quest
With all three Essences in hand, return to Beacon Island, provided you’ve completed the Siege of Weisshaupt main quest. Completing the Regrets of the Dread Wolf side quest beforehand is also beneficial, as convincing Mythal can make her an ally in this battle.
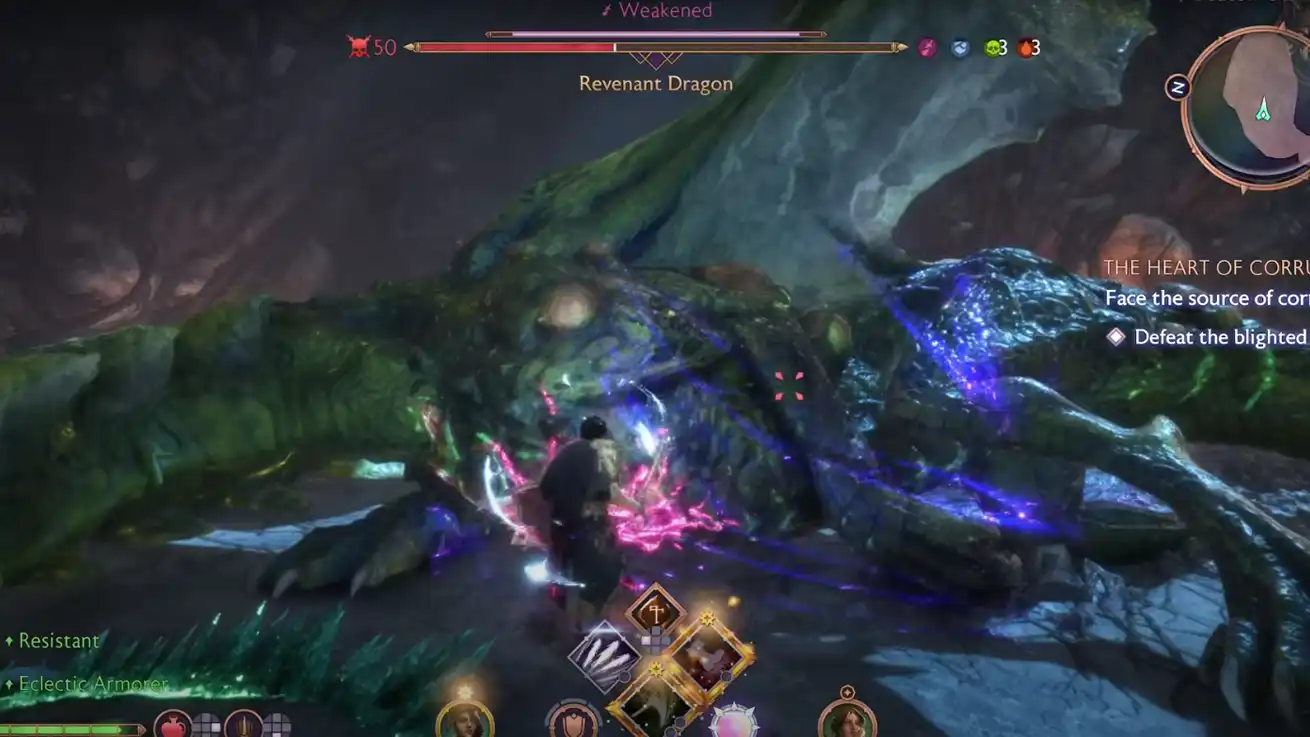
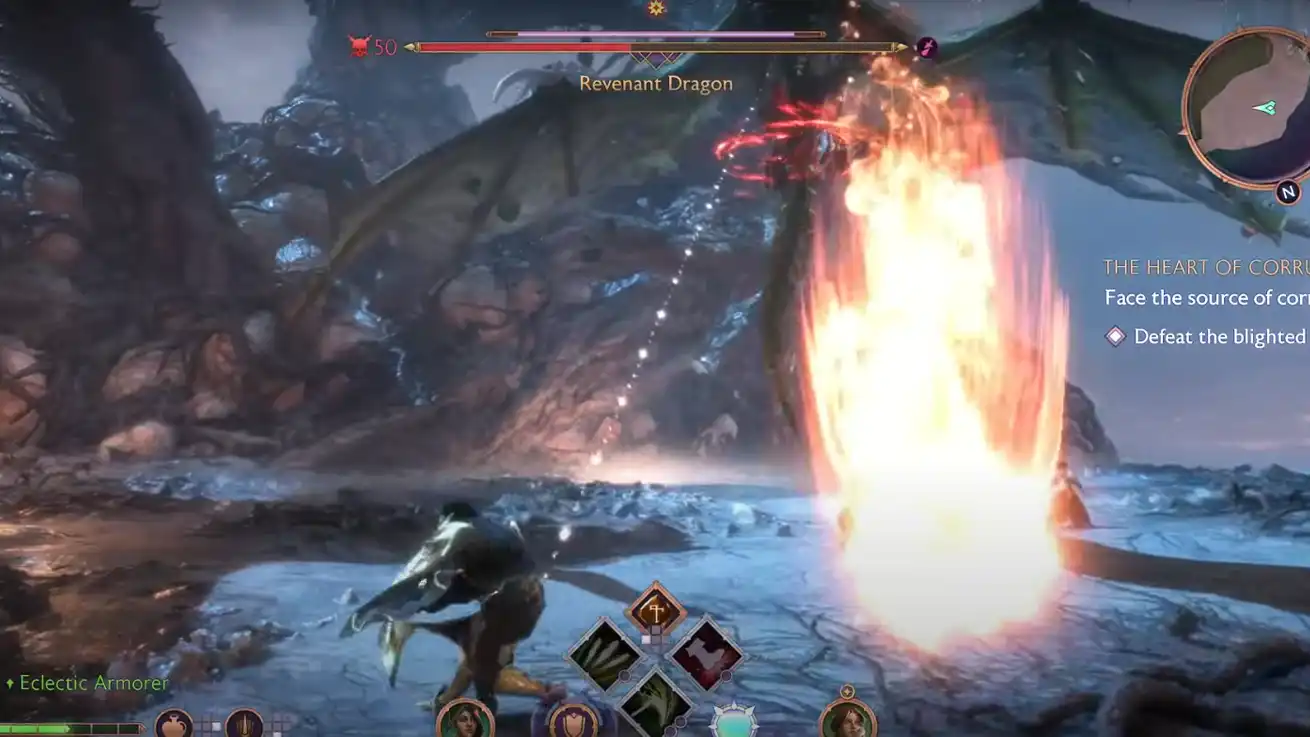
The Revenant Dragon in The Heart of Corruption Quest, a Level 50 High Dragon, is vulnerable to Fire but resistant to Cold. Aim to be around Level 45 on Underdog difficulty for this fight. Bring fire-focused companions like Davrin and Taash instead of Neve. Begin by destroying the Blight Boils around the arena to limit enemy respawns.
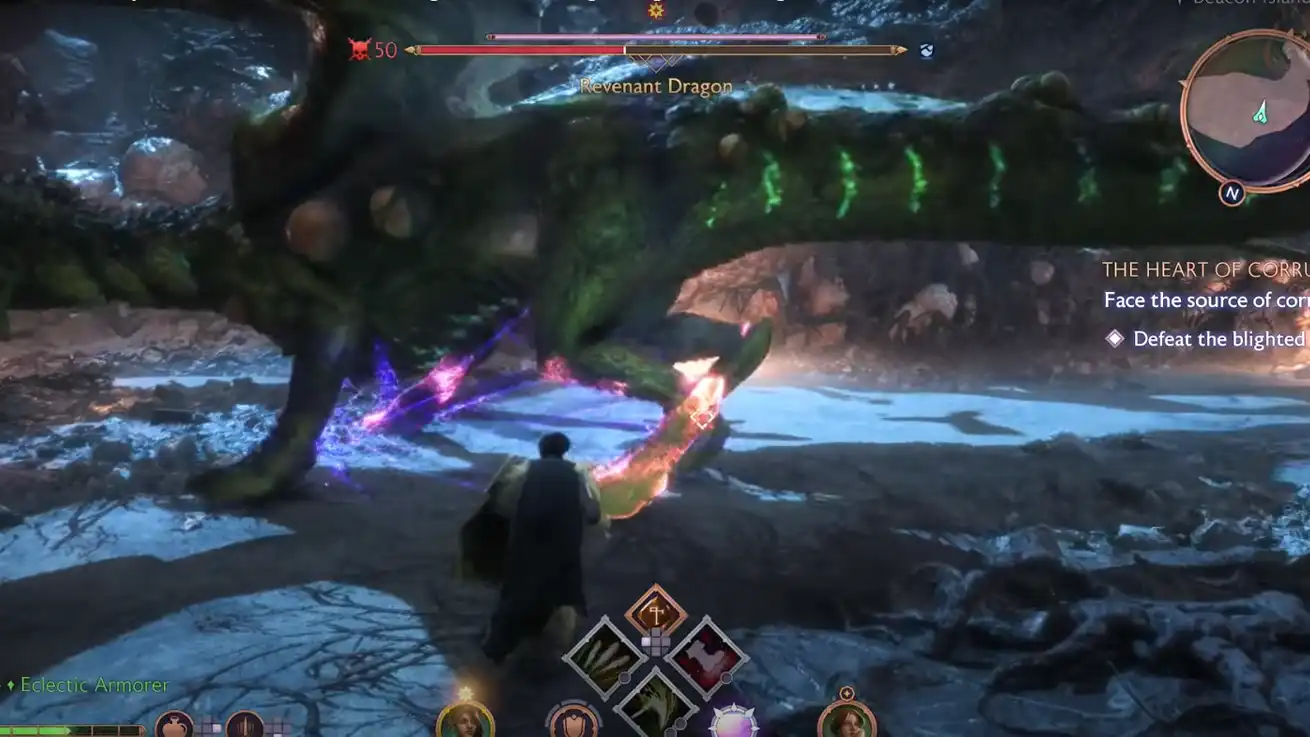
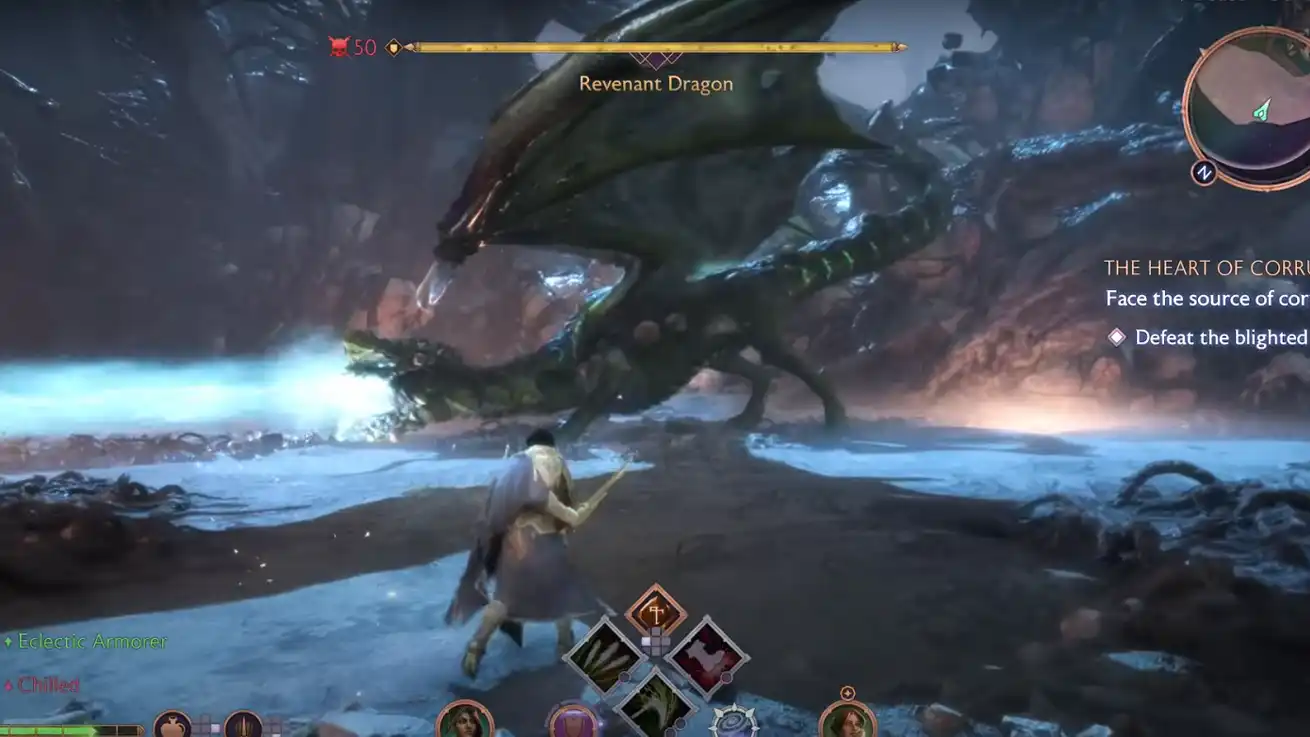
If you've battled other High Dragons, you’ll recognize some of its moves. When parts of the Dragon’s body (like its head or legs) glow, hitting these areas will inflict critical damage. Staying close to its legs and dodging its kicks works well in this fight.
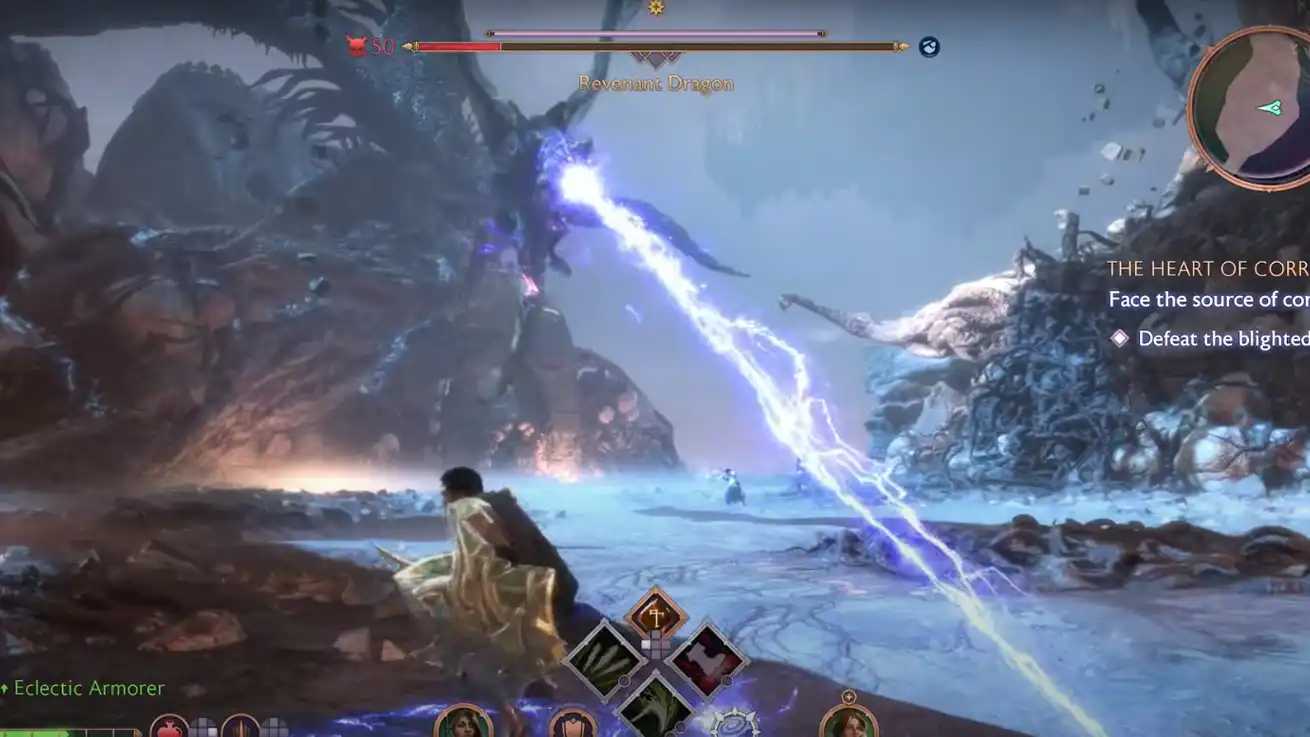
The Dragon will also shoot Ice blasts from a distance. Wait until they’re close, then sidestep to dodge. When it prepares an Ice Beam, dash behind it to both avoid the attack and create an opening. Additionally, watch for its Ground Slam—when it flies up, retreat to avoid the large-area impact.
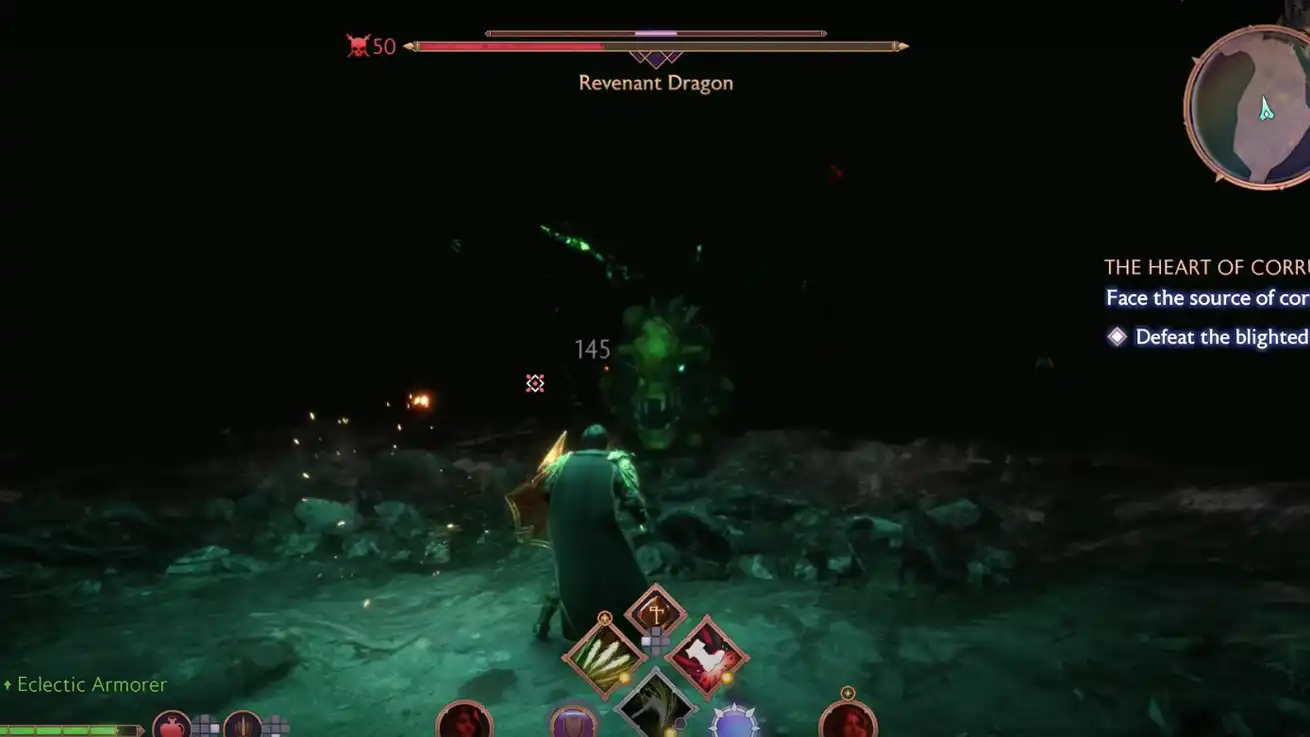
At 70% and 40% health, the Dragon will cover the arena in darkness. Defense is key here; keep your distance and look for safe openings. It will also start using Fire-based versions of its attacks, adding to the challenge.
The Stagger gauge is crucial in this battle. Once filled, the Dragon will be toppled, exposing its heart for massive damage. As a Rolling Thunder Warrior Slayer, Charged Attacks can deal up to 9,999 damage during this window.
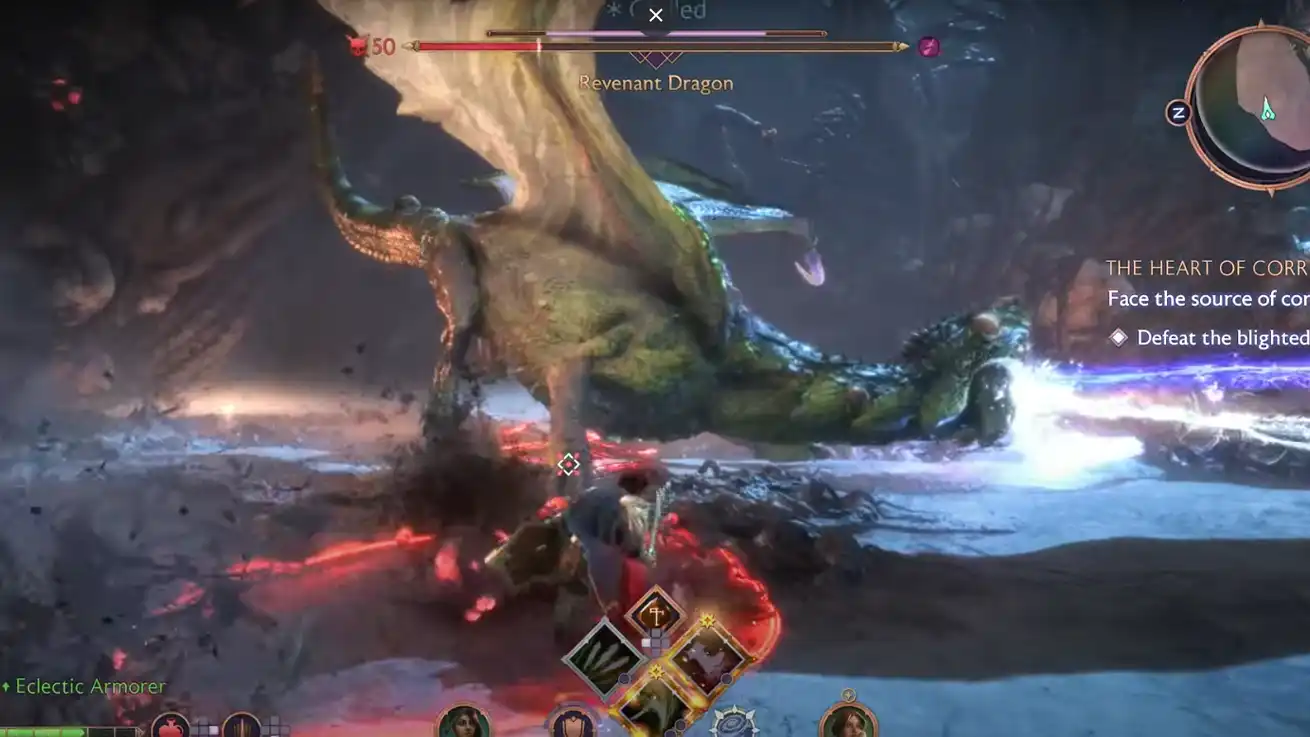
After the Dragon’s defeat, the Caretaker will appear, ending the quest. You’ll gain substantial boosts in Mourn Watch and Lords of Fortune Strength, valuable resources like Dragonfire Catalysts, and access to a new door with the final Unique Chest at the Crossroads, containing The Last Resort Ring!


