


In STALKER 2: Heart of Chornobyl, the mission Answers Come at a Price takes you into the Garbage region after your adventures in the Lesser Zone. This guide walks you through completing Richter’s version of the mission if you chose to hand him the sensors during Behind Seven Seals.
Step 1: Head to the Detention Center in Answers Come at a Price Mission

Upon entering the Garbage region, your goal is to reach the Detention Center, where Richter’s allies await to assist in locating Nestor, your current lead. Open your map to find the Detention Center just east of the Northern Checkpoint.
While en route, consider a detour to the Garbage Camp, located along the northern part of the eastern path. Here, you might encounter hostile Stalkers but can find valuable loot, including potential weapon upgrades. If you’ve picked up the Journalist’s Stash mission, this is also the place to complete it.
On the main path, be wary of a new Anomaly type that causes Bleeding. Avoid the road itself and be prepared for a pack of rabid dogs when you approach the Detention Center. Take them out from an elevated position before proceeding through the northern doors. Head upstairs, and you’ll meet Star, one of Richter’s men.
Step 2: Enter the X-18 Laboratory

In the continuation of Answers Come at a Price Mission, Star will instruct you to head northwest to the X-18 Lab for crucial information. He may also request your help rescuing his man, triggering the side mission The Road to Salvation, which can be completed alongside this main quest.
Star provides a silenced PTM pistol for stealth, but you can attach its suppressor to your preferred weapon if desired. He’ll also share the code (2605) to access the lab. Before leaving, thoroughly loot the area for supplies.
Step 3: Infiltrate the Factory


Reaching the Factory gives you two options: stealth or a direct assault.
- Stealth Approach: Enter through a hole in the northeastern wall and climb pipes to access an upper floor. Use stealth to avoid alerting Ward soldiers. You’ll find Star’s captive ally in a locked room. Break the lock, free him, and retrieve the documents he mentions from the basement.
- Direct Assault: Use cover outside the gates to eliminate guards. However, this method makes it impossible to save Star’s ally, though you’ll still receive rewards for completing the side mission.
In either case, head downstairs to the basement. Use the code (2605) to enter the X-18 Lab.

Step 4: Gather Information on Nestor

Inside the lab, proceed carefully, looting for supplies like ammo and health kits. Expect a confrontation with a Bloodsucker mutant. Use a high-damage weapon, like a shotgun, and fight it in confined spaces to limit its mobility.

After defeating the Bloodsucker in Answers Come at a Price Mission, explore the lab:
- Right Path: Leads to a tape recorder with critical information on Nestor.
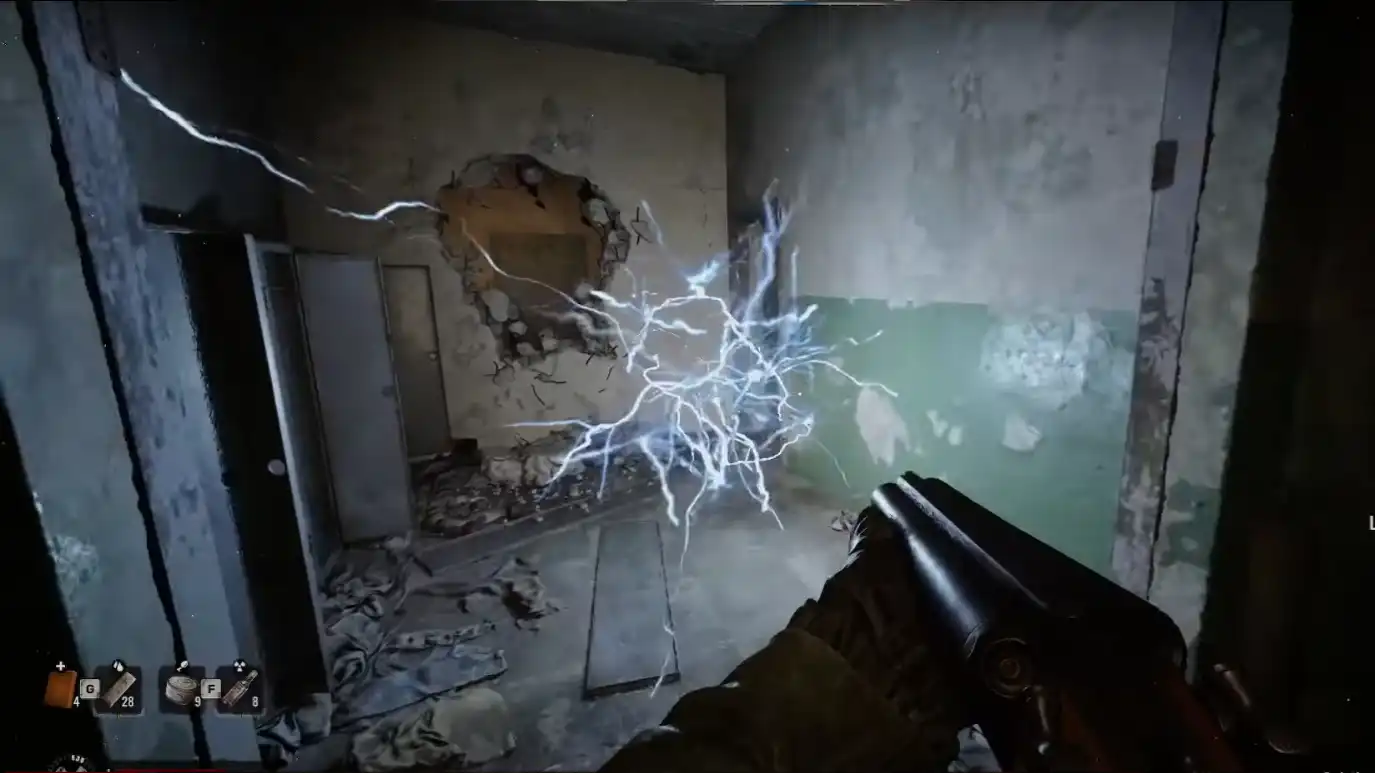
- Left Path: Contains a caged room with Product 81 Specifications needed for The Road to Salvation. Trigger the Thermal Anomaly with a bolt before entering.
Step 5: Meet the Stranger in Answers Come at a Price Mission

Once you’ve obtained the information, a stranger contacts you and shares a new code (2603) to meet him. Use the stairs to reach the locked door, dispatching rats along the way. Loot nearby rooms for supplies before meeting the stranger, who quickly eliminates pursuing Ward soldiers.
At this point, Answers Come at a Price concludes, and The Price Goes Up begins.

Optional Rewards and Exit
Before leaving the lab:
- Look for an Acid Anomaly near an overturned cabinet to find an SSP-99 Ecologist suit.
- Navigate through Shard Anomalies to safely exit.
Return to Star at the Detention Center to deliver the documents. As a reward for completing The Road to Salvation, you’ll receive the PSZ-7 Military Body Armor. With this, you’re ready to move on to the next mission.

Dive into the Zone fully prepared—explore our STALKER 2: Heart of Chornobyl Game Guide for expert tips, hidden secrets, and strategies to survive the dangers that await!


