Silent Hill 2 Brookhaven Hospital Guide
In Silent Hill 2 Brookhaven Hospital Guide, we’ll guide you through completing Brookhaven Hospital step by step on the PS5, including all Collectibles. You’ll reach this area after following Laura through the streets and buildings of West South Vale. This guide is designed for players using the Standard setting for both Combat and Puzzle Challenges. For more details on how these difficulty options affect gameplay, you can refer to our Combat and Puzzles guide. This page walks you through Brookhaven Hospital, from your first entry until you progress to the Historical Society, covering key challenges like solving the Hand Puzzle and opening the Safe and Chained Box in the Director's Office.
Silent Hill 2 Brookhaven Hospital - Collectibles and Key Items
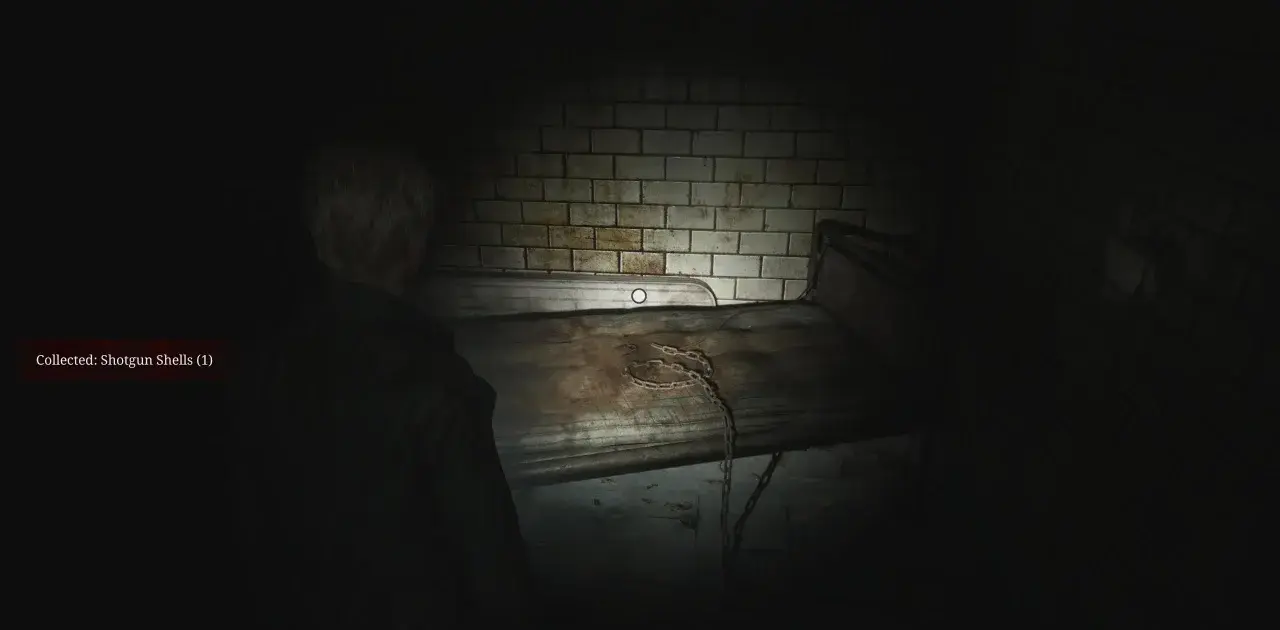
Once inside Brookhaven Silent Hill 2 Hospital, you’ll encounter your first set of Shotgun Shells in a drawer within a small office before the second set of double doors. You’ll also find a hint for the Shotgun’s location from a set of instructions in an open cabinet on the wall. As you continue through the Lobby, maps for floors 1F, 2F, and 3F can be found on the opposite wall. Make your way to the Reception to pick up Handgun Ammo from a drawer, as well as the first memo, known as the Key Locker Note.
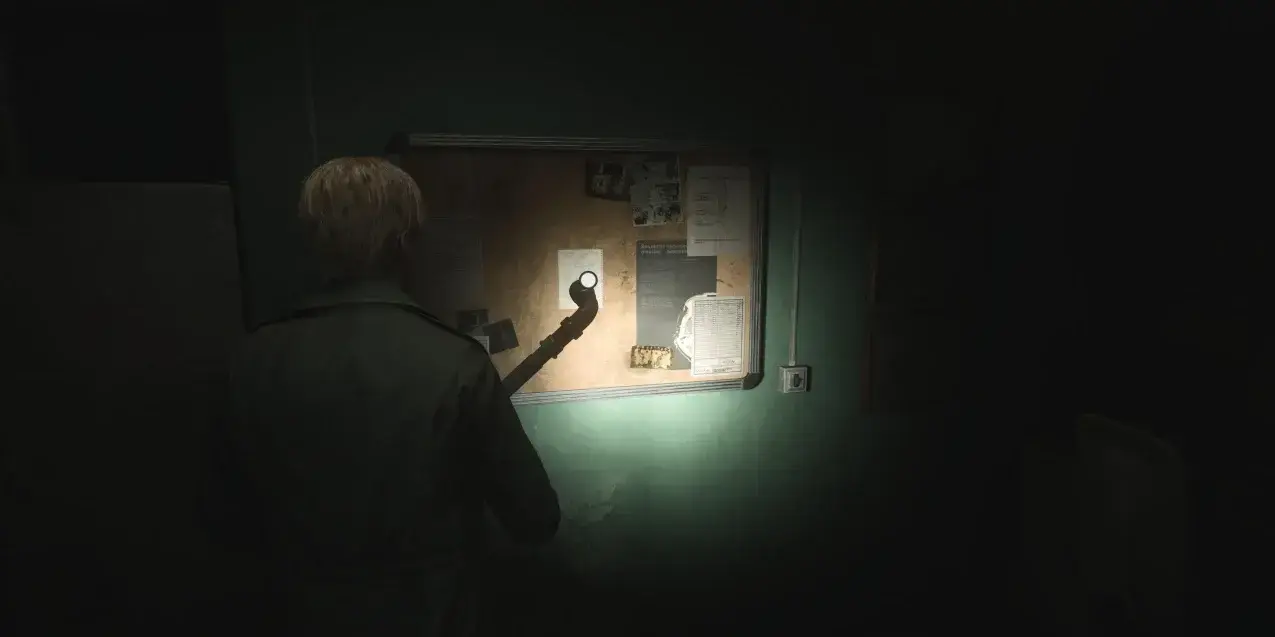
Memo #1: Key Locker Note
After collecting the maps, head left into the Reception, where you’ll find this Memo pinned to a noticeboard. Proceed to the Reception Office, where you’ll encounter a save point and a padlocked locker blocking a key. James will note this on his map so you can return once the padlock code is solved. For now, grab a Health Drink from the Restroom and head east towards the stairwell, where Laura will be drawing on the wall. The double doors will lock behind her, preventing you from following her at this time, so return to the Lobby and explore the right-hand corridor.

Memo #2: Nurse's Memo
To access Exam Room 3, smash the glass with your Steel Pipe. Inside, you'll find a Syringe on the bed. In the nearby rooms, collect more Shotgun Shells and find this Memo inside a desk. Once you’ve cracked the Padlock code, you’ll receive the Basement Key. Go back to the stairwell where Laura was and head down a floor to unlock the double doors. Immediately ahead, you’ll find the Hospital Basement Map. Continue through the Pump Room to reach the Generator Room, where you’ll come across a Generator that needs to be fueled.
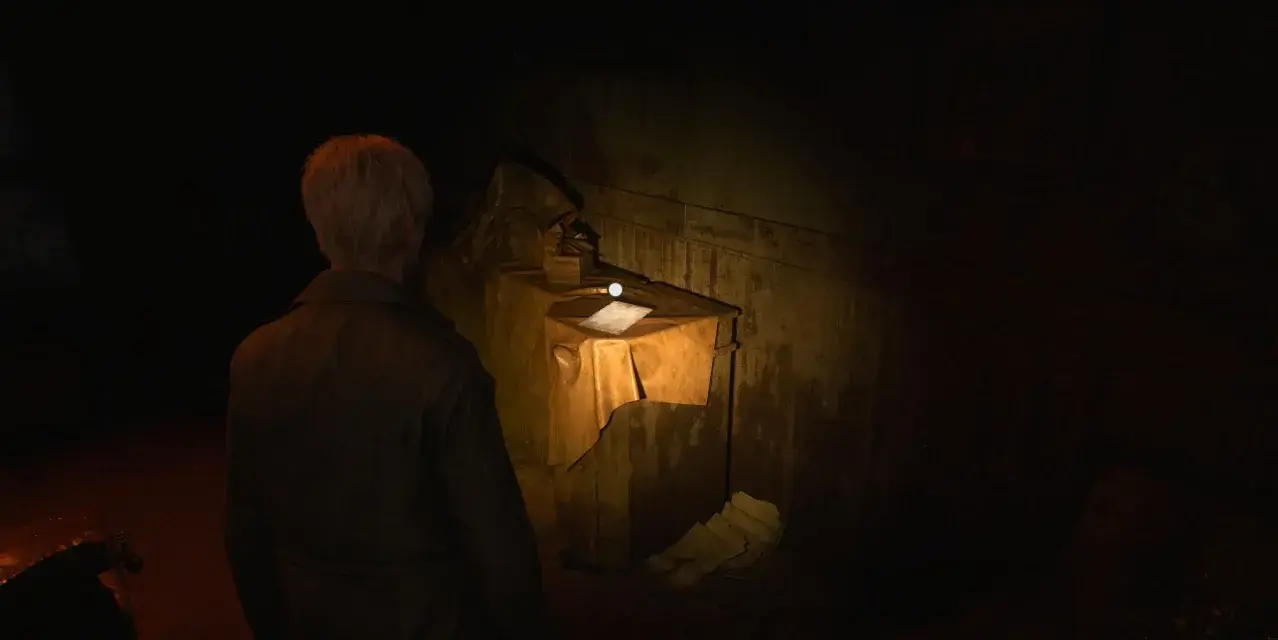
In the corridor, deal with a few enemies and enter the Boiler Room to collect an Empty Fuel Can. Then, move across the hall to the Laundry Storage. Push the white clothes cart toward the Laundry Room's wall vent to access Handgun Ammo, a Syringe, and a fuel pump. Fill the can with fuel and return to the Generator to power it up. This activates the Elevator next to the stairwell.
You can now take the Elevator to floor 2F, where a cutscene will play, temporarily separating James and Maria as she needs to rest. In Room C3, you’ll find a Health Drink and a save point, while the Restroom contains more Handgun Ammo. Head to Room C2 for additional ammo, then make your way north and engage your first nurse enemy in the open area. After defeating it, approach the Nurses Station and note down the Keypad code from the window where the Staff Memo is attached.
Memo #3: Staff Memo
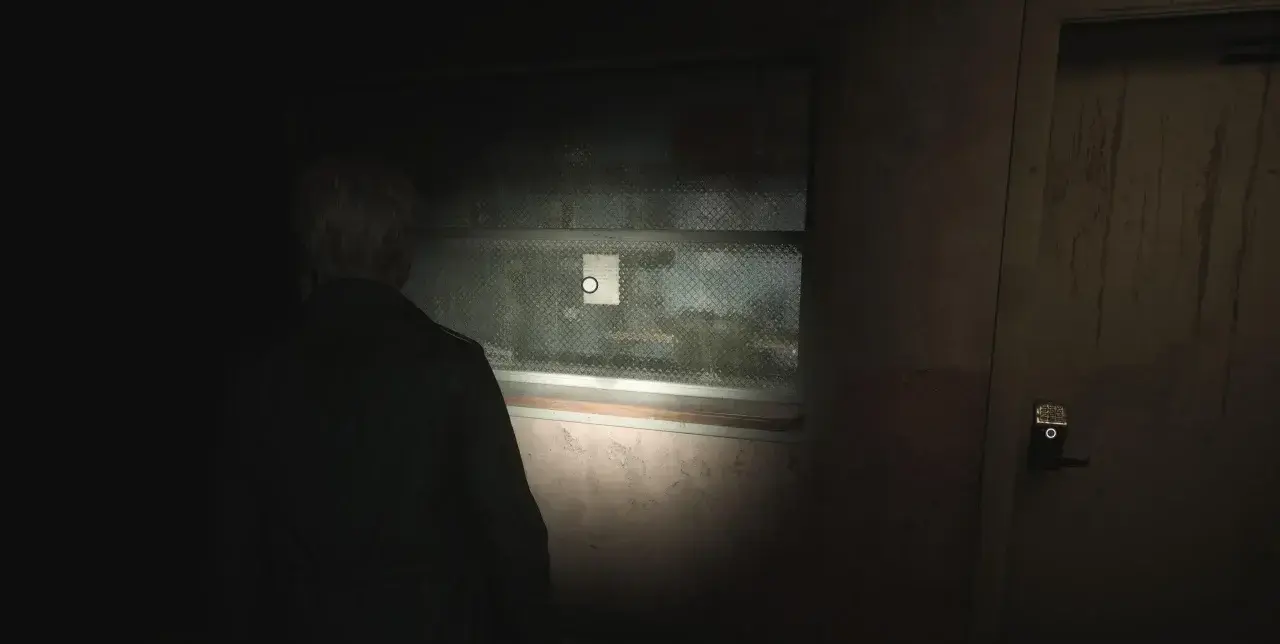
On the second floor, head toward the Nurses' Station and locate the Staff Memo attached to the window beside the entrance. Once there, turn around and move toward the back-right corner of the area, where you’ll find a hidden crawlspace. This leads into Room L3, and from there into the Observation Room, where you’ll discover a Strange Photo on the desk.
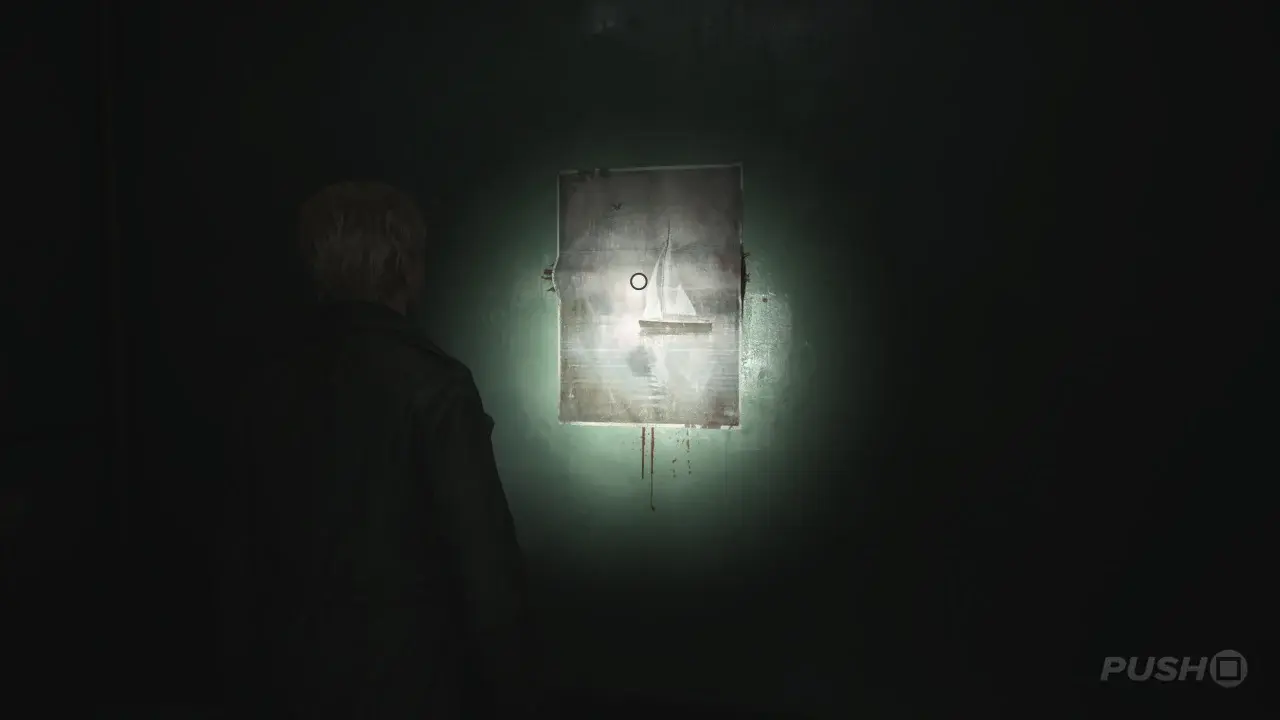
Strange Photo #1: Her Drawings
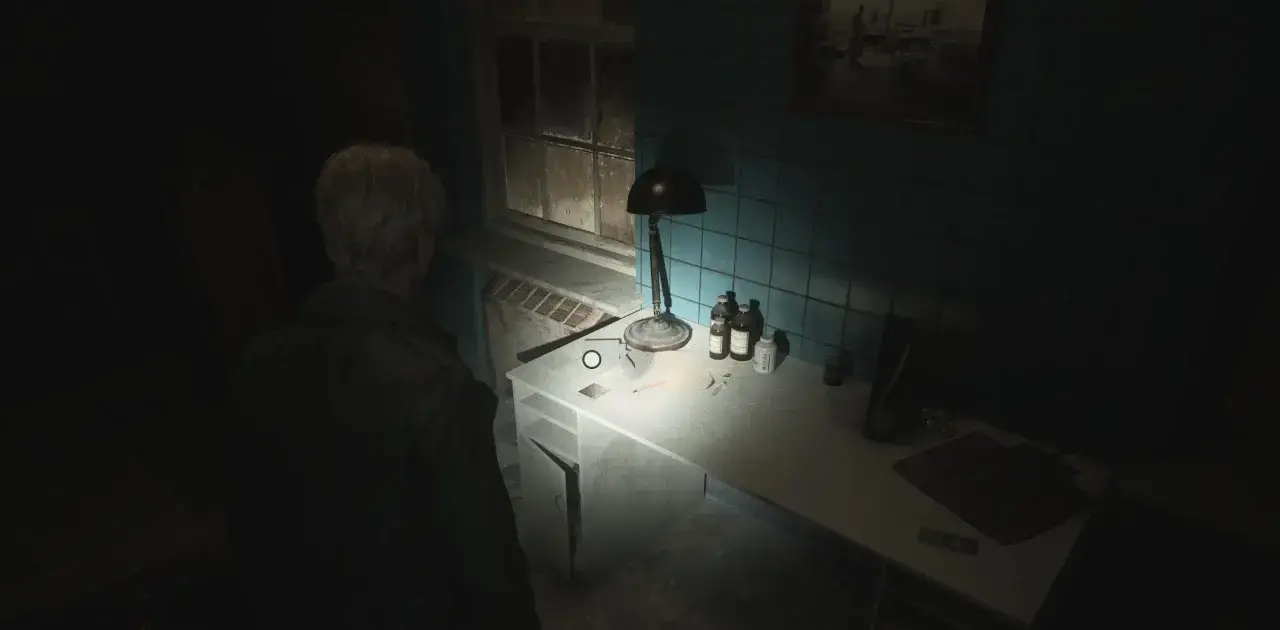
On the second floor, after turning away from the Nurses' Station entrance, proceed to the back-right corner of the open area. Here, you’ll find a crawlspace that grants access to Room L3. This leads directly into the Observation Room, where you’ll find the Strange Photo sitting on a white desk.
Next, head back into the main area and move south toward the Laundry Room. Inside, interact with the bin to unlock one of the Glimpses of the Past.
Glimpses of the Past #1
On the second floor, enter the central Laundry Room and inspect the bin. Doing so will reveal the first Glimpse of the Past. Continue heading south until you reach Room C1. Interact with the poster on the wall, then search behind it to uncover a hidden Memo called Interview Transcript. This will also mark a point of interest on James' map on the first floor, labeled Something There?.

Memo #4: Interview Transcript
In Room C1, inspect the poster on the wall, then peel it back to find the Interview Transcript stashed inside the wall.
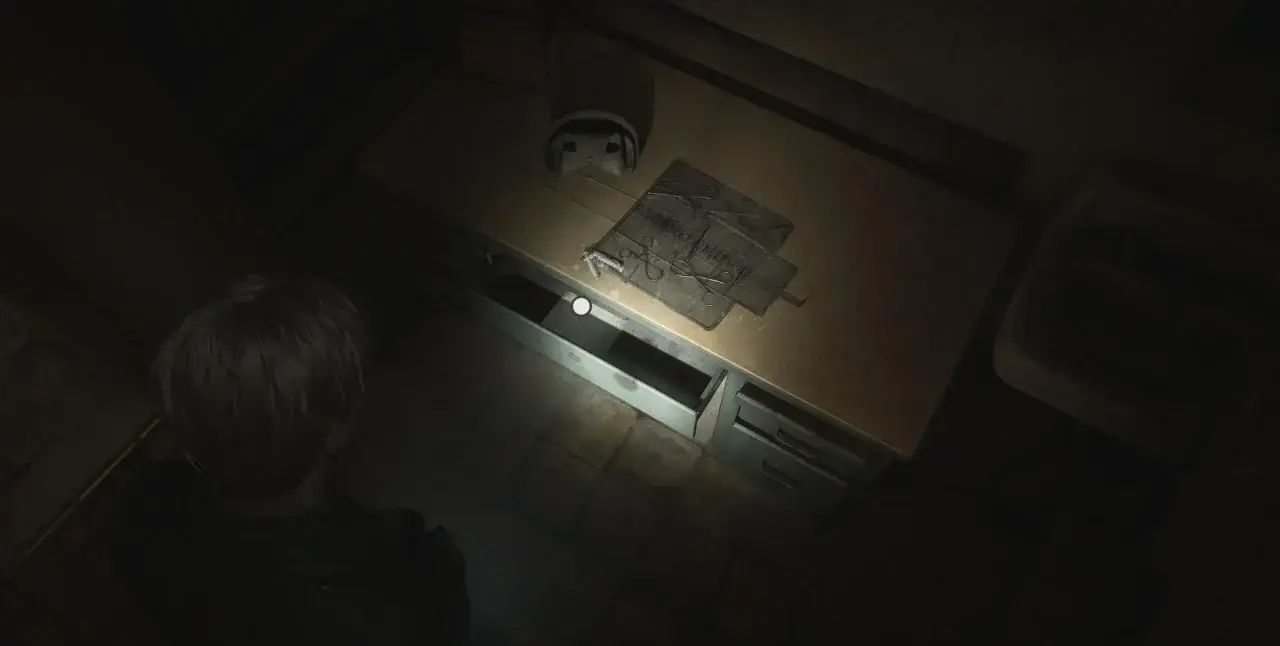
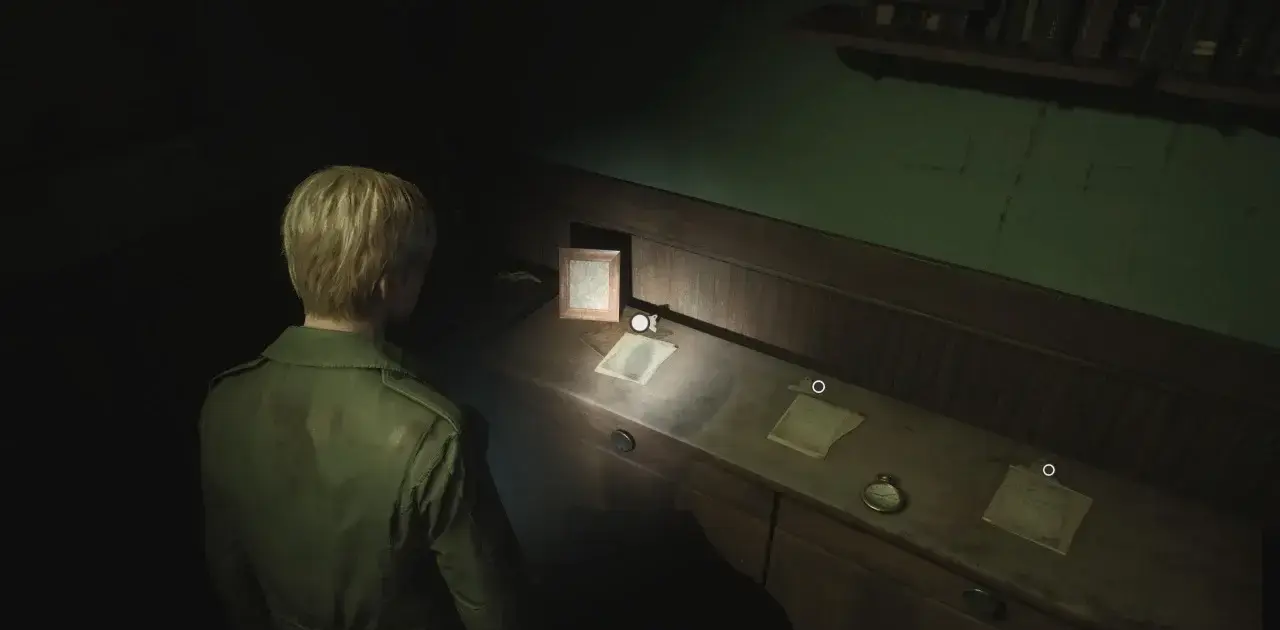
Now, head into the Director’s Office. Inside, there’s a small room to the right where you can save your progress. On the main desk, you’ll find a Hand puzzle and three Memos on the table to the right. An audio recording can also be played using the tape player next to the lit lamp.
Memo #5: Evaluation Card, Patient #0130
Located in the Director’s Office, this memo is on top of a chest of drawers in the back-right corner of the main room.
Memo #6: Evaluation Card, Patient #0090
This Memo is also in the Director’s Office, on top of the chest of drawers in the same corner as Memo #5.
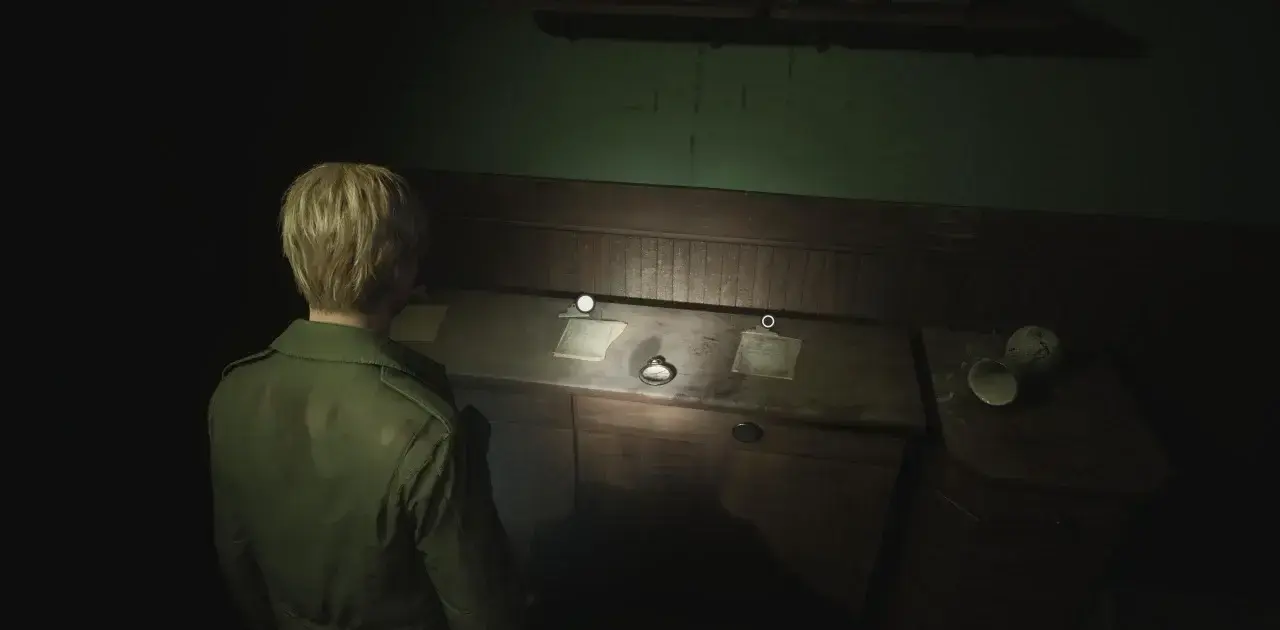
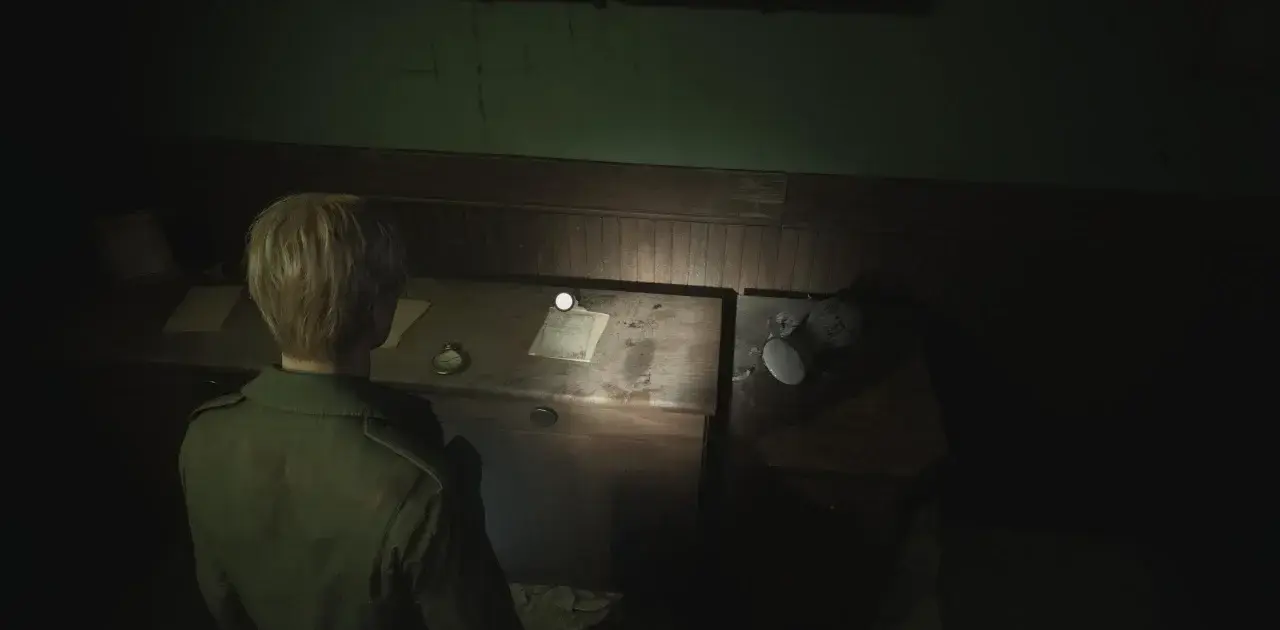
Memo #7: Evaluation Card, Patient #0050
Similarly, this Memo is on top of the chest of drawers in the Director’s Office, in the back-right corner.
Additionally, in the Director’s Office, you’ll find a red curtain. Pull it back to reveal another Safe puzzle. As we explore more of Brookhaven Hospital, we’ll collect items needed to solve both puzzles. For now, exit the Director’s Office and head left, where you’ll face a charging nurse enemy. Eliminate it, and then continue to the end of the corridor to enter Room M1. Inside, you’ll find Handgun Ammo and another Glimpse of the Past.
Glimpses of the Past #2
After finishing your search in the Director’s Office, head left and enter Room M1 at the end of the hallway. Interact with the hospital bed to uncover this Glimpse of the Past.
Next, proceed to the Women’s Locker Room, where you’ll find various items, including a Health Drink, Handgun Ammo, Shotgun Shells, and even a Shotgun. If you inspect the teddy bear on the chair, you’ll receive the Bent Needle. Leave the Locker Room and proceed to the Nurses’ Lounge, where you’ll find the L1 Room Key on the table in front of the TV. Use this key to unlock Room L1.
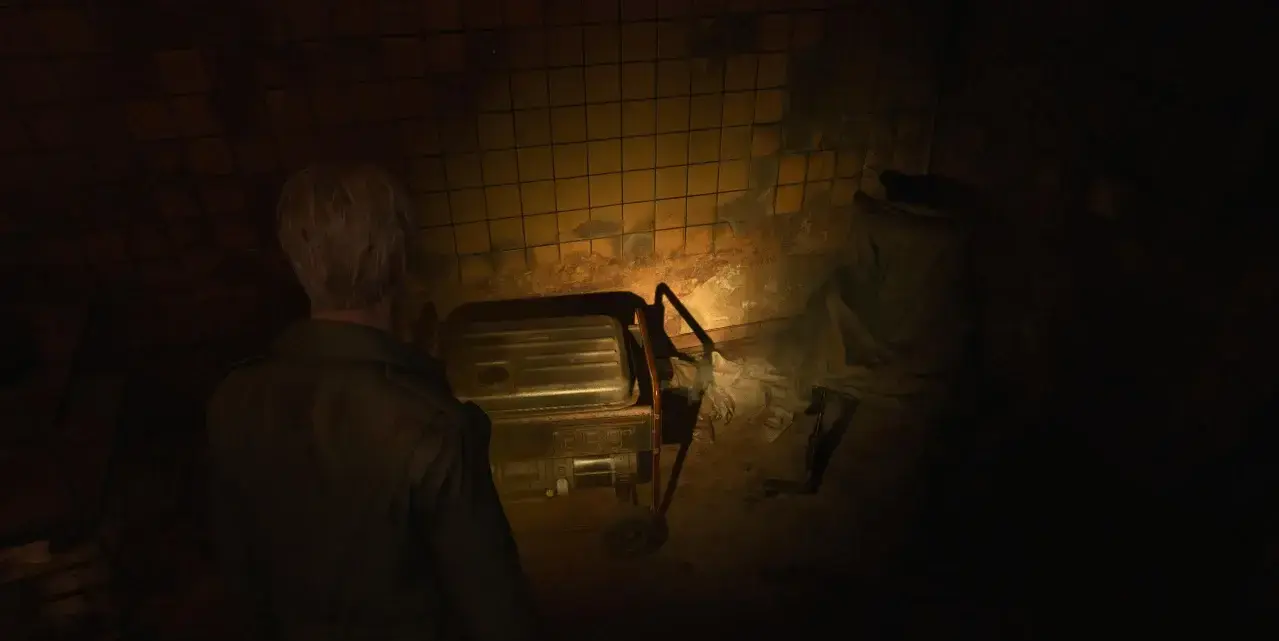
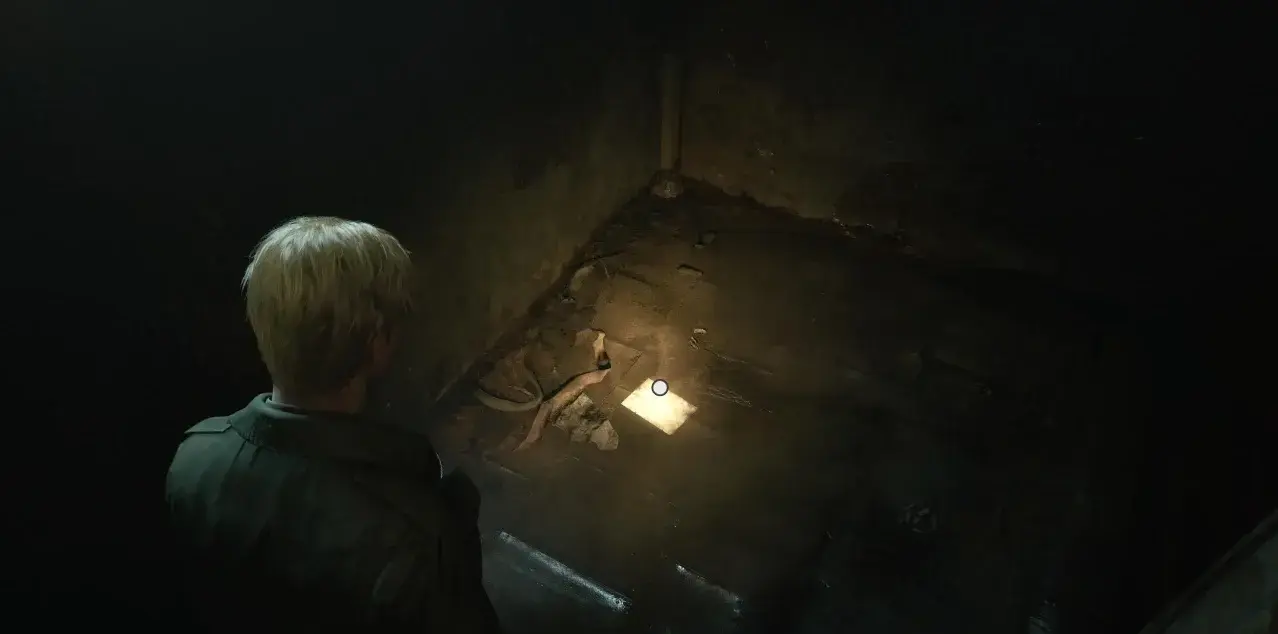
Inside, push the metal cart against the wall beneath the open vent and crawl through the passage. While you can read a diary entry on the desk, the main objective is through the window, leading into the Utility Room. In this room, you’ll notice a small hole in the floor that James can fall through, triggering a cutscene where he lands between the walls and onto the first floor.
Once you regain control, crawl through the space in the wall to enter the Medical Records room. Here, you’ll find a Health Drink, a Memo, another Glimpse of the Past, and the Marked Bracelet for the Hand puzzle.
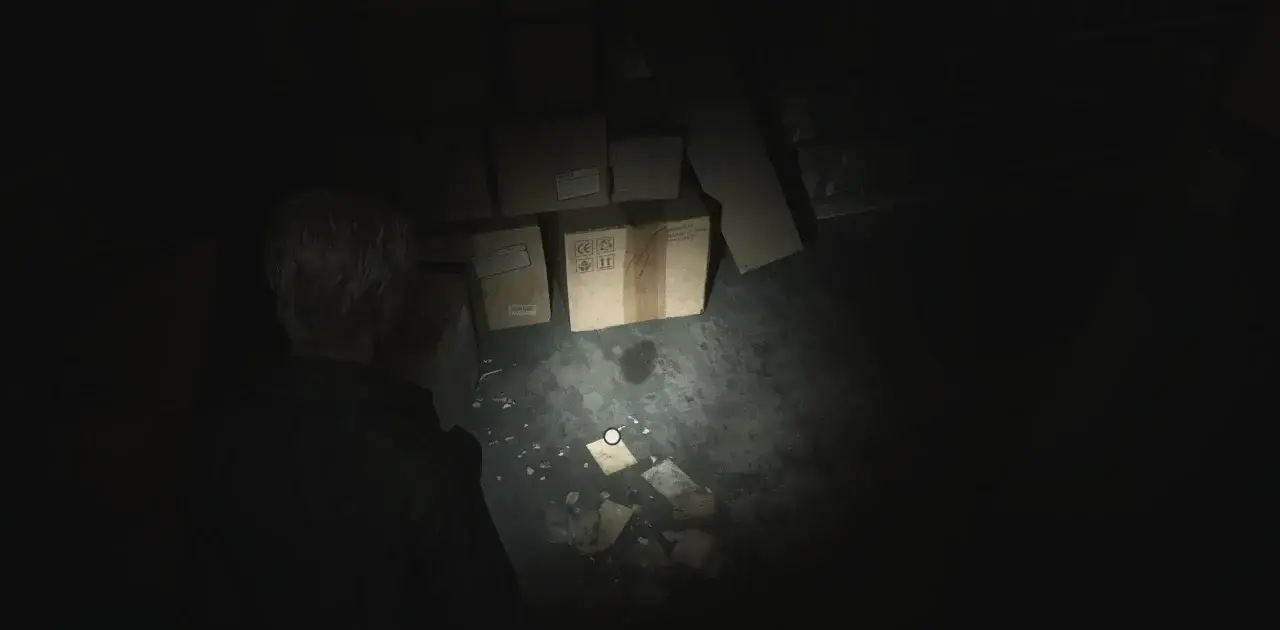
Memo #8: Scribbled Note
After falling through the hole between the walls of Brookhaven Hospital, you'll regain control of James in the Medical Records room. As you exit through the crawlspace, this Memo will be right on the ground to your left.
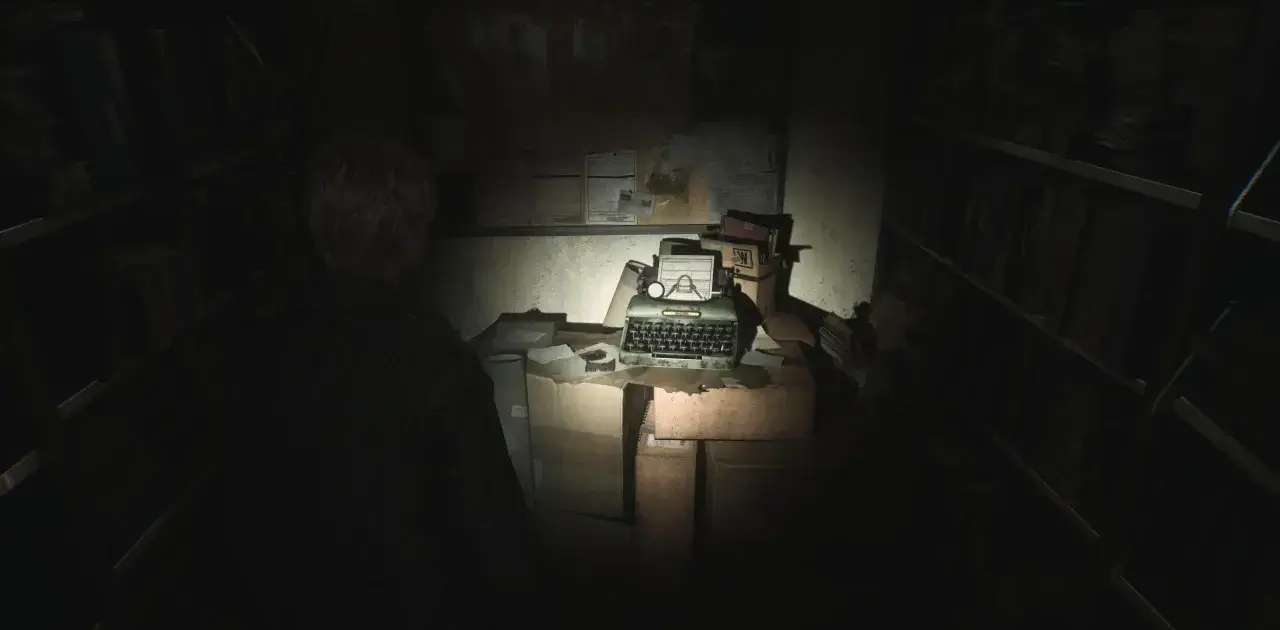
Glimpses of the Past #3
Right after picking up the Scribbled Note, follow the short path until you reach a typewriter. Interacting with it will unlock another Glimpse of the Past. With this room cleared, exit to the Lobby and use the eastern staircase to return to the second floor—assuming you unbolted the door earlier. If not, the Elevator will serve the same purpose. Once on the second floor, you can head back to the Director’s Office to place the Marked Bracelet on the Hand puzzle. Then, proceed to the northwest stairwell on floor 2F and use it to ascend to the third floor.
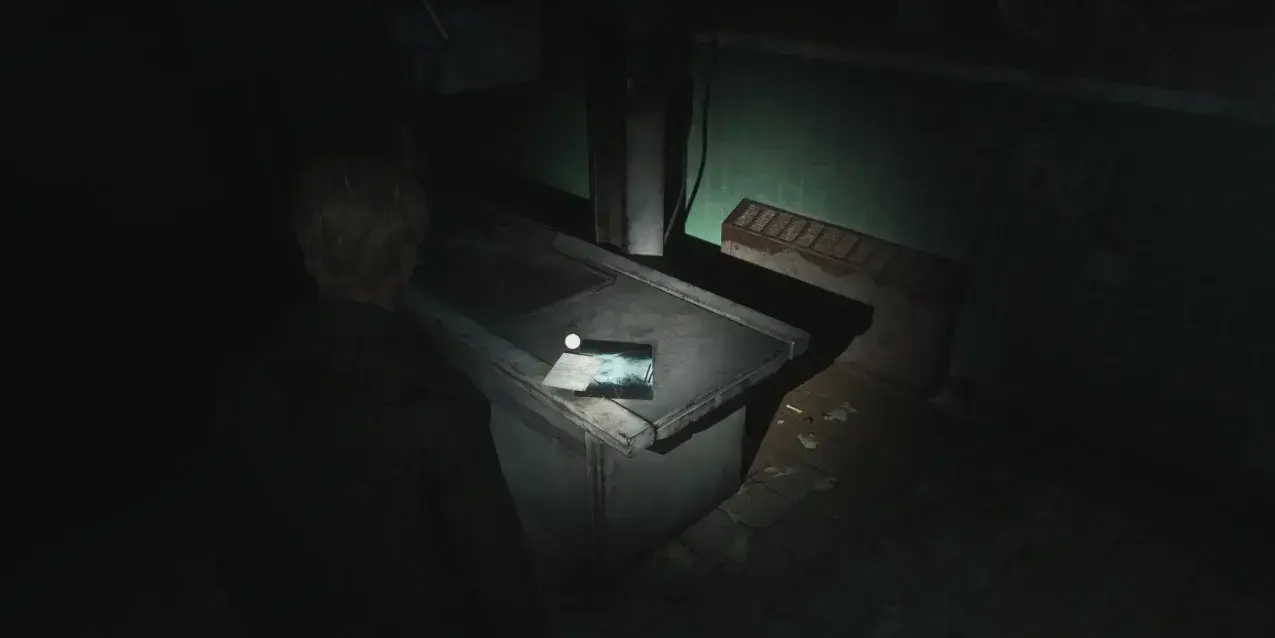
Upon arrival, you’ll see Laura through the grate of the metal door to your right. Follow the corridor around the left and into Room D2, where you can interact with another typewriter. Smash the glass near Exam Room 5 to re-enter the hallway and access the room. Inside, grab the 1F Inner Ward Key from the desk and head over to the X-Ray Room, where you’ll find the X-Ray Memo. Below it, you’ll see a Radiograph of a Pelvis—place it in the X-Ray Viewer for now.
Memo #9: X-Ray Memo
Climb the stairs in the northwest corner of floor 2F to reach floor 3F. Once there, smash the glass to access Exam Room 5. Inside, head to the X-Ray Room to find the X-Ray Memo.
Now, return to the first floor and use the 1F Inner Ward Key to unlock the double doors in the central corridor off the Lobby. Begin by exploring the left side, where you’ll find Handgun Ammo in the Restroom and Mold Remover in the Pantry. The Cafeteria and second Restroom also contain more Handgun Ammo. With these rooms cleared, head back to the unlocked double doors and proceed into the Dayroom. Defeat the nurse and move through the back into the Pharmacy. Here, you’ll find a Drain that needs an item to retrieve its contents, which James will mark on his map. From the Pharmacy, you can climb through an open window to the Garden, where a group of enemies awaits. After dealing with them, find a crawlspace behind a wooden hut to enter. Inside, you’ll find Handgun Ammo and a Syringe, though be cautious of the enemy inside.
The main path leads through the Greenhouse, where you can climb through an open window into the Pool area. In the back-right corner, there’s a grate covering the Pool Pump. While you don’t have the item needed yet, you can continue into the Shower Room to find a Medical Tube. Cross the hallway to enter the Doctor’s Lounge, where a Keypad Combination Note is pinned to a noticeboard. Around this point, Exam Room 1 should unlock, allowing you to retrieve a Strange Photo.
Memo #10: Keypad Combination Note
After making your way through the Garden and Greenhouse into the Pool area, cross the hall and enter the Doctor’s Lounge. The Keypad Combination Note can be found pinned to a noticeboard.
Strange Photo #2: At Least She Was There
As you progress through Brookhaven Hospital, Exam Room 1 will eventually unlock. Once it does, check the drawer on the back wall to find this Strange Photo.
Upon entering the Nurses’ Station, grab the Handgun Ammo from the left and proceed to the Treatment Room. There, you’ll find a Treatment Room Note on the left. Approach the bathtub surrounded by bugs to discover the Moldy Radiograph. In your inventory, combine the Moldy Radiograph with the Mold Remover to get a Cleaned Up Radiograph.

Memo #11: Treatment Room Note

After finding the Keypad Combination Note, use it to unlock the Nurses’ Station Keypad and enter the Treatment Room. The Memo can be found on the right as you enter.
Now that you have the Cleaned Up Radiograph, return to the X-Ray Viewer on floor 3F to complete the puzzle. Solving the X-Ray Viewer puzzle will give you the combination for the padlock in Room
D1:
• Right 4, Left 37, Right 12
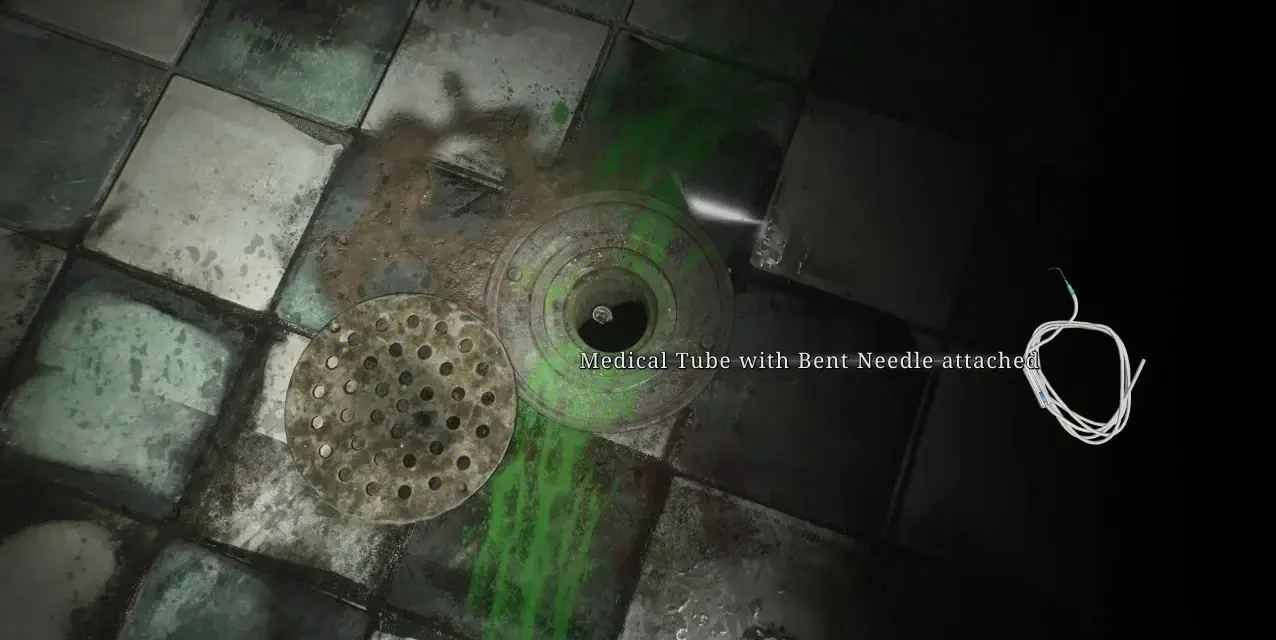
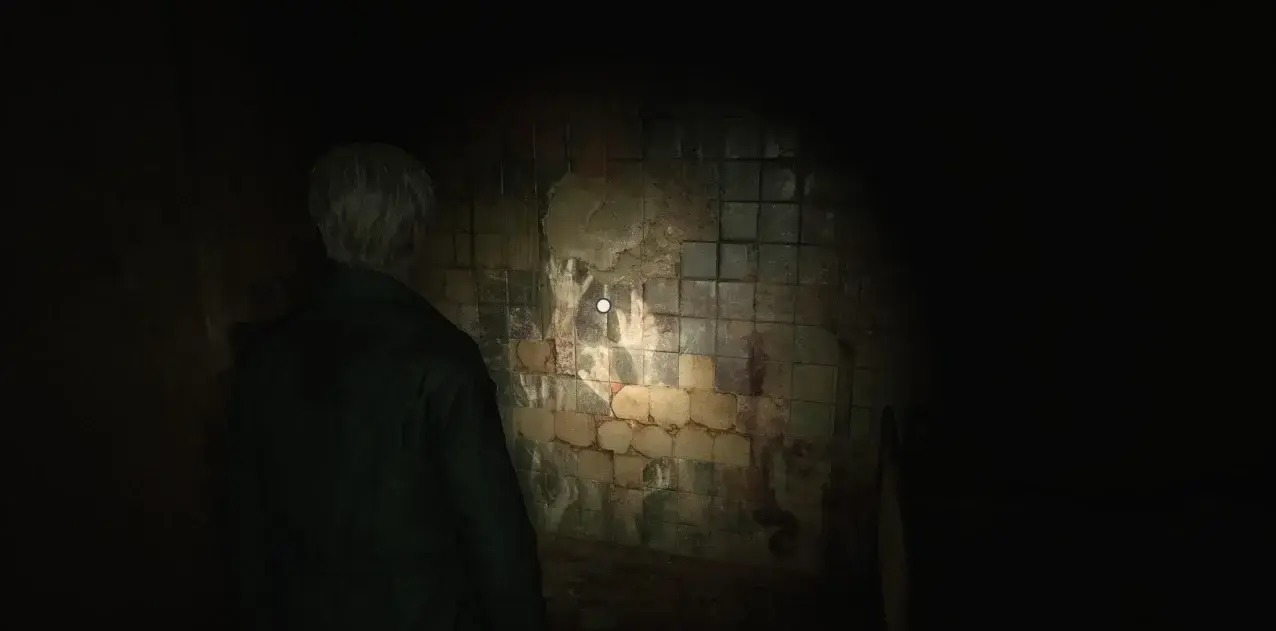
After breaking the padlock, interact with the bed in the room to find the Filthy Bracelet beneath the sheets. Return to the Director’s Office on floor 2F and place the bracelet on the Hand puzzle. For the next step, combine the Medical Tube with the Bent Needle in your inventory to create a tool. Use this tool on the Drain in the Pharmacy on floor 1F, which will allow you to retrieve the Maintenance Key. Use the key to unlock the compartment that grants access to the Pool Pump. Drain the pool, and when you see the black liquid leaking from the cracks, break a piece of the wall. Hidden inside, you’ll find the Bloodstained Bracelet.
Take the bracelet back to the Director’s Office on floor 2F to solve the Hand puzzle.
Your reward for completing the Hand puzzle is the Director's Storage Room Key, which unlocks the door across from the save point in the Director's Office. Inside, you’ll find the Safe Button and a set of books that must be arranged in the correct order. For opening the Safe in the Director’s Office, you’ll receive the Rooftop Key and find a Memo called Safe Note.
Memo #12: Safe Note
After opening the Safe in the Director's Office, you’ll receive the Rooftop Key along with this memo.
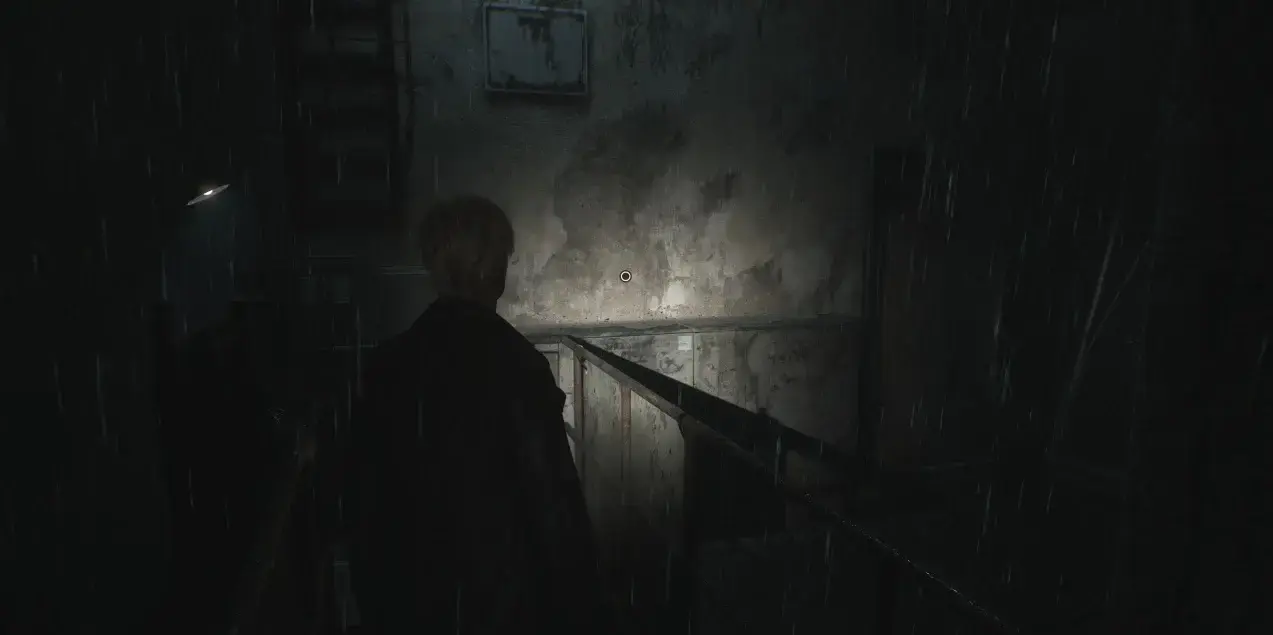
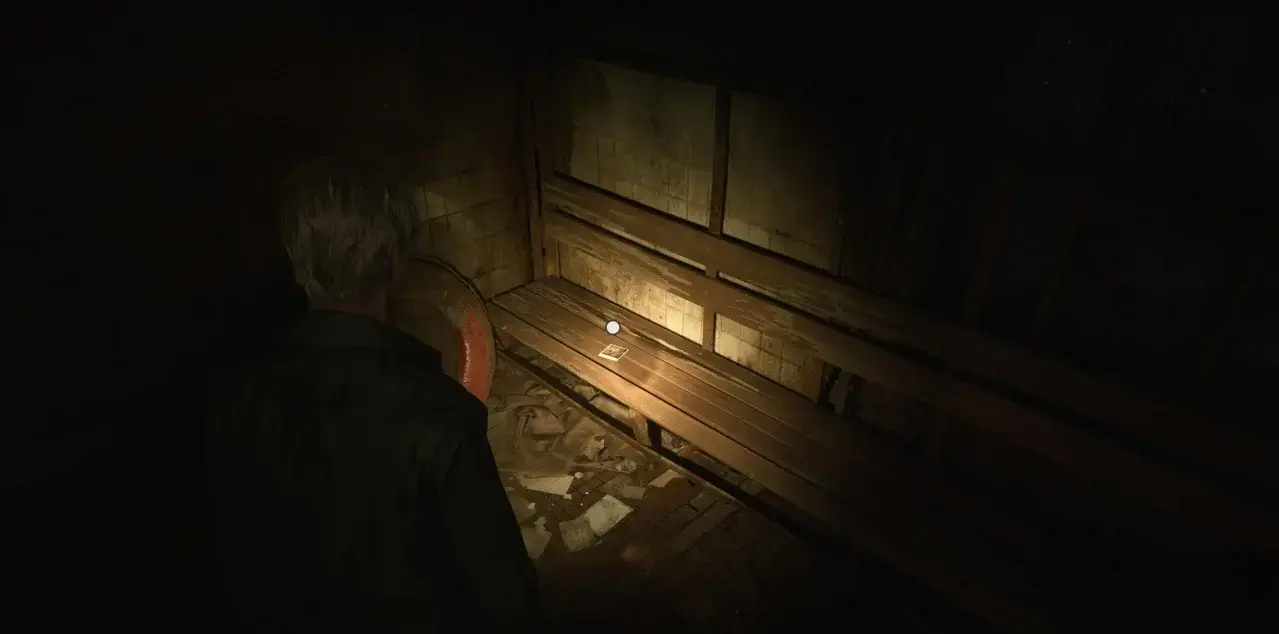
To reach the rooftop, leave the Director's Office and ascend the stairwell in the northwest corner of floor 2F. When you arrive on floor 3F, follow the corridor to the far right-hand corner. Use the Rooftop Key to exit onto the roof, where you’ll find Shotgun Shells and another Glimpse of the Past.
Glimpses of the Past #4
Upon unlocking the rooftop, head out and look for a small staircase opposite the double doors, with light streaming through the windows. Follow the path to the left, where at the end, you’ll find the Glimpse of the Past.
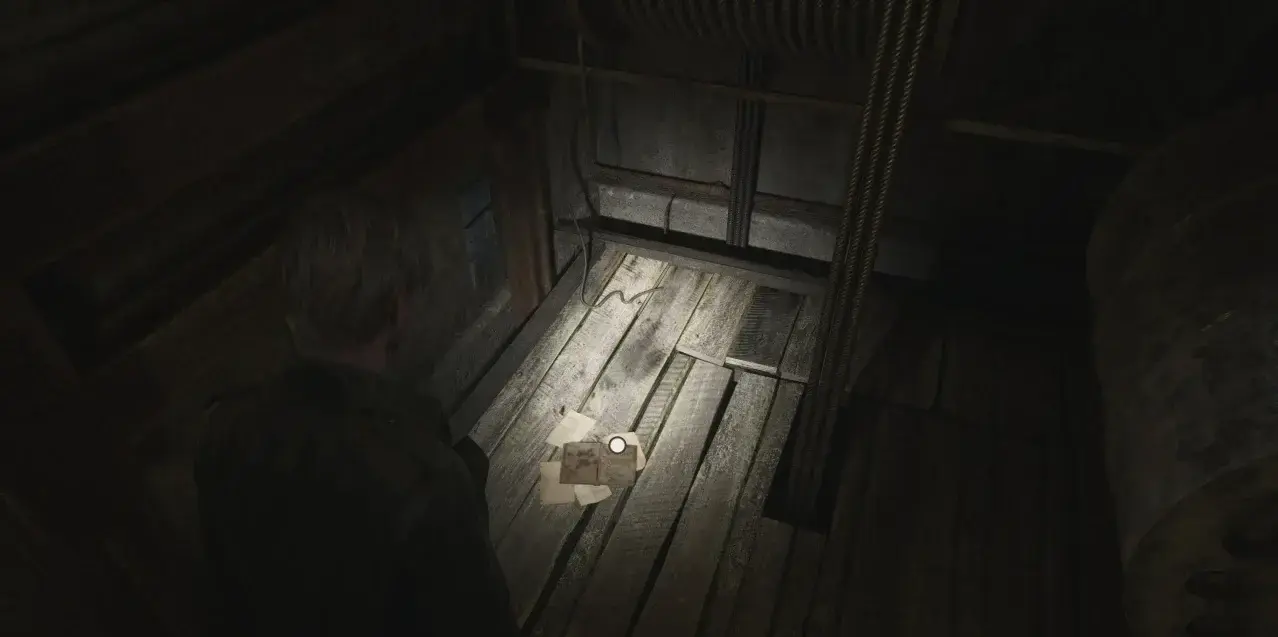
Go back through the double doors and pick up the Page From a Diary from the floor for another memo.
Memo #13: Page From a Diary
Once on the rooftop, enter the room with light pouring from the doors, and you’ll find this memo lying on the ground.
As you try to leave the rooftop, Pyramid Head ambushes James, throwing him through the floor. You’ll regain control on floor 3F, behind the previously locked metal door, where you last saw Laura. After hearing her humming, proceed down the corridor to the Hydrotherapy Room, where you’ll find Handgun Ammo, Shotgun Shells, a Health Drink, and a Syringe. You can also unlock the adjacent door to create a shortcut to the rest of Brookhaven Hospital.
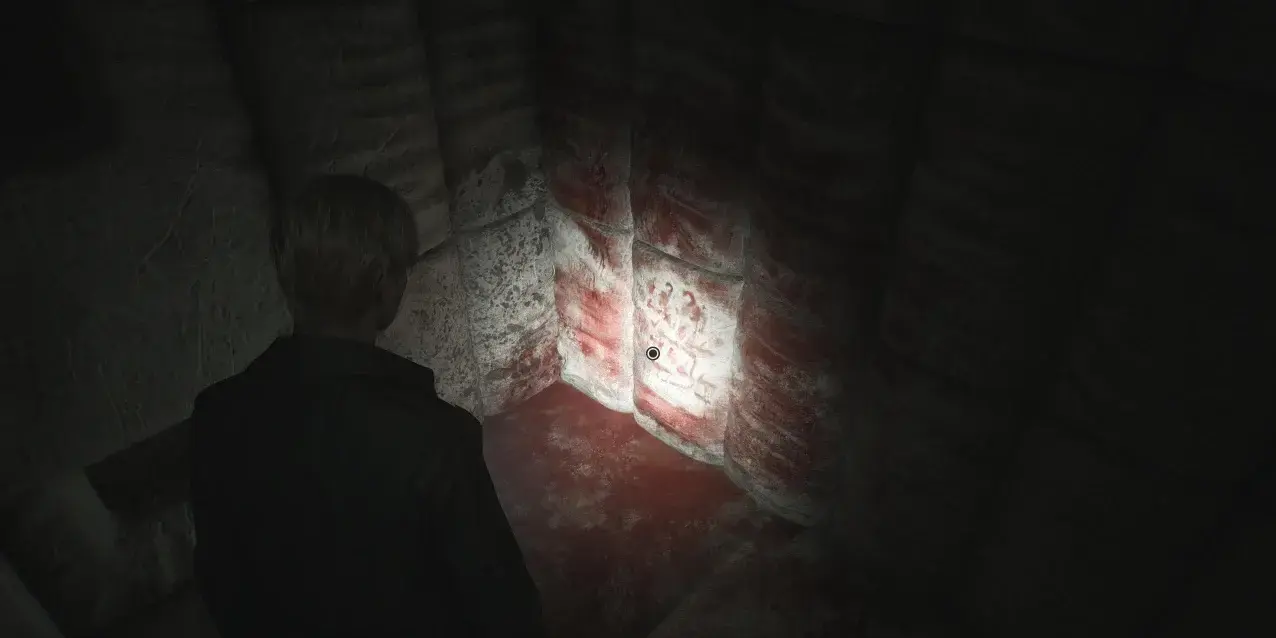
Head back to the newly accessible corridor and follow it into Room 13. Check the bloodstain in the corner to uncover another Glimpse of the Past.
Glimpses of the Past #5
After being thrown through the floor by Pyramid Head, navigate to Room 13 on floor 3F and interact with the bloodstain to trigger this Glimpse of the Past.
Proceed down the corridor until you encounter Laura again. A cutscene follows, leading into a boss fight against the Flesh Lip. This creature attacks from above, dropping from the ceiling with a cage-like structure around it. As you shoot it, parts of the cage will begin to break, bringing it closer to your level for the remainder of the fight. Keep an eye on the surrounding area for extra ammo and health supplies.
Once you defeat the Flesh Lip, another cutscene will trigger, and you’ll find yourself in the Otherworld version of Brookhaven Hospital. James' map will reflect this, showing the same layout but in a more decayed and twisted state.
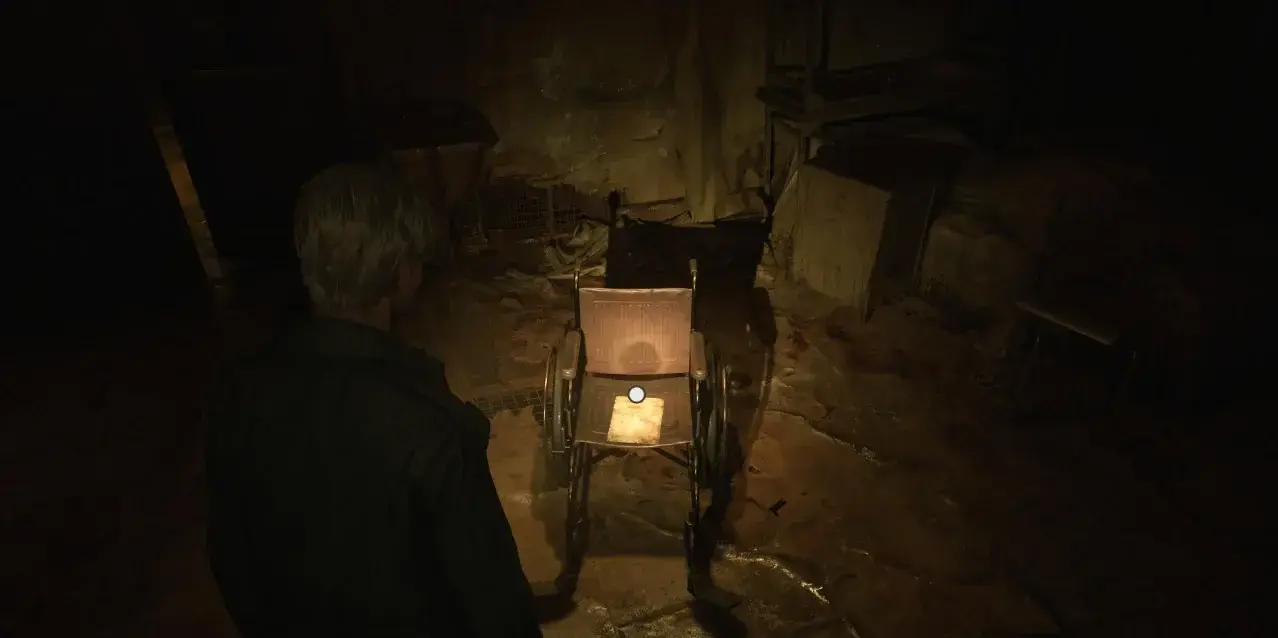
Explore the Dayroom to find a Memo called Evaluation Card, Patient #3141, on a wheelchair.
Memo #14: Evaluation Card, Patient #3141
After the fight with the Flesh Lip, you’ll be transported to the Otherworld version of the hospital. Pick up this memo from the wheelchair when you regain control of James.
There’s also a Syringe and Handgun Ammo in the room. When ready, save your game and take the elevator down to floor 2F. In the open area ahead, you’ll come across the Chained Box, a major puzzle with three components: a combination lock code, a keypad code, and a key. Let’s begin solving this by exploring the left side of floor 2F.
Cut through the Nurses' Station to collect Handgun Ammo and Shotgun Shells, and continue to the Nurses' Lounge for more supplies. There’s an overflowing toilet here, and nearby is a crawlspace leading to the Women's Locker Room, which contains more ammo and health items.
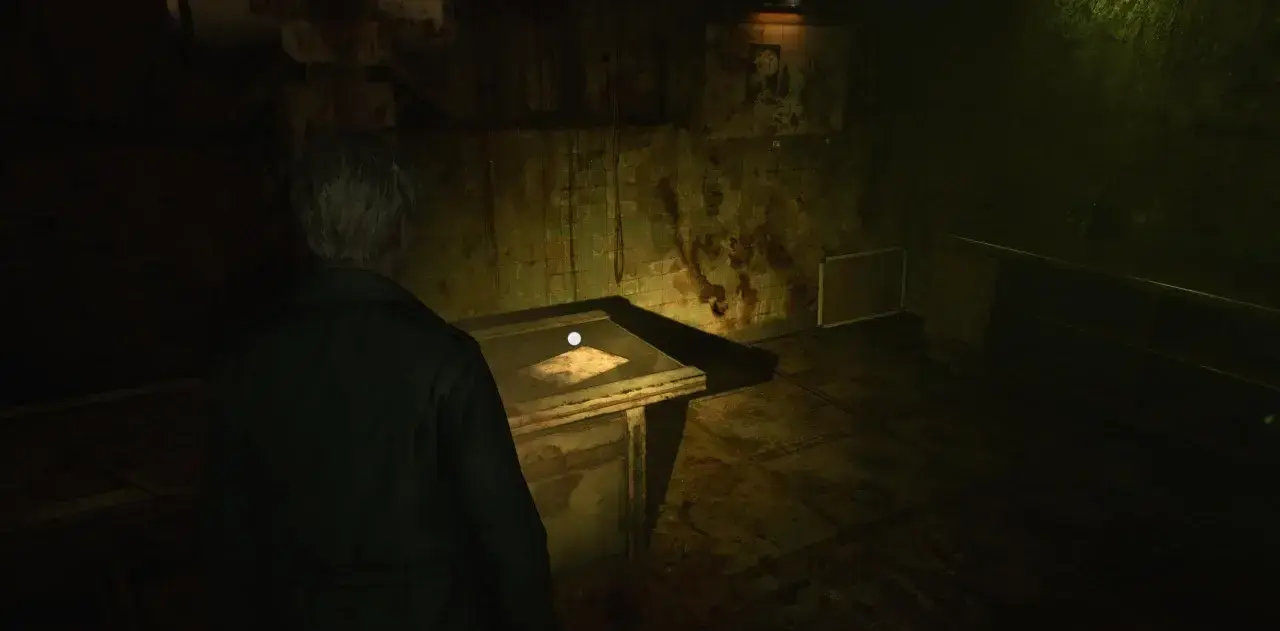
Unlock the door to return to the corridor and ascend to floor 3F. In the X-Ray Room, you’ll find a memo titled The Procedure on the operating table.
Memo #15: The Procedure
From the Chained Box on floor 2F, explore the left-hand side and head upstairs to floor 3F. You’ll find this memo on the operating table in the X-Ray Room.
In Exam Room 4, retrieve the Instrument of Force and use it on the mannequin’s left arm. Climb through the window, eliminate the two enemies, and search the outside wall of Room D2 to find a breakable section allowing you to enter.
In Room D1, you’ll find a ladder leading down to the Kitchen on floor 1F. Gather supplies from the Restroom and Storage areas, then find a gap in the wall leading to the Key of Bliss. Use it on the mannequin in the Surgical Chair on floor 2F to receive the Lapis Eye Key.
This key fits into the central slot of the Chained Box, but inserting it blocks access to the area you’ve just explored. Make sure you’ve collected everything before using it.
Next, explore the right side of floor 2F. Search Room C2 and the Restroom for supplies, then head to the Chained Box again. You’ll need to move a metal cart in the southern Restroom to climb into Room L1. Once inside, exit through the western window into Room M1, where you’ll find a clock. Adjust the hand, then head into Room M4, where you can access Room M5 through a hole in the wall. You’ll discover a Glimpse of the Past on the eastern wall of Room M5.
Glimpses of the Past #6
After unlocking the Chained Box on floor 2F, proceed south through the Restroom, and climb onto the metal cart to enter Room L1. Follow the corridor into Room M4, then use the hole in the wall to access Room M5. On the eastern wall, you'll find this Glimpse of the Past.
Next, return to Room M3, where a breakable wall allows access to Room M2. Inside the tent, you’ll discover the Calendar Page memo, which helps solve the Combination Lock code for the Chained Box.
Memo #16: Calendar Page
From the Chained Box on floor 2F, head south to the Restroom and use the metal cart to climb into Room L1. Follow the corridor to Room M3, where you’ll find a breakable wall leading to Room M2. Inside the tent, grab the Calendar Page memo, which is key to figuring out the Combination Lock code for the Chained Box puzzle.
Now that the Combination Lock is gone, the next step is unlocking the Chained Box completely. As with the Lapis Eye Key, the area where you found the code will now be inaccessible.
Continue along the eastern corridor, and head towards the Director’s Office. Though the office is locked for now, turn around and find a breakable wall that leads into the Laundry Room. Clear out the enemies, gather supplies, and push the cupboard against the northern wall to move the metal cart into the corridor. Climb through the crawlspace opposite Room L2, leading you into Room L3.
Once inside, defeat the enemies, and move into the Observation Room, where you’ll find a memo on the bed to your left. In the back bedroom, check the bedside cabinet for a Strange Photo.
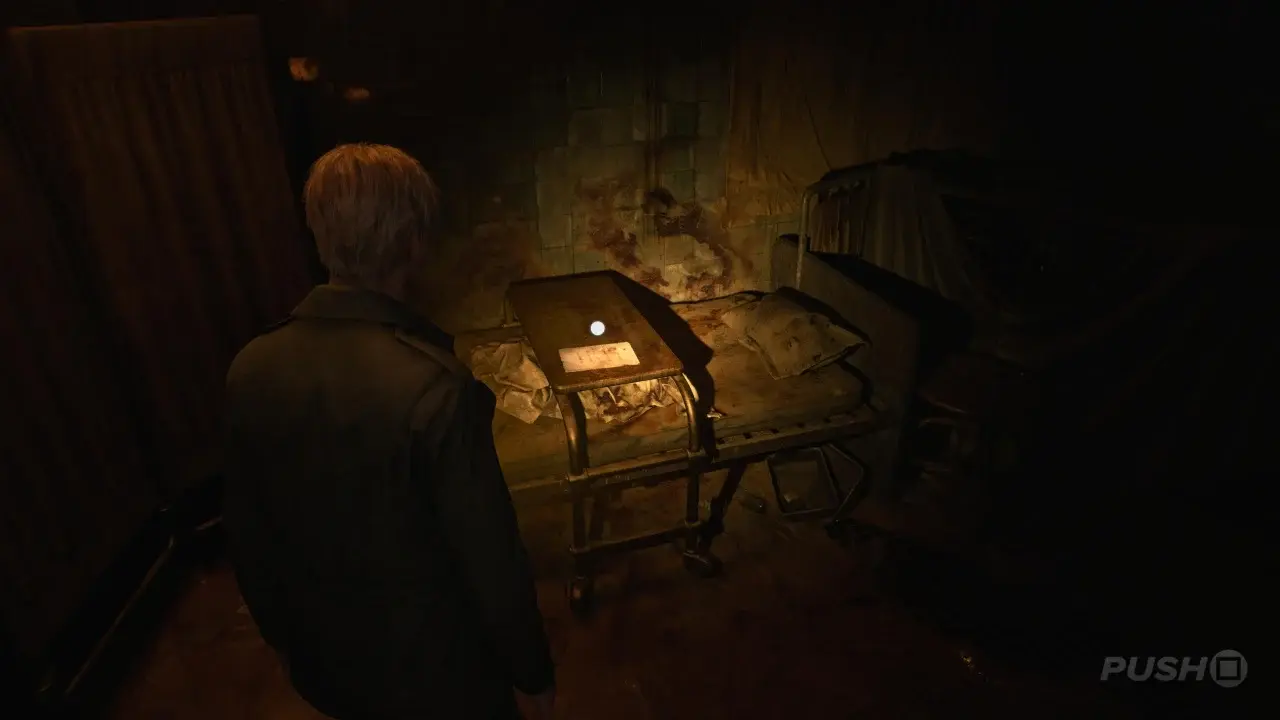
Memo #17: Patient's Note
Break through the wall opposite the Director's Office and push the metal cart towards the crawlspace. Enter Room L3, then move into the Observation Room, where you’ll find this memo to the left as you enter.
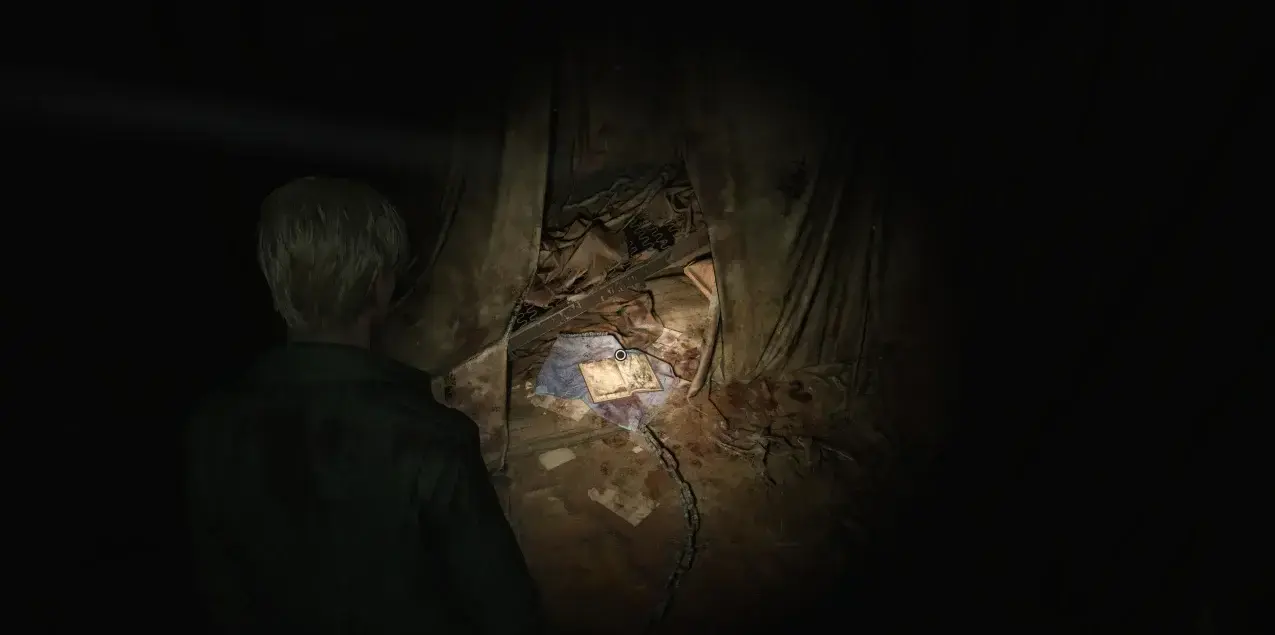
Strange Photo #3: No One Knows
Inside the Observation Room, check the bedside cabinet in the back bedroom to find this eerie Strange Photo.
Once you’ve collected these items, approach the static TV in the Observation Room. In front of it, you'll find the Director's Office Key. Exit into the corridor and use this key to access the Otherworld version of the Director’s Office. Inside, grab Shotgun Shells and a Health Drink from the small room to your left, then find a memo called Manic Scribble near the ladder.
Memo #18: Manic Scribble
After retrieving the Director’s Office Key from the Observation Room, unlock the office door and grab this memo next to the ladder in the center of the room.
Climb the ladder to Room 17 on floor 3F, where you’ll encounter a Treatment Stretcher. You can’t interact with it just yet, so search the room for supplies and pick up the memo in the back-right corner.
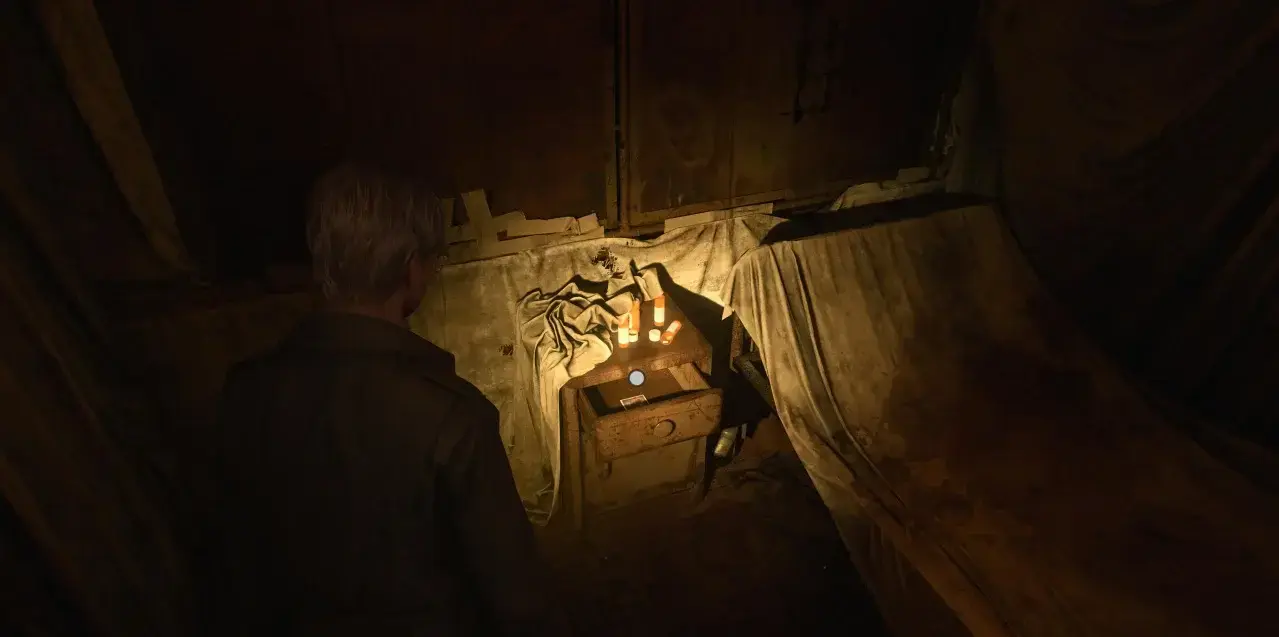
Memo #19: Nurse's Note
Upon reaching Room 17 on floor 3F, search the back-right corner to find this memo.
Exit into the corridor and defeat the enemies. Follow the red wire on the ground to a crack in the wall, which leads to a Generator Room. Turn on the Generator, then use the nearby crawlspace to quickly return to the Treatment Stretcher. Here, you’ll also find a small hole containing another memo. Once you turn on the generator, the code "9659" will appear—this is the keypad code for the Chained Box.

Memo #20: Director's Note
While following the red wire to the Generator, you’ll find this memo in the Restroom after crawling through the nearby hole in the wall.
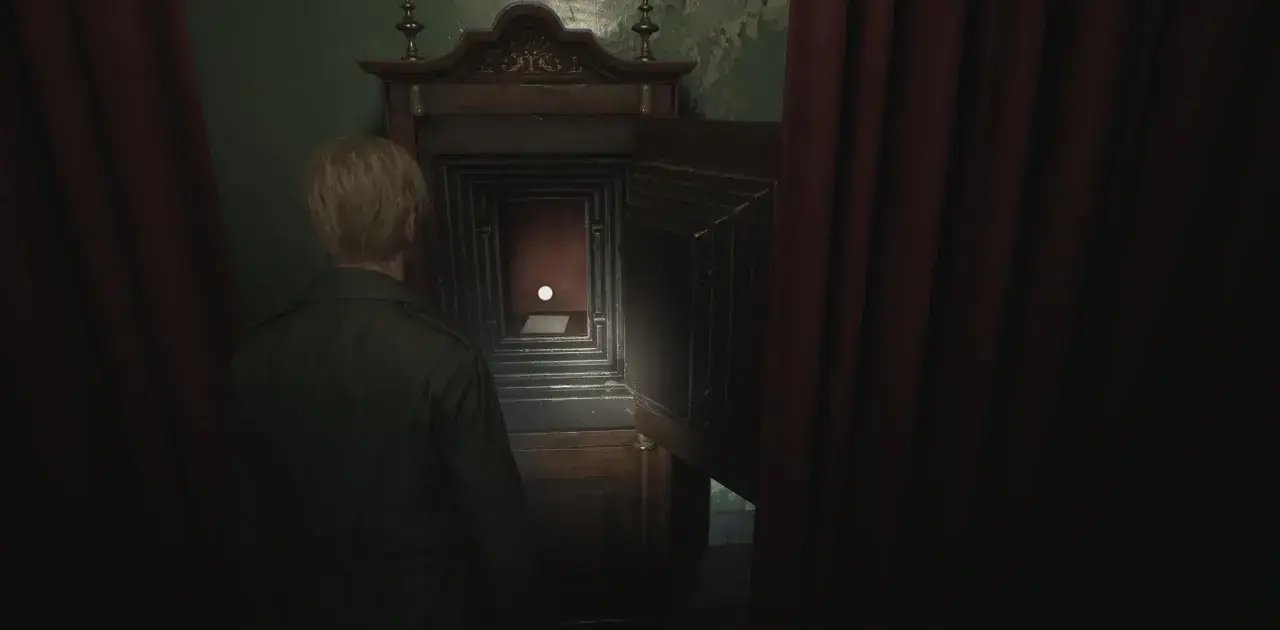
James will open the Chained Box, only to find it empty. This unlocks a portrait/statue of a woman, from whose mouth James retrieves the "-1 Elevator Button." The area you’ve been exploring will now be blocked off, leaving you no choice but to place the button in the elevator panel and head down. Listen carefully to the radio announcer, as they’ll ask three questions important for an upcoming optional puzzle.
Upon reaching the Basement, search the Kitchen Disposal Room for supplies, then move east into the Maintenance Room. Squeeze through a gap into the Generator Room, and head through Laundry Storage for more ammo, but be aware of an enemy hiding to the right. Afterward, pass through the Laundry Room and Storage area, leading to the southern end of the corridor.
Move through the two Boiler Rooms, and in the second room, you’ll find a raised vent that grants access to the Pump Room. Pick up the Copper Ring from the table next to the hole in the wall. Maria will appear, joining James in the search for Laura. Together, head to floor 1F and grab a Syringe in Exam Room 3 before exiting into the corridor.
All the doors are locked, so enjoy the rainy atmosphere as you head to the Pool area, where you’ll find another Strange Photo in the back-right corner.
Strange Photo #4: They Mustn't Know
In the Pool area on floor 1F, as you walk in with Maria, head to the back-right corner to find this Strange Photo next to a life ring.
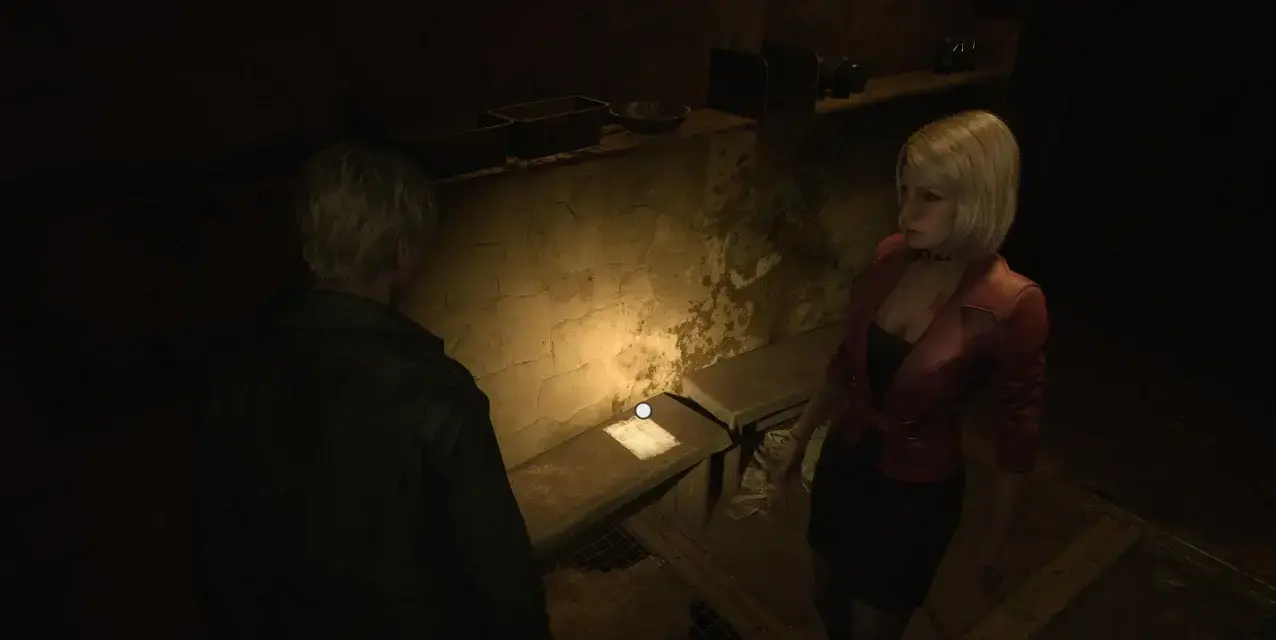
Proceed to the Doctors' Lounge, where in a cutscene, James and Maria will open a fridge to retrieve the Lead Ring. Afterward, enter the Locker Room to the right, and you’ll find the Dissociated Note on the bench.
Memo 21: Dissociated Note
After the cutscene in the Doctor's Lounge where you obtain the Lead Ring, proceed to the Locker Room next door and grab this memo from the bench.
Once you’ve unbolted the door and saved your game, head into the Pharmacy where you'll find the Decorative Box. Remember the questions the radio announcer asked in the Elevator earlier? Now's the time to input your answers.
After claiming your reward, exit into the corridor and call the Elevator to go up to floor 2F. Approach the portrait/statue near the Chained Box’s former location and place both the Copper Ring and Lead Ring on it. The statue will transform into a door, swinging open to reveal the way forward for James and Maria. As you progress, you’ll find the Ominous Note on the floor.
Memo 22: Ominous Note
After placing the Copper Ring and Lead Ring on the portrait/statue, you’ll come across this memo on the staircase ahead.
At the bottom of the stairs, you’ll enter a red-lit corridor where Pyramid Head will start chasing you. Run as fast as you can toward the Elevator at the end. Unfortunately, Maria won’t make it, as she’s stabbed by Pyramid Head during the pursuit. Once you regain control of James, head to the Reception Office to find the Hospital Entrance Key atop a book.
Outside, you’ll spot Laura running away. Unlock the front double doors and chase after her into the rainy streets.
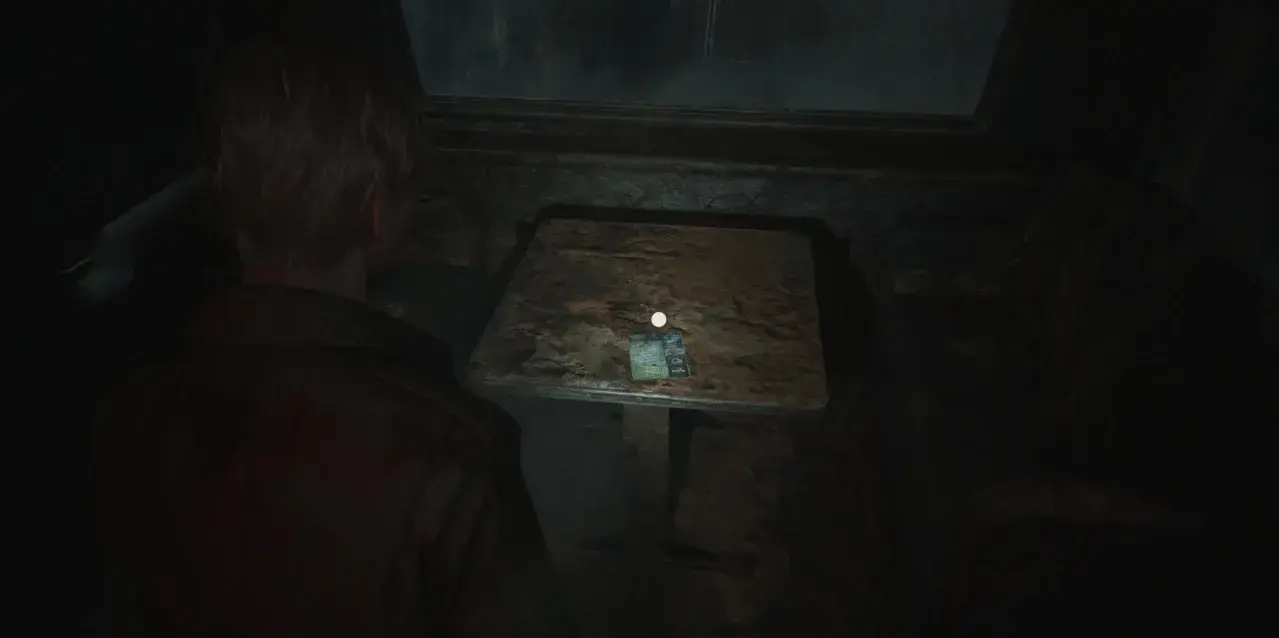
Once outside, you’ll be greeted by the Otherworld version of South Vale. The journey through West South Vale is entirely linear and primarily serves as a combat challenge, where you’ll face multiple groups of enemies as you traverse the significantly darker streets. When you reach East South Vale, enter the campervan to the right to save your game and collect a memo that marks a "Letter and Wrench" hint at the American Cafe on your map.
Memo 23: Note on a Map
After leaving Brookhaven Hospital and arriving in the Otherworld version of East South Vale, enter the campervan on your right to find this memo on the table.
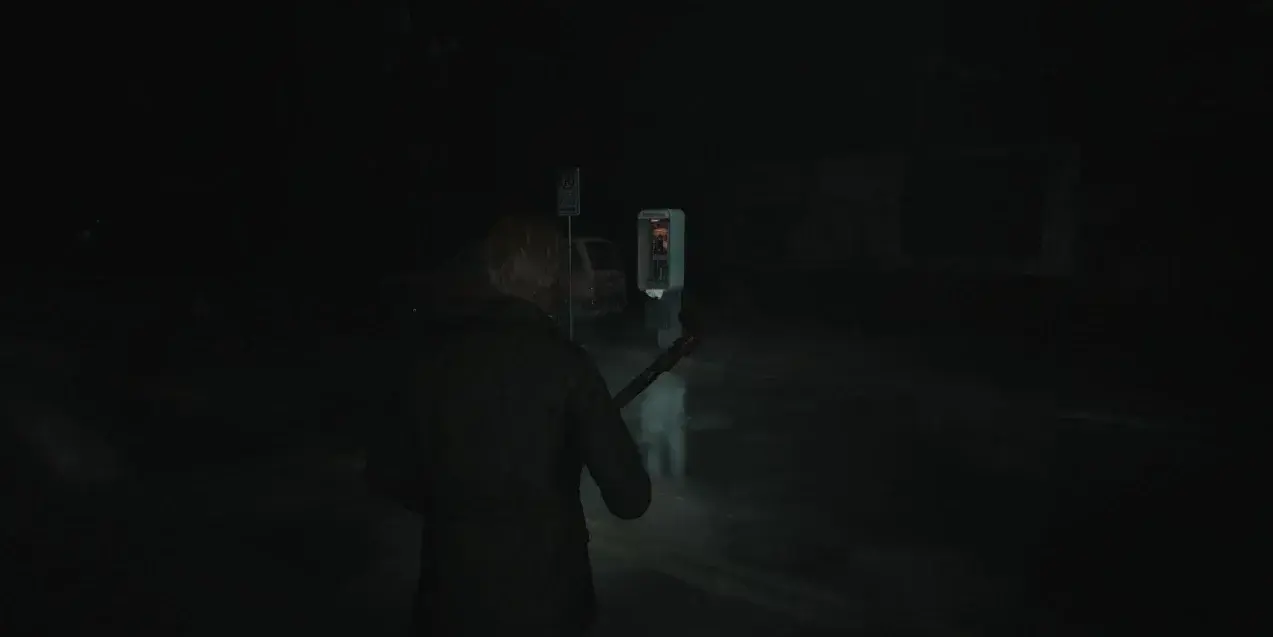
From there, you can cross the chasm in the road by going through Happy Burger. Upon reaching Neely's Bar, you’ll find a Glimpse of the Past on the bar, as well as a path leading to the other side of the area. The path remains linear, taking you to the question mark on your map, where you’ll find a ringing public phone. Although no one answers, once James puts the phone down, a memo appears along with the Wrench.
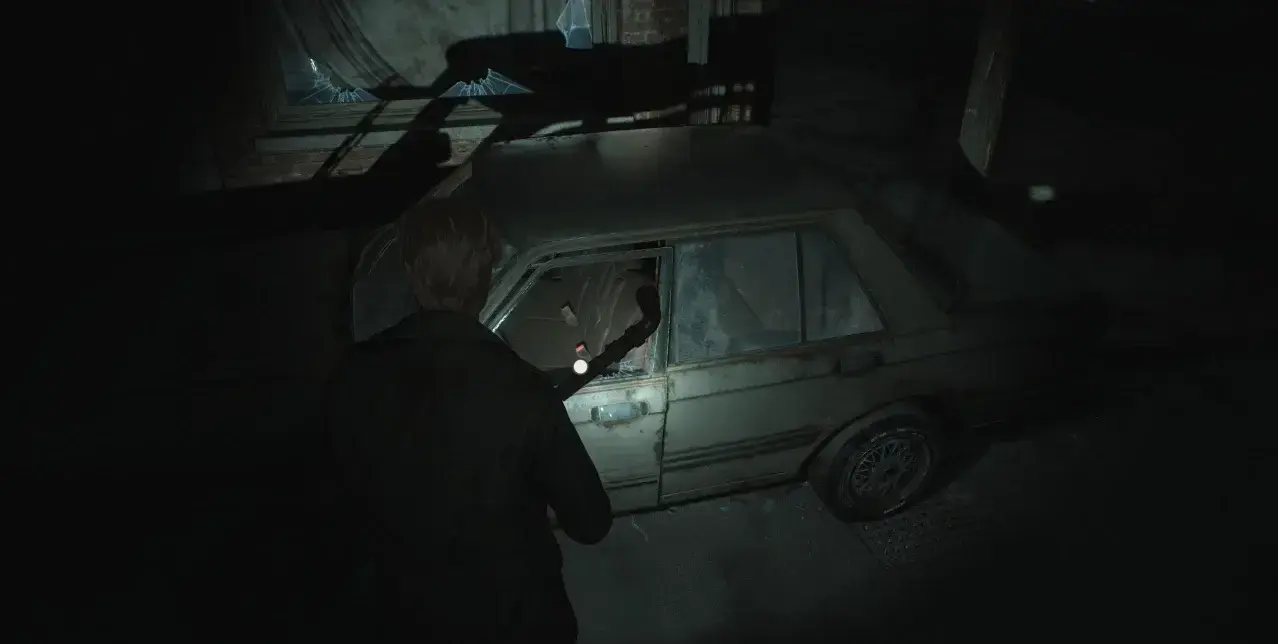
Afterward, head to the Lucky Jade Restaurant and smash the window of the parked car to find a Strange Photo on the driver’s seat.
Glimpses of the Past #7
When you reach Neely's Bar in the Otherworld, check the map on the bar for this Glimpse of the Past.

Memo 24: Letter
As soon as you answer the ringing phone outside the American Cafe, James will automatically receive this memo in a short cutscene.
Strange Photo #5: They're Here
At Katz Street, near the ringing phone, head over to the Lucky Jade Restaurant. Smash the window of the car parked outside, and you’ll find this Strange Photo on the driver’s seat.
Continue north along Neely Street and use the Wrench on the gate near the save point to pass through. Follow the long, dark tunnel into Rosewater Park, where you’ll need to navigate to the circle marked on your map. Here, you’ll encounter Angela once again. After the cutscene, interact with the prompt at the foot of the statue to retrieve the Historical Society Key from a metal box.
Leave Rosewater Park and head west along Nathan Avenue until you reach the Silent Hill Historical Society. Use the key to unlock the front door and head inside, where the Silent Hill 2 walkthrough continues. On your way, be sure to stop by Room 106 at Jack’s Inn and interact with the prompt on the back wall to earn a Trophy.