Sniper Guide in Battlefield 6
In BF6, anyone can pick a sniper rifle and jump into the game, but very few can actually use it right and take out targets from a distance. You could say this game is a battlefield simulator, and things that happen in the real world, like hand sway, bullet drop at long range, and other stuff, you can see here too. In this Sniper Guide in Battlefield 6, I'm gonna walk you through using a sniper step by step so you can have an experience you've never felt before. So stick with me in this guide.
Useful terms in this Sniper Guide in Battlefield 6
Before we start, you gotta know what these terms mean.
| Term | What it means |
|---|---|
| Sniper Rifle | Long-range, precise rifles |
| Sweet Spot | The distance where a shot to the upper body kills in one hit |
| Bullet Drop | The bullet dropping over the distance it travels |
| Zeroing | Adjusting the scope for a specific distance |
| Range Finder | A device that shows your distance to the target |
| Sway | The shaking that happens while aiming |
| Glint | The shine you can see from inside a scope |
| Spotting | Marking enemy positions for your teammates |
Best class for sniper in Battlefield 6
If you wanna seriously play sniper in BF6, you definitely gotta pick the Recon class. What makes this class better than the others is that when using long-range sniper rifles, it reduces your scope sway, lets you hold your breath longer, and you wait less between two back-to-back shots.
One of the most important features of this class is Auto-Spotting. With this, when you look at an enemy through your scope, it automatically and quickly marks their position. You also have two main Gadgets: Motion Sensor and Recon Drone.
Note: In Battlefield 6, there's no restriction on using snipers with the Assault or Engineer classes, but for new players, it's better to use Recon. For more info on BF6 classes, you can check out the Battlefield 6 Classes Guide.
What do you know about Sweet Spot in Battlefield 6?
Usually, when you pick a sniper, the first place you wanna shoot is the enemy's head, since it's the most reliable way to drop an enemy with one bullet, and of course, the hardest. But what nobody really pays attention to is that every weapon can drop an enemy with one bullet to the upper body at a specific distance. This distance is between 80 and 120 meters and it's called the Sweet Spot. At that range, you just need to hit the upper body.
Of course, you're not exempt from this rule either, if you're in the Sweet Spot range of an enemy, they can kill you with one shot.
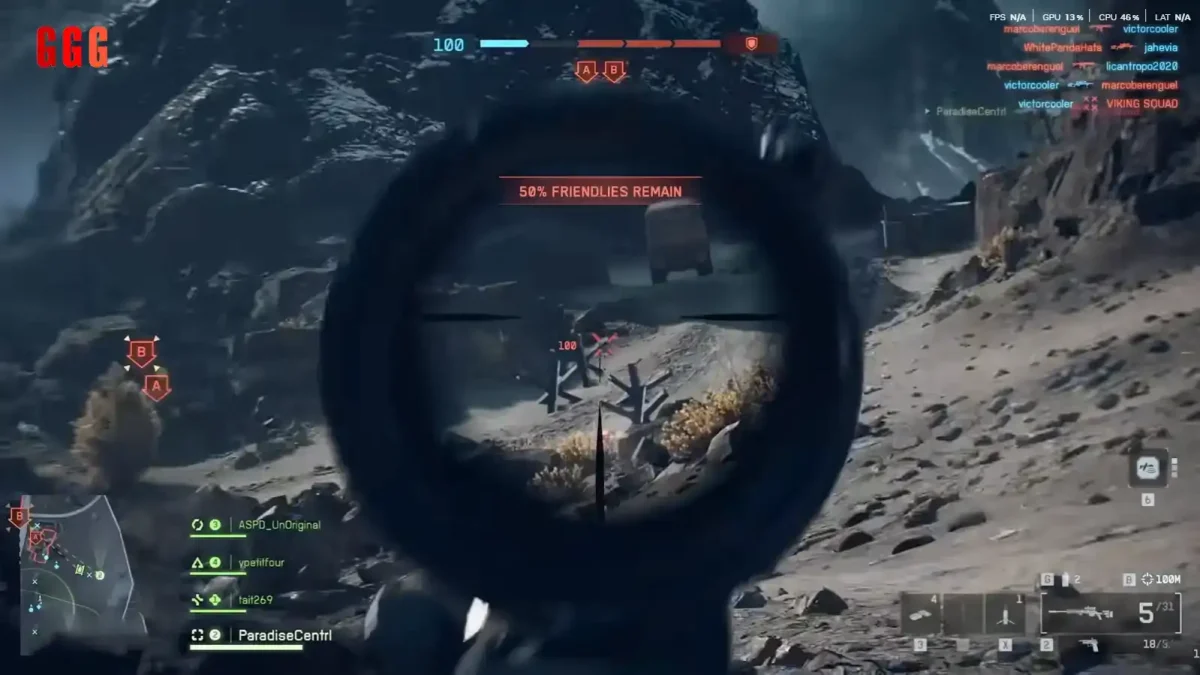
How do we know we're in the enemy's Sweet Spot?
You can easily tell if you're in the enemy's Sweet Spot. Just look at the white glint from their scope, if that white glint turns rainbow-colored, know that you're in that deadly range and the enemy can finish you with one shot to the upper body.
The effect of Bullet Drop and Zeroing on sniper performance in Battlefield 6
Bullet Drop is the effect gravity has on the bullet, making it not travel in a straight line and lose height along the way. But what affects how much height it loses is bullet velocity. So in this Sniper Guide in Battlefield 6, I suggest cranking Velocity as high as you can, using Barrels that boost bullet velocity. But overall, there are two things you can do to control Bullet Drop:
- Zeroing: Adjust your scope for 100, 200, 300, 400, and 500 meters. If you're unsure about your distance to the target, I suggest picking the shorter distance.
- Range Finder: While aiming, hold that same button so the scope automatically adjusts to the distance to the target.
Note: The Range Finder doesn't solve Bullet Drop, it just helps you aim. If your target is moving, you gotta aim ahead of them.
Best Loadout for Recon
| Slot | Choice |
|---|---|
| Primary Weapon | M2010 ESR |
| Scope | NFX 8.00x |
| Cover | Anti-Glare (reduces glint) |
| Ammo | Match Grade |
| Magazine | 5 RND |
| Accessory | Range Finder |
| Underbarrel | Bipod |
| Barrel | 26" Carbon |
| Muzzle | Compensated Brake |
| Secondary Weapon | P18 |
| Gadget | AP Mine and Demolition Charge |
| Throwable | Proximity Detector |
Note: The Bipod is a weapon stand that stabilizes scope sway at long ranges. And the P18 is for when an enemy gets close and you can't use your primary.
Spotting, Drone, and Motion Sensor
When you play as a sniper in BF6, if you're only thinking about killing enemies, you've only done half your job, your other job is spotting enemies. You have two tools for this:
- Recon Drone: This drone can spot enemies with thermal vision. Just keep in mind your battery is limited, so don't fly out of the map.
- Motion Sensor: This device shows nearby moving enemies. It works when enemies are running or walking, but if they're crouched or prone, it can't detect them.
A few simple rules for staying alive and hidden
- After you kill one or more people, change your position.
- Use Anti-Glare to reduce your scope glint, and avoid shooting from hill edges as much as you can.
- Go prone to reduce sway.
- Use a Suppressor to hide your position from enemies.
- Flank your enemies.
- Hold a knife to run faster.
- Stay away from open hills since tanks and DMRs will spot you fast.
Note: By firing, you can pin enemies down in their cover and let your teammates push forward. Your shots aren't just for killing, you can use them as a tool.
Right settings for sniper in BF6
In this part of the Sniper Guide in Battlefield 6, I'm covering the right settings for your best performance as a sniper. You should do these before anything else.
| Setting | Value |
|---|---|
| Mini Map Range | 250 (on foot) and 300 (in vehicle) |
| Camera Shake | Off |
| Motion Blur | Off |
| Field of View | Slightly high; the gun gets smaller and you see more |
| ADS Sensitivity | Constant; don't change it between scopes |
I suggest practicing in the Firing Range before jumping into a match so you fully learn the bullet drop and Sweet Spot of each weapon.
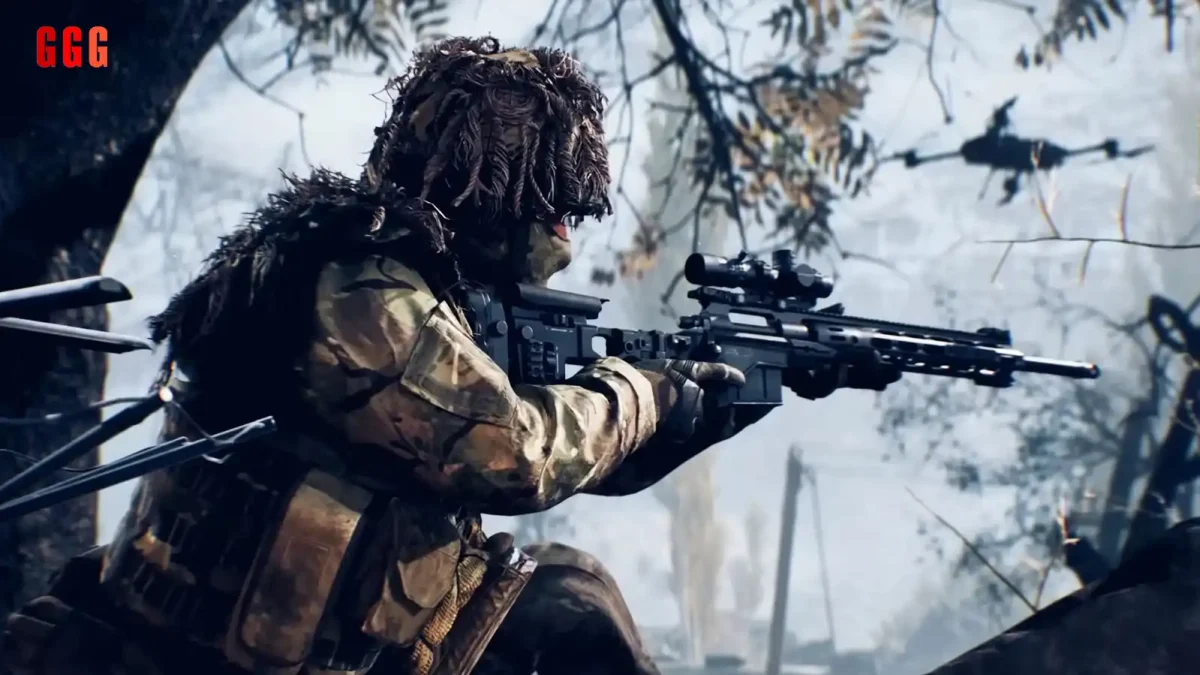
Summary of tips from the Sniper Guide in Battlefield 6
Let me sum up the whole Sniper Guide in Battlefield 6 in a few sentences. Definitely use the Recon class, use the Range Finder, and change position after a few shots. The info in this Battlefield 6 Guide is only the start for you, to get the best performance, you gotta practice in the Firing Range.