Monster Hunter Wilds Arkveld Weaknesses, Drops & How to Beat It
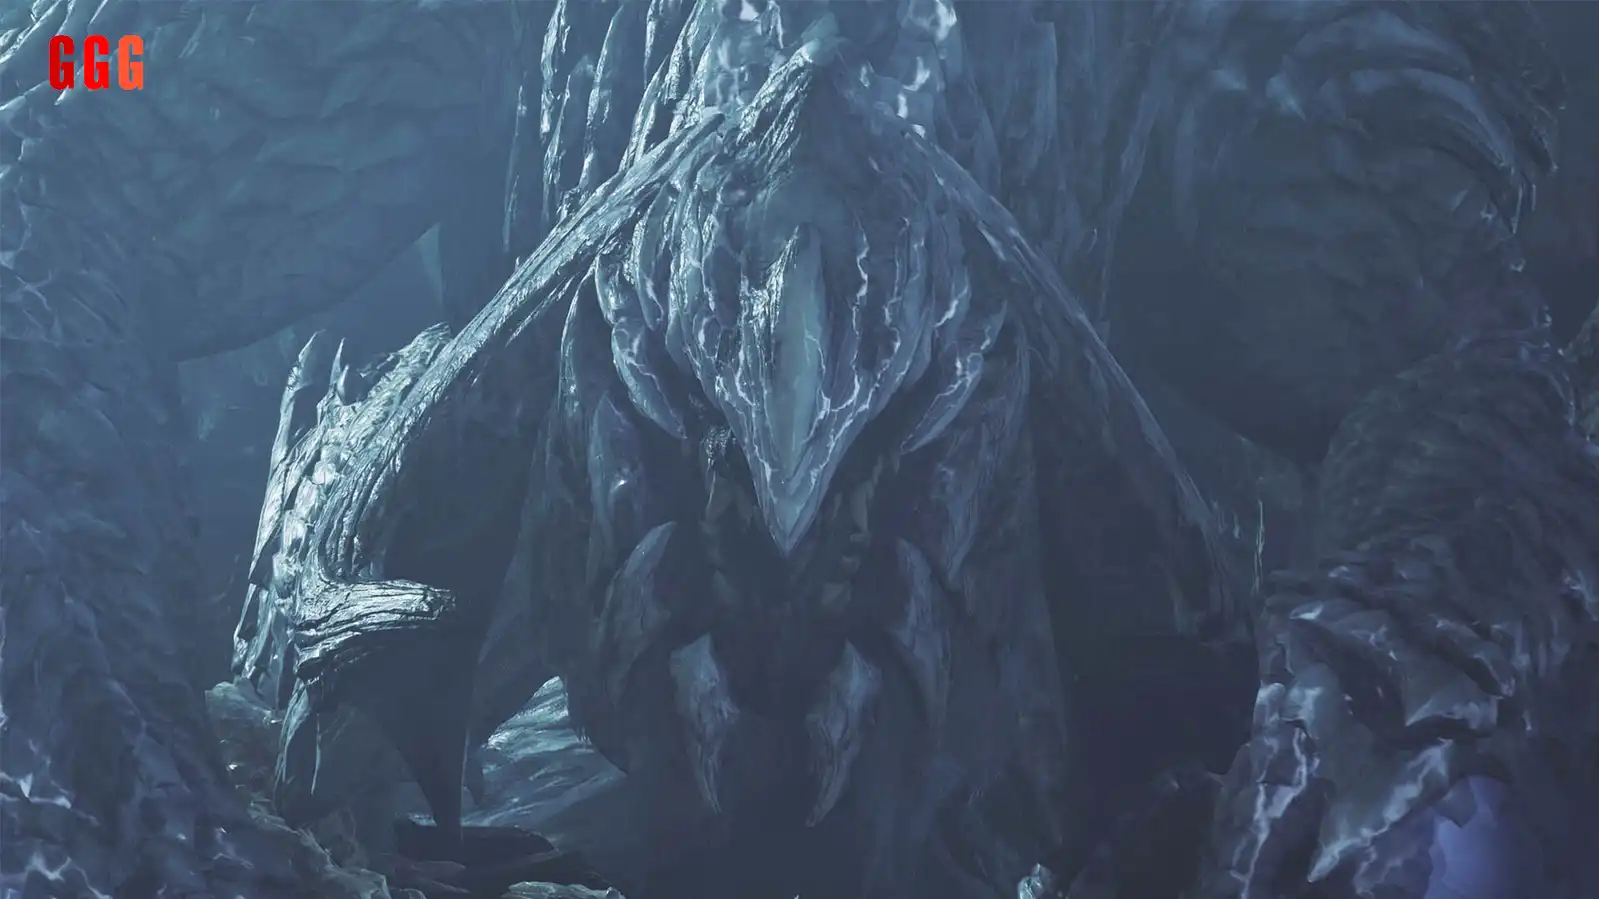
Arkveld is the newest Flying Wyvern in Monster Hunter Wilds, and it’s no pushover! This dragon-infused monster brings a mix of devastating chain attacks and powerful elemental strikes. If you want to take it down efficiently, you’ll need the right strategy, weapons, and knowledge of its weaknesses. Here’s everything you need to know about Monster Hunter Wilds Arkveld weaknesses, drops, and the best tactics to defeat it!
Arkveld’s Weaknesses & Best Damage Types
Basic Info
Type: Flying Wyvern
Roar: Strong
Wind Pressure: None
Tremor: None
Status Effect: Dragonblight
Element: Dragon

Best Weapon Damage Types
| Damage Type | Best Target |
|---|---|
| Severing (Swords, Lances, etc.) | Head, Tail |
| Blunt (Hammers, Hunting Horns, etc.) | Head, Wings |
| Shot (Bowguns, Bows, etc.) | Head, Chainblades |
Best Element to Use
🔥 Dragon element is Arkveld’s biggest weakness. Aim for its head to maximize damage output!
Breakable Parts
✔️ Horns
✔️ Wings
✔️ Tail
Arkveld’s Known Habitats
You’ll find Arkveld roaming in the Windward Plains at these locations:
Starting Area: Region 17
Other Areas: Regions 7, 8, 13
Resting Area: Region 17
Best Items to Bring Against Arkveld
💊 Healing & Survival: Mega Potions, Max Potions, Honey
⚡ Control & Damage: Pitfall Traps, Shock Traps, Flash Pods
💥 Environmental Advantage: Slinger Pods for breaking free from grabs
How to Beat Arkveld: Pro Tips & Strategy

1. Focus on the Chains When They Glow
Whenever Arkveld’s chains start glowing, attack them to disable its most powerful moves. Breaking both chains guarantees a topple, giving you a massive DPS window.
2. Use Falling Boulders for Massive Damage
Environmental hazards like falling boulders deal tons of damage and can knock Arkveld down. Use them whenever possible!
3. Escape Grab Attacks with Slinger Pods
If Arkveld catches you in its chain grab, fire any Slinger ammo to break free before it smashes you into the ground.
4. Interrupt Flying Attacks with Flash Pods
Arkveld’s Flying Sweep attack can be interrupted by a well-timed Flash Pod, grounding it instantly for more damage opportunities.
5. Watch for the Charged Dragon Blast
When Arkveld’s chains glow white, then red, get ready! It’s about to unleash a Charged Dragon Blast, a devastating explosion. Dodge to the side or get behind its wings to avoid it.
Arkveld Attack Patterns & How to Counter Them
| Attack | Description & How to Avoid |
|---|---|
| Charged Dragon Blast | Chains glow white, then red before slamming down with an explosion. Dodge sideways or go behind its wings. |
| Grab Attack | Arkveld grabs a hunter with its chains and slams them down. Use Slinger Pods to escape. |
| Double Chain Slam | Slams chains in various patterns. Dodge sideways or Superman Dive. |
| Tail Thrust | Retracts tail, then stabs forward. Dodge sideways. |
| Flying Sweep | Flies forward, dragging chains on the ground. Use Flash Pods to counter. |
Arkveld’s Drops & Rewards
High-Rank Materials
Arkveld Scale+ (30% Body Carve)
Arkveld Horn+ (13% Body Carve)
Arkveld Tail (93% Tail Carve)
Arkveld Armorplate (23% Body Carve)
White Arkveld Pelt (18% Body Carve)
Arkveld Gem (5% Body, 7% Tail)

Is Arkveld the Final Boss of Monster Hunter Wilds?

As of now, Arkveld is the Final Boss of High Rank in Monster Hunter Wilds! Whether this will change in later expansions remains to be seen, but for now, this fearsome wyvern is the ultimate test for seasoned hunters.
Final Thoughts

Arkveld is a brutal, chain-wielding beast, but with the right strategy, you can take it down efficiently. Bring Dragon-element weapons, aim for its chains, use Flash Pods wisely, and make the most of environmental hazards. Ready to face the challenge? Grab your best gear and head into battle!
💬 What do you think of Arkveld? Got any pro tips? Drop them in the comments below!