DOOM The Dark Ages Chapter 2 100% Walkthrough: Secrets, Collectibles & More!
- First Fights: Start Ripping and Tearing
- Secrets Unlocked: Grab Your First Goodies
- Hell Knight Showdown: Parry Like a Pro
- New Weapon Alert: Meet the Accelerator
- Blue Key Hunt: Unlock the Path
- Points of No Return: Don’t Miss These Secrets
- Final Fight: Take Down the Mancubus
- FAQs: Doom The Dark Ages Chapter 2 100% Walkthrough
DOOM The Dark Ages Chapter 2 100% Walkthrough got you ready to slay, Slayer? Fresh off its May 9, 2025 release, Chapter 2—Village of Khalim—kicks things up a notch, and I’m here to guide you to 100% completion! From secret areas to collectibles like codex pages and life sigils, plus upgrades and challenges, this walkthrough has it all. Let’s rip and tear through the weapons facility and grab everything—time to dominate!
First Fights: Start Ripping and Tearing
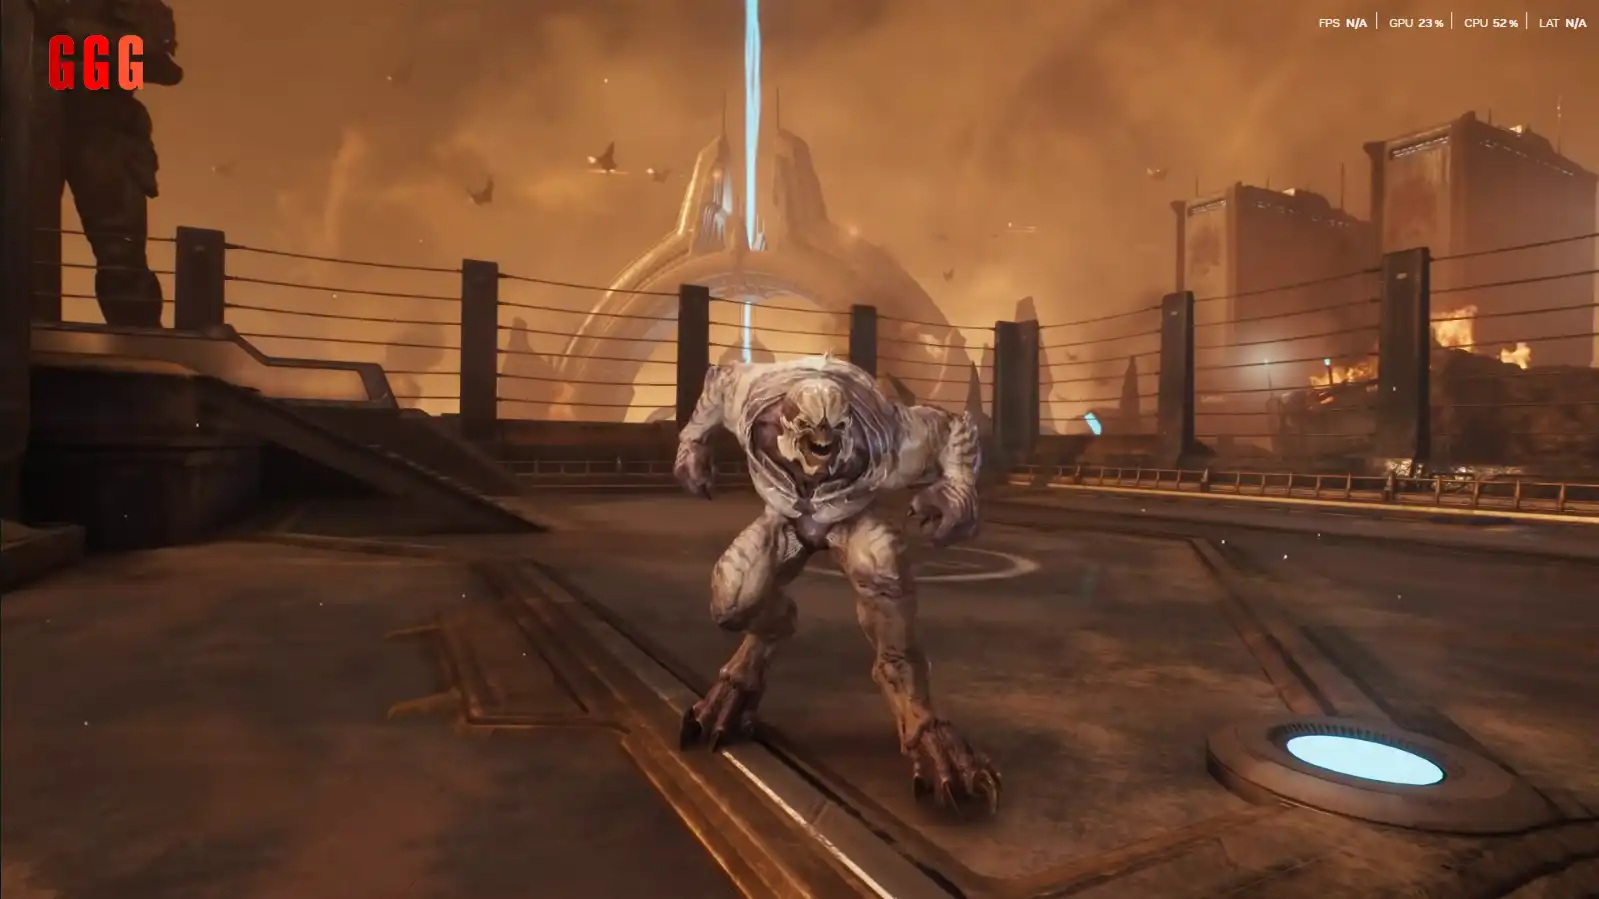
Chapter 2 starts with a bang—jump in and deal damage right away! Use your shield bash to smash through enemies like Imps and clear the early area fast. No collectibles here yet, but you’ll get a taste of combat. Focus on incapacitating enemies with melee attacks to save ammo—perfect for setting the tone before the real loot hunt begins.
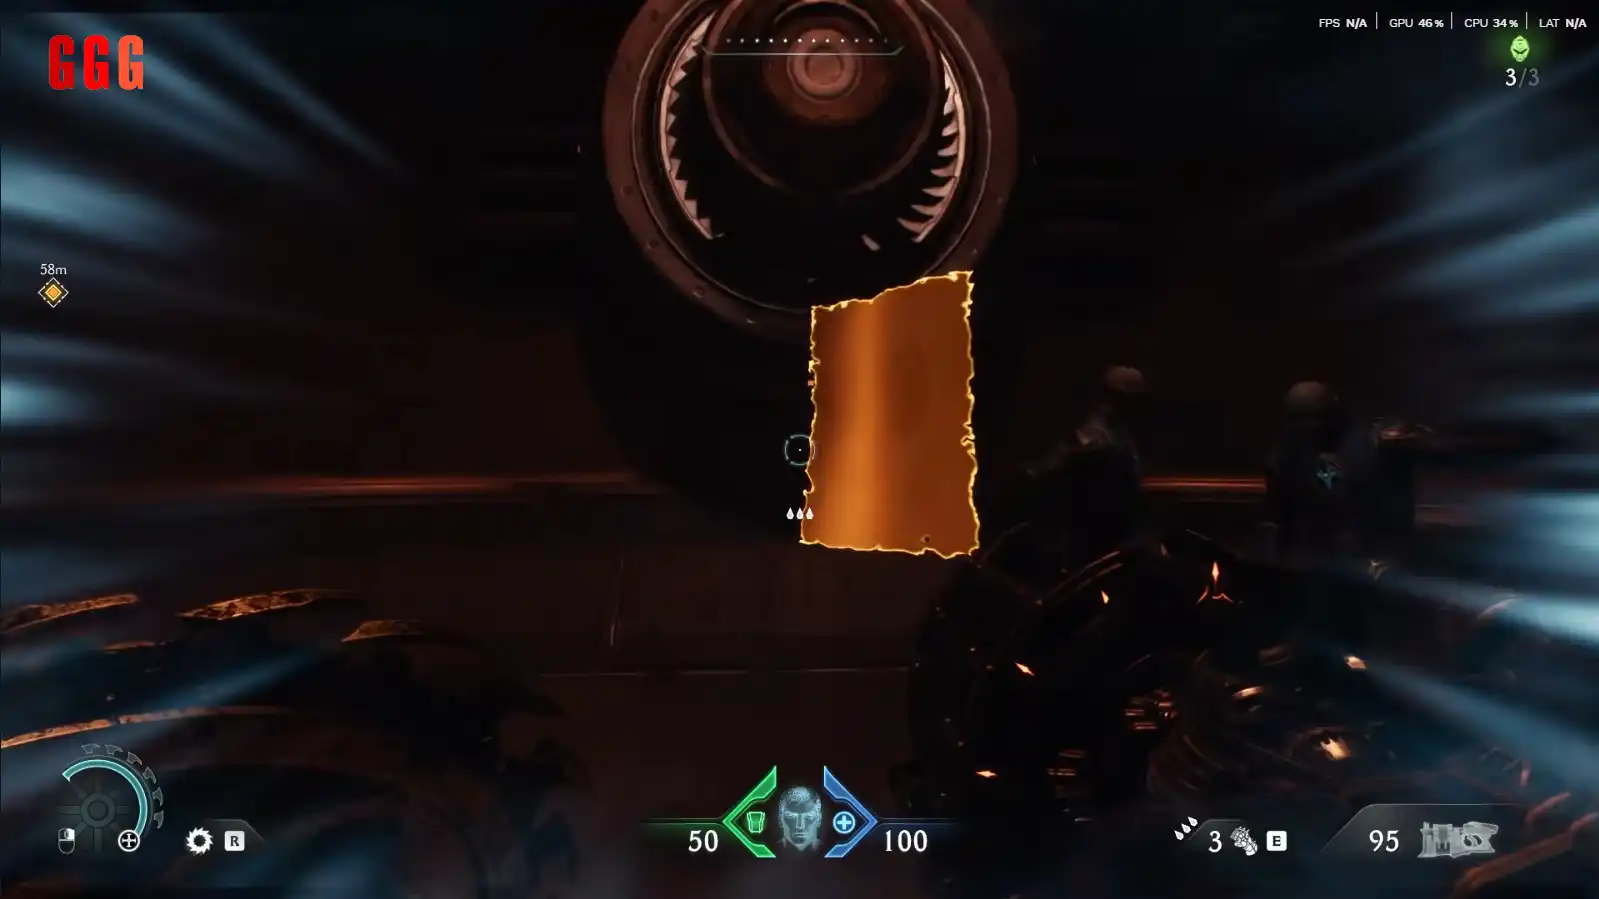
Secrets Unlocked: Grab Your First Goodies
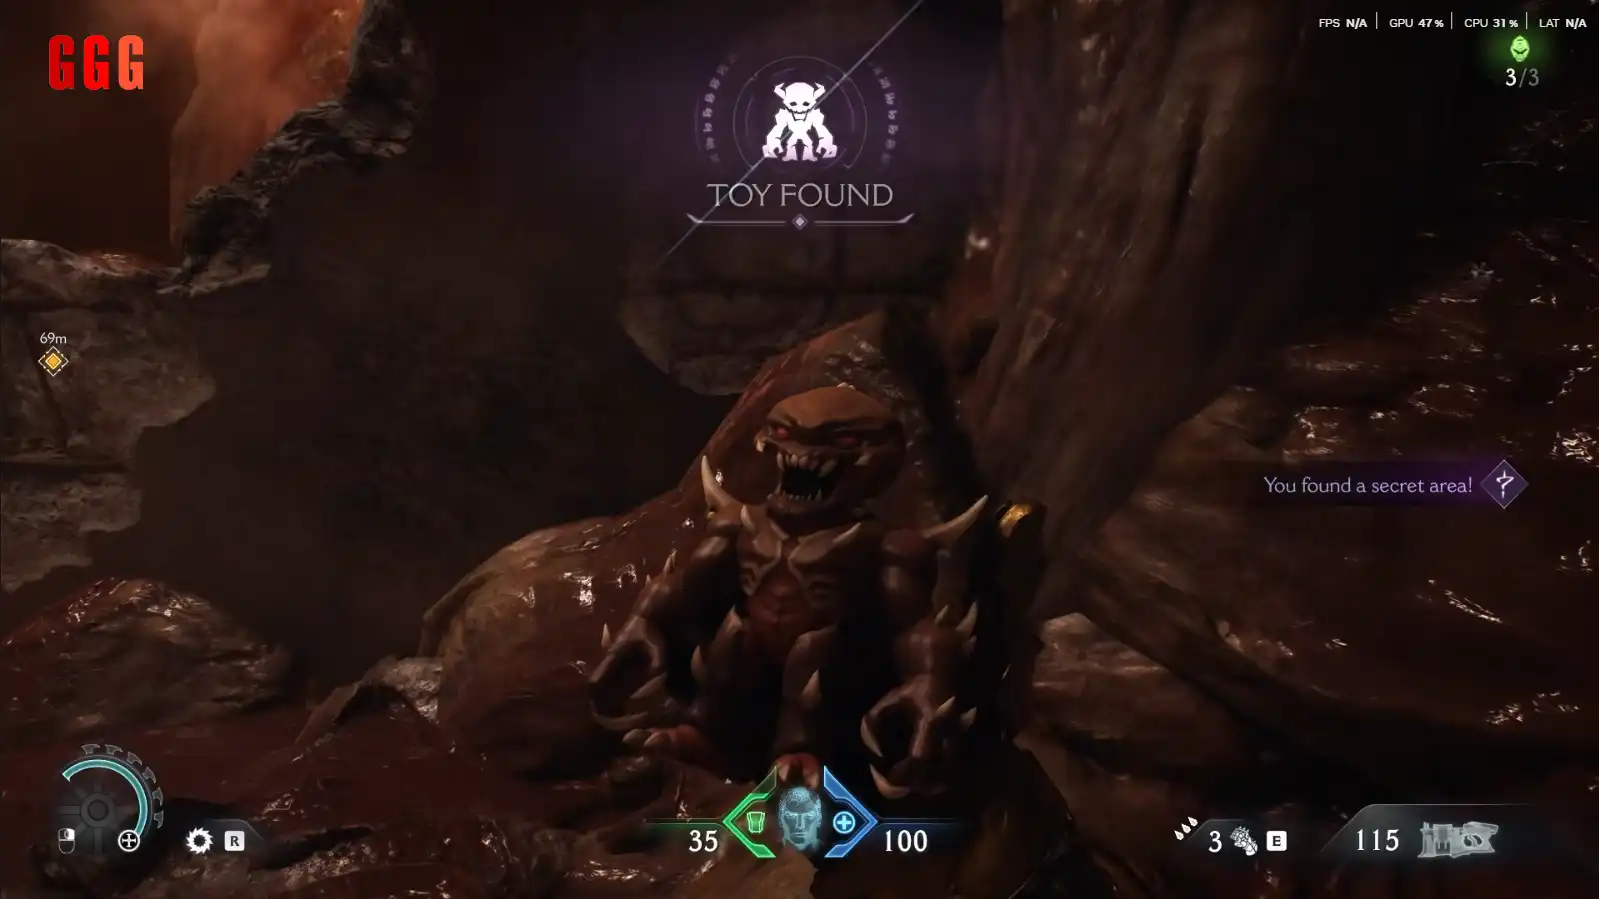
Things heat up as collectibles come into play! Break a wall to find your first secret—a Life Sigil (great for a revive if you’re low). Drop down near a locked door to snag a codex page (I call it a “bath,” but you might say “baff”—either way, it’s lore gold!). Use a lever to keep moving, but keep your eyes peeled—more secrets are coming!

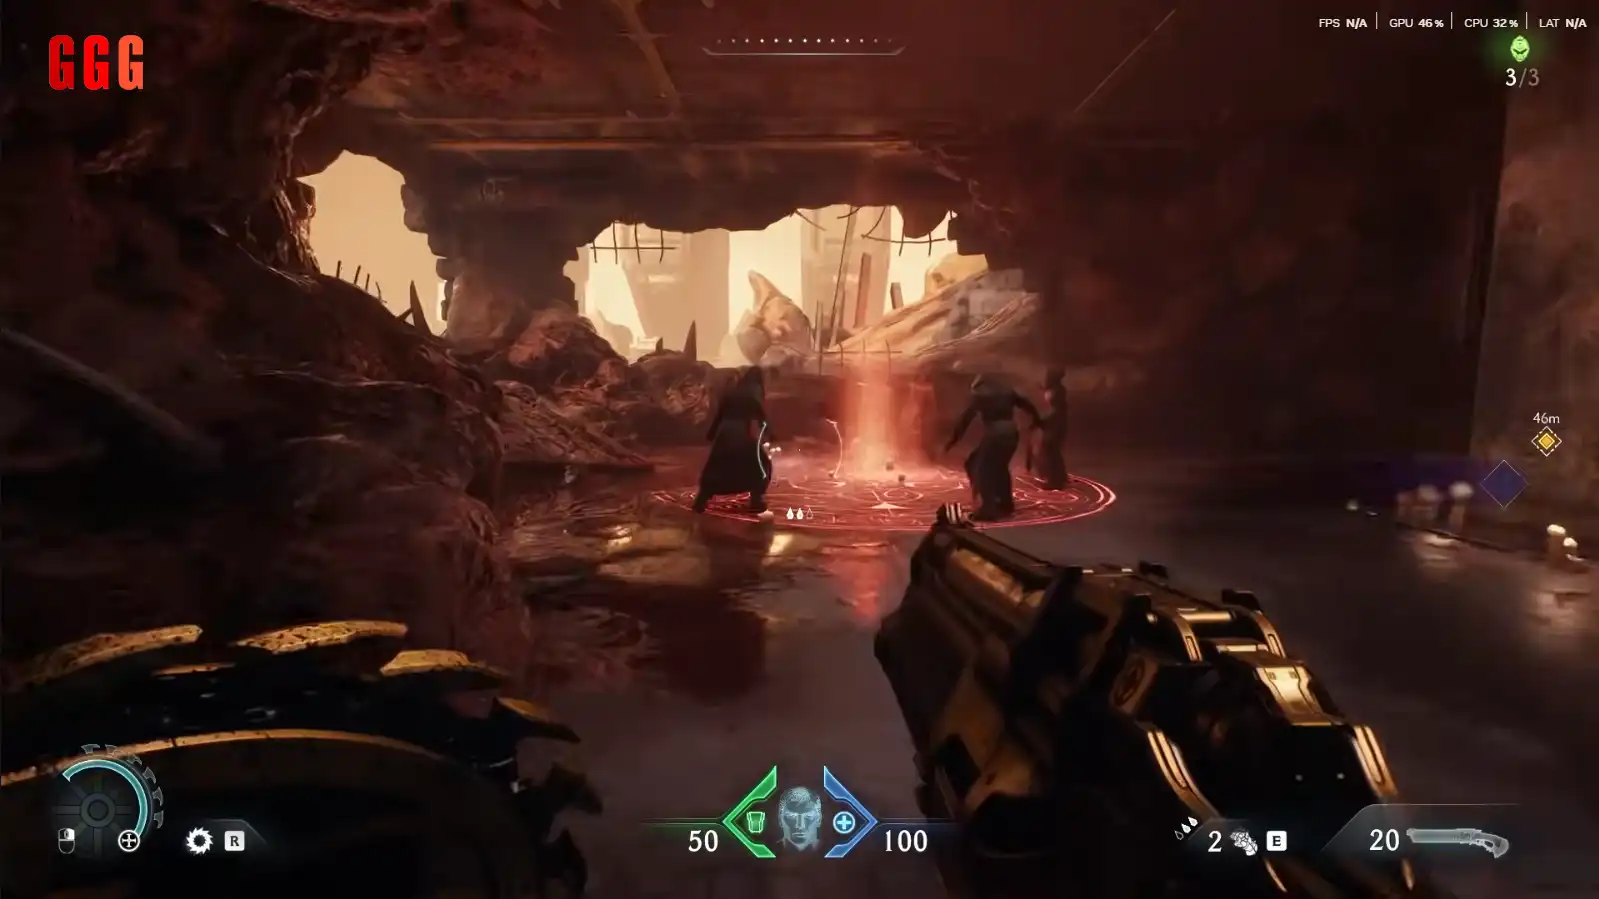
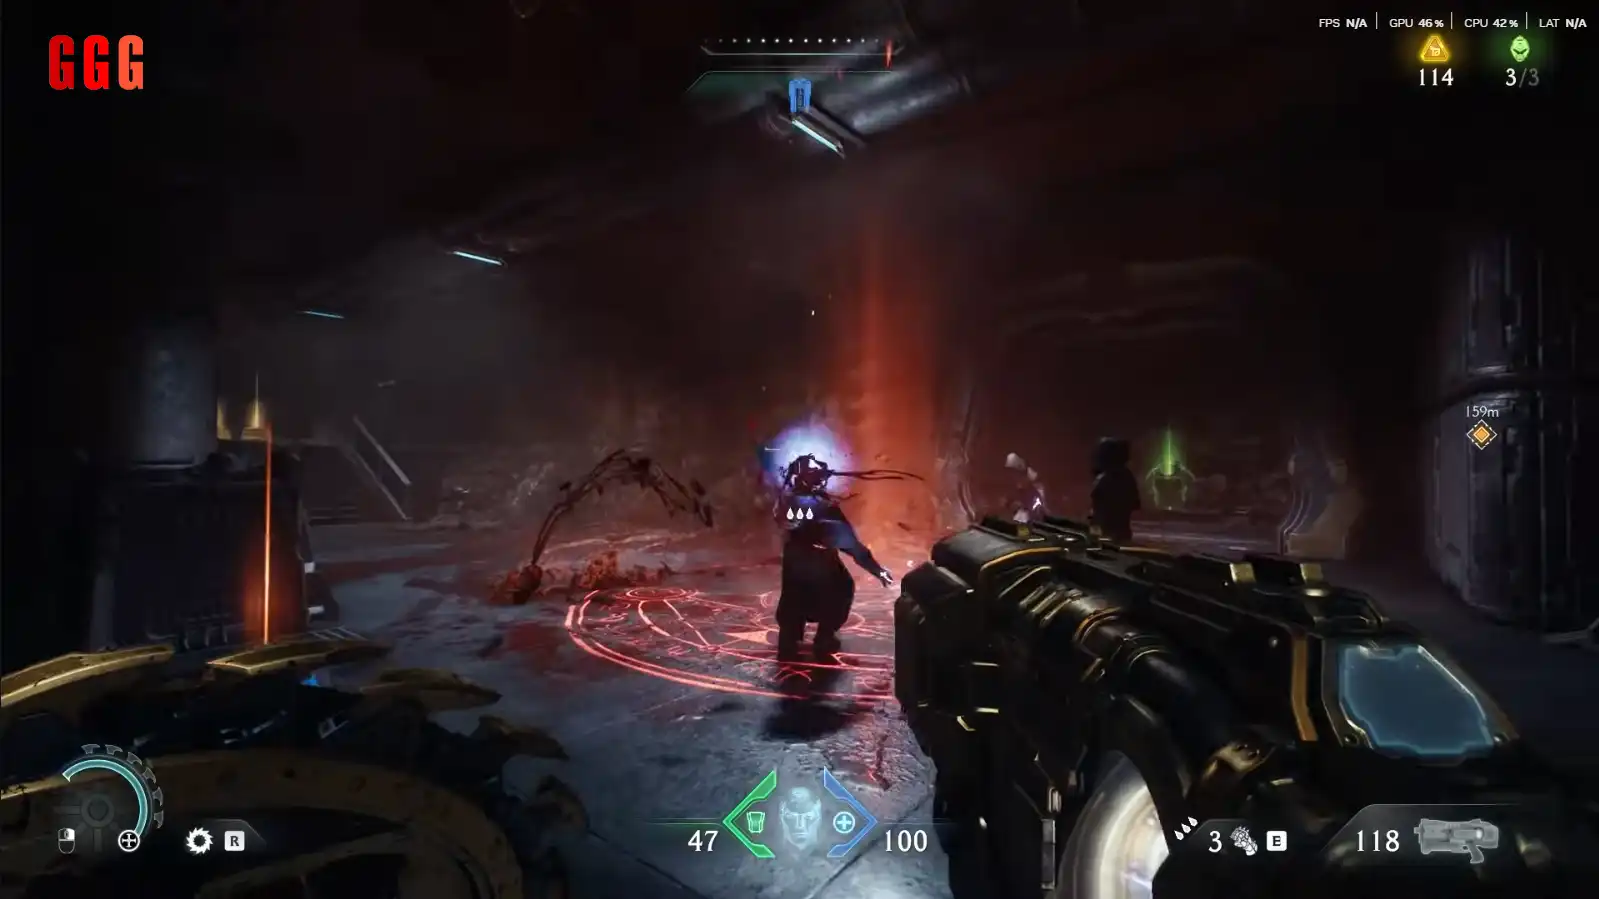
Hell Knight Showdown: Parry Like a Pro
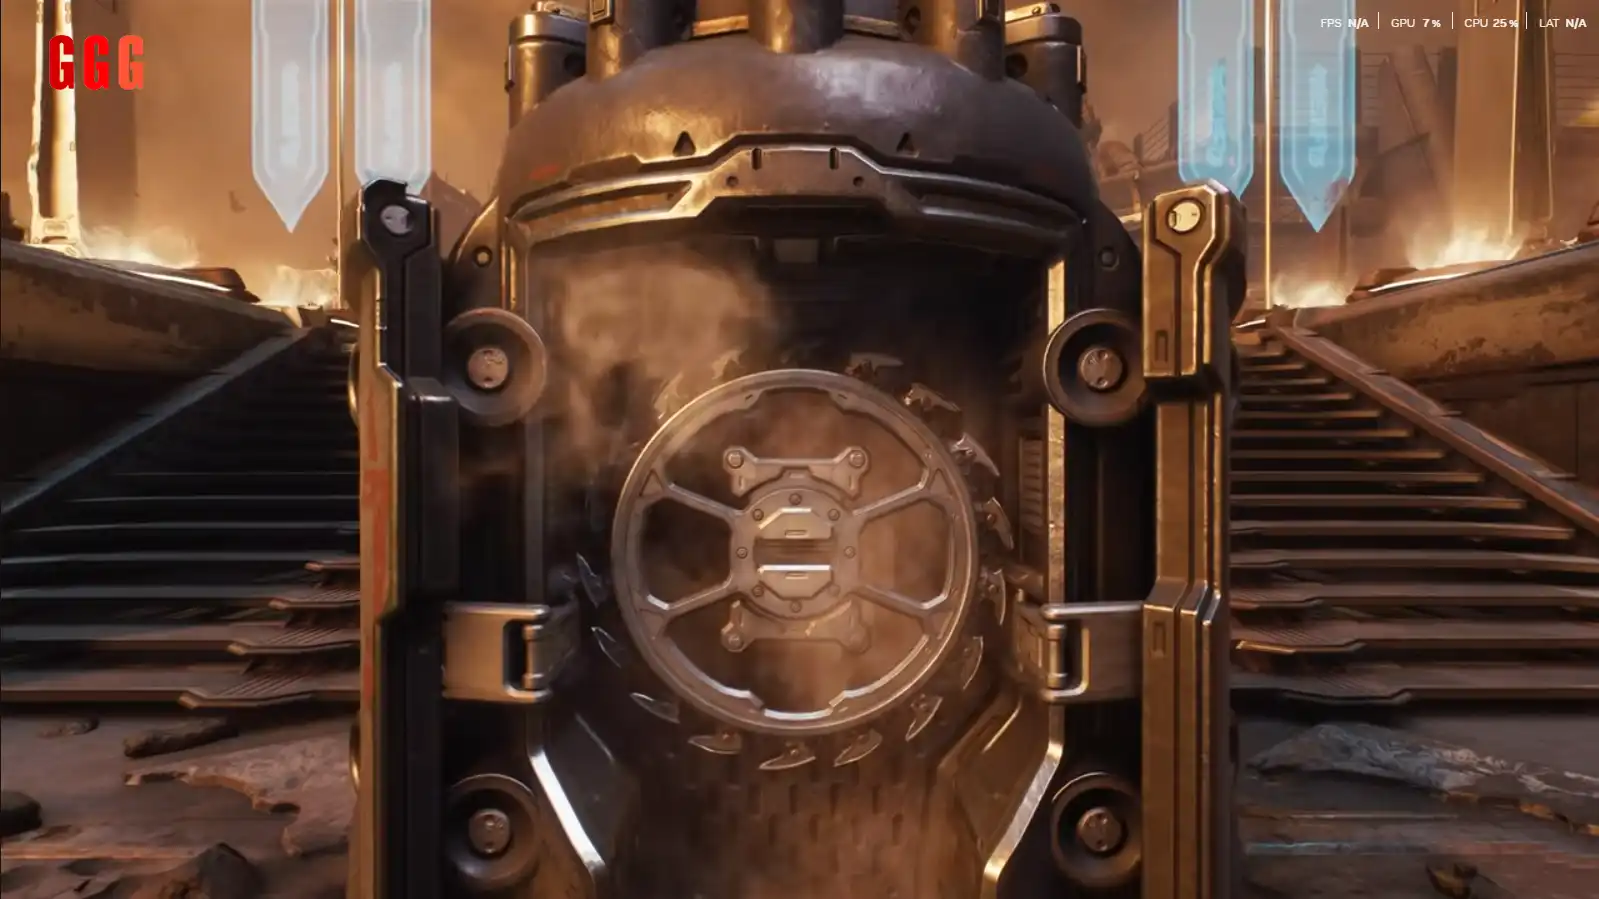
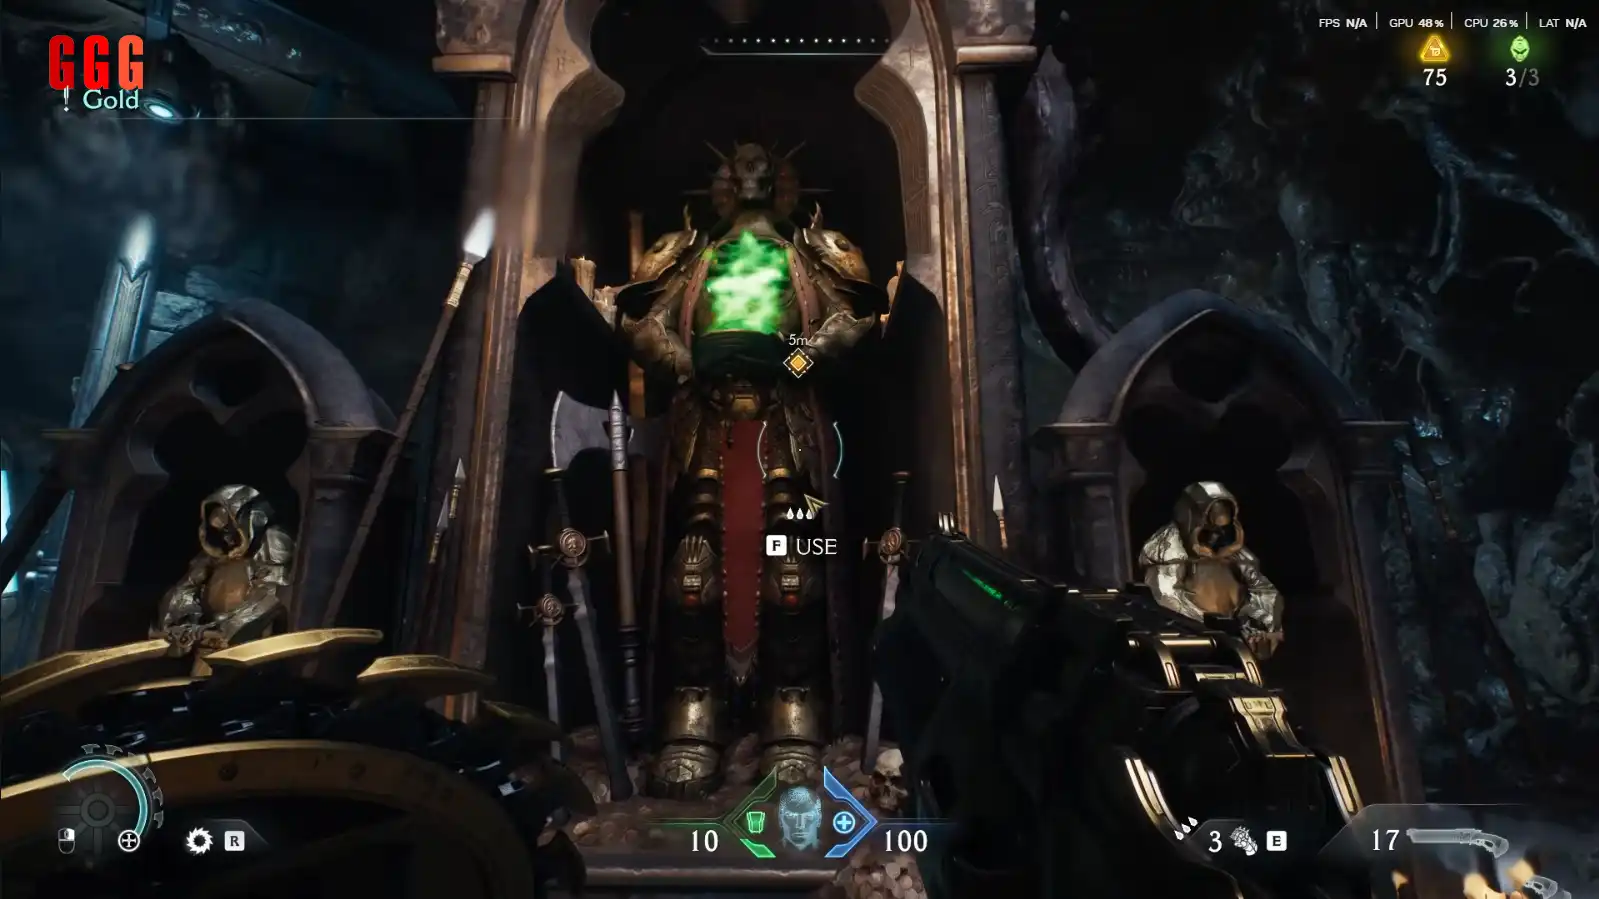
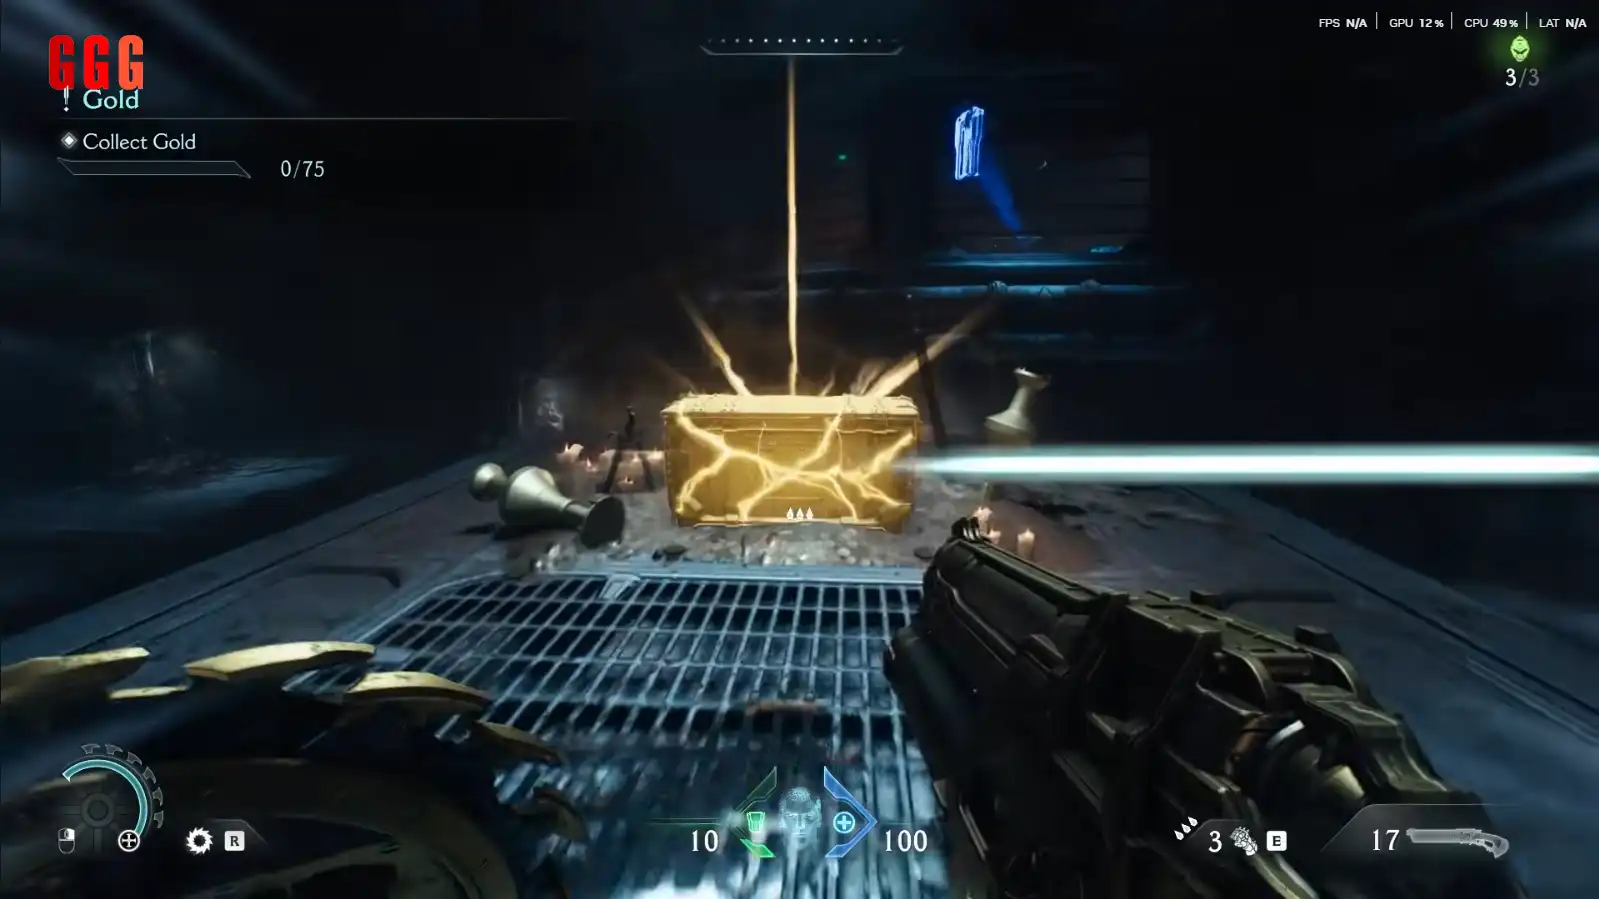
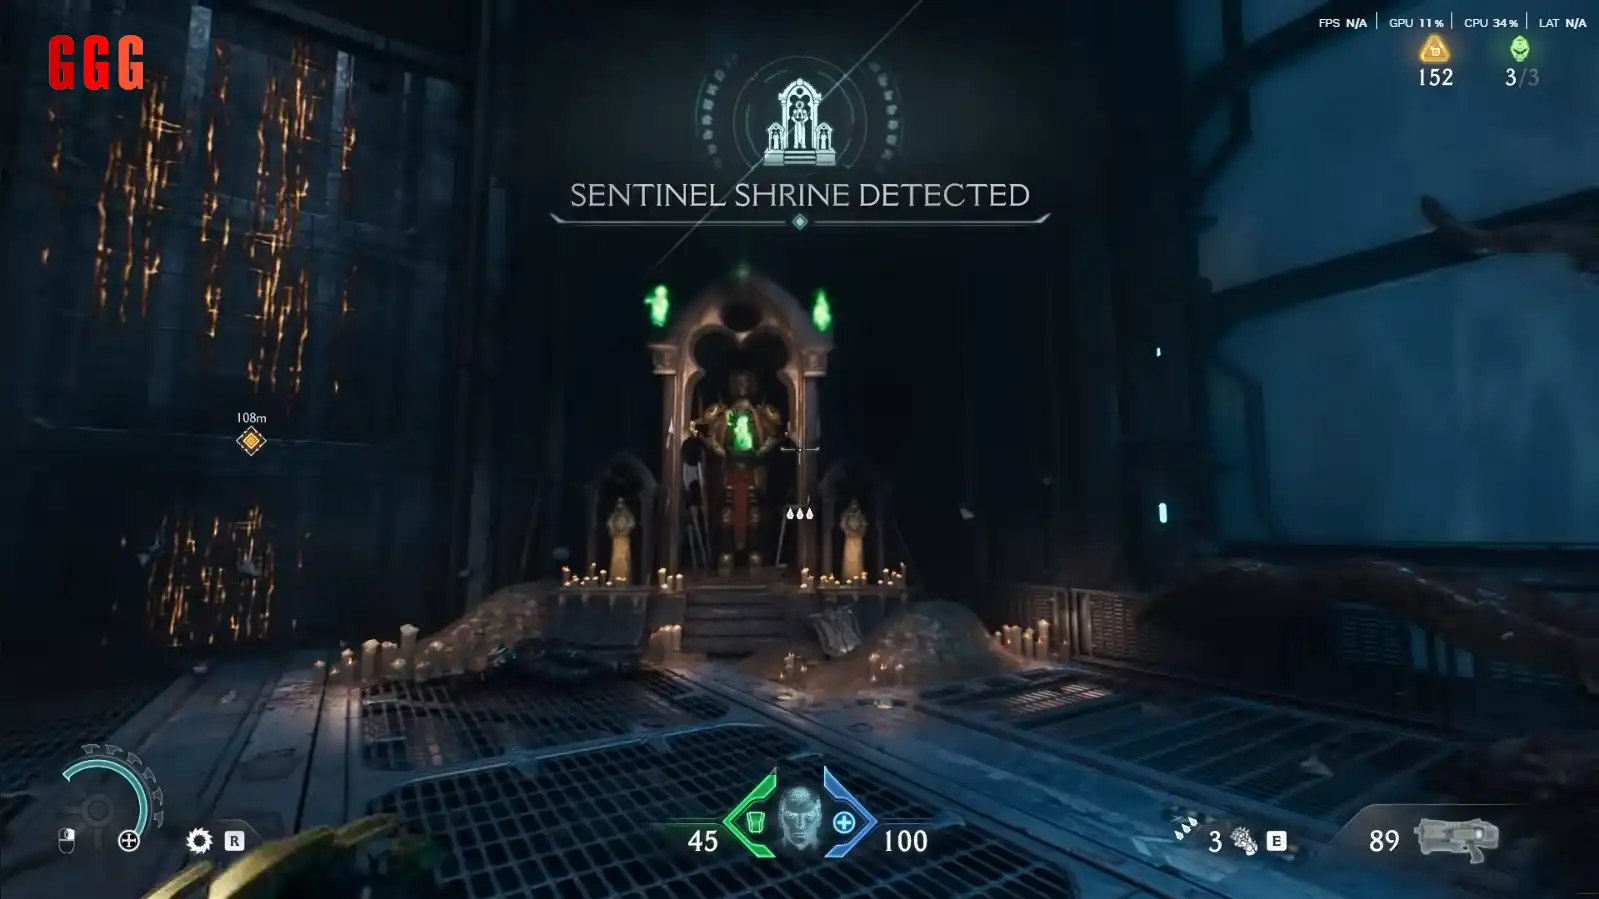
Face your first tough enemy—a Hell Knight! Their melee attacks glow green, so parry with your shield (left trigger) to stagger ‘em, then hit hard. Clear this fight to enter the weapons facility, where you’ll find gold—your primary upgrade currency.
Pro tip: hold onto your gold for now; we’ll upgrade smart later at the Sentinel Shrine.


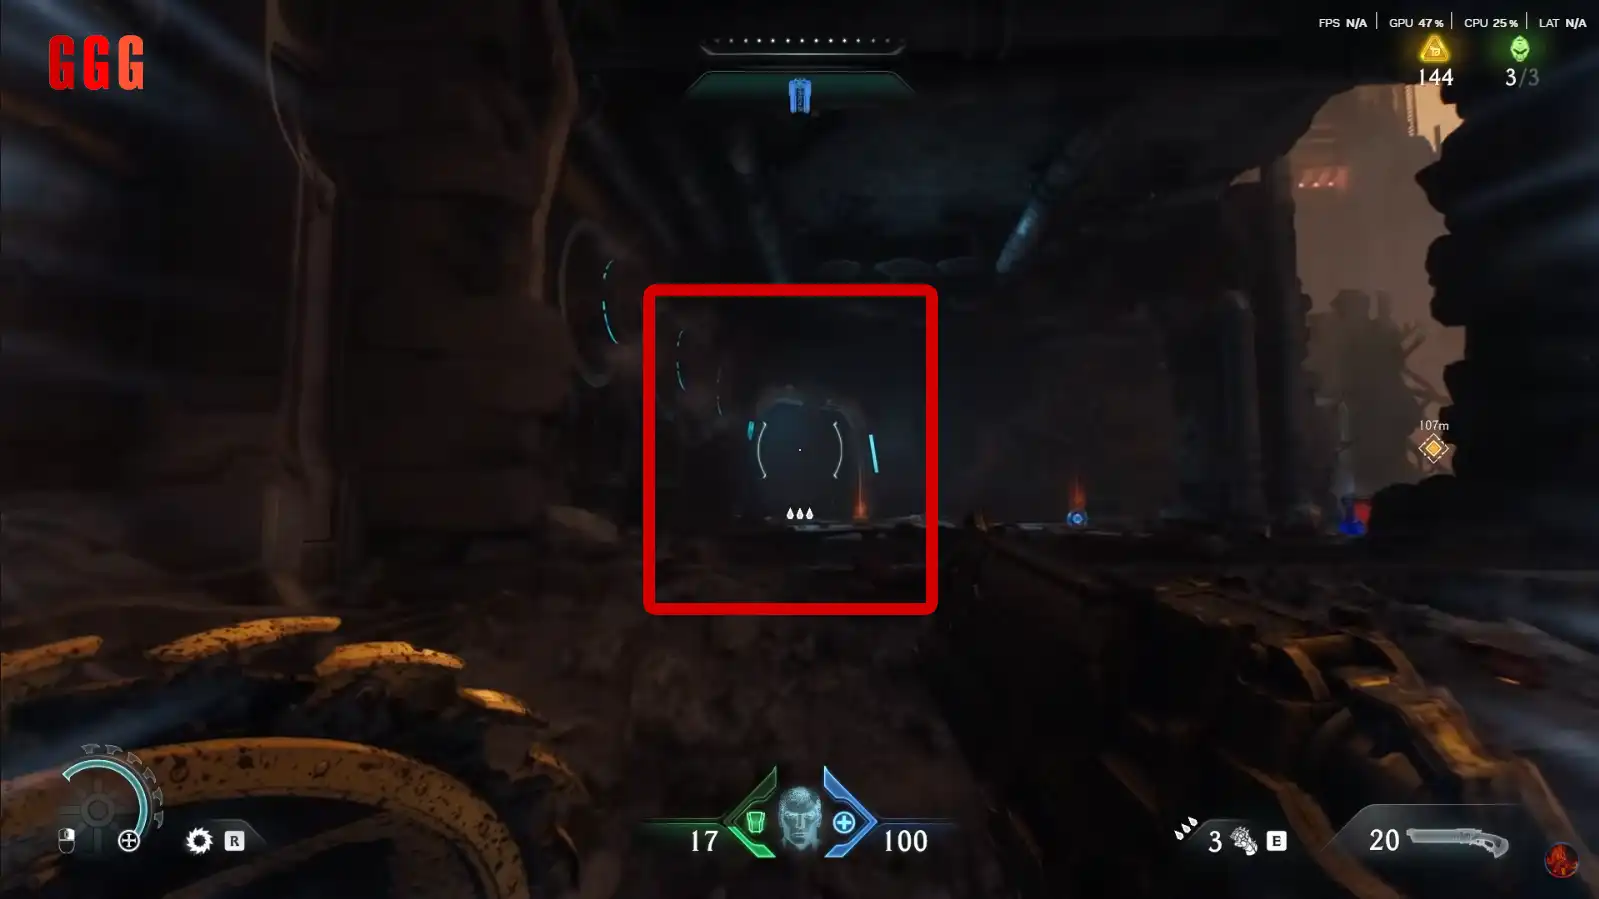
New Weapon Alert: Meet the Accelerator
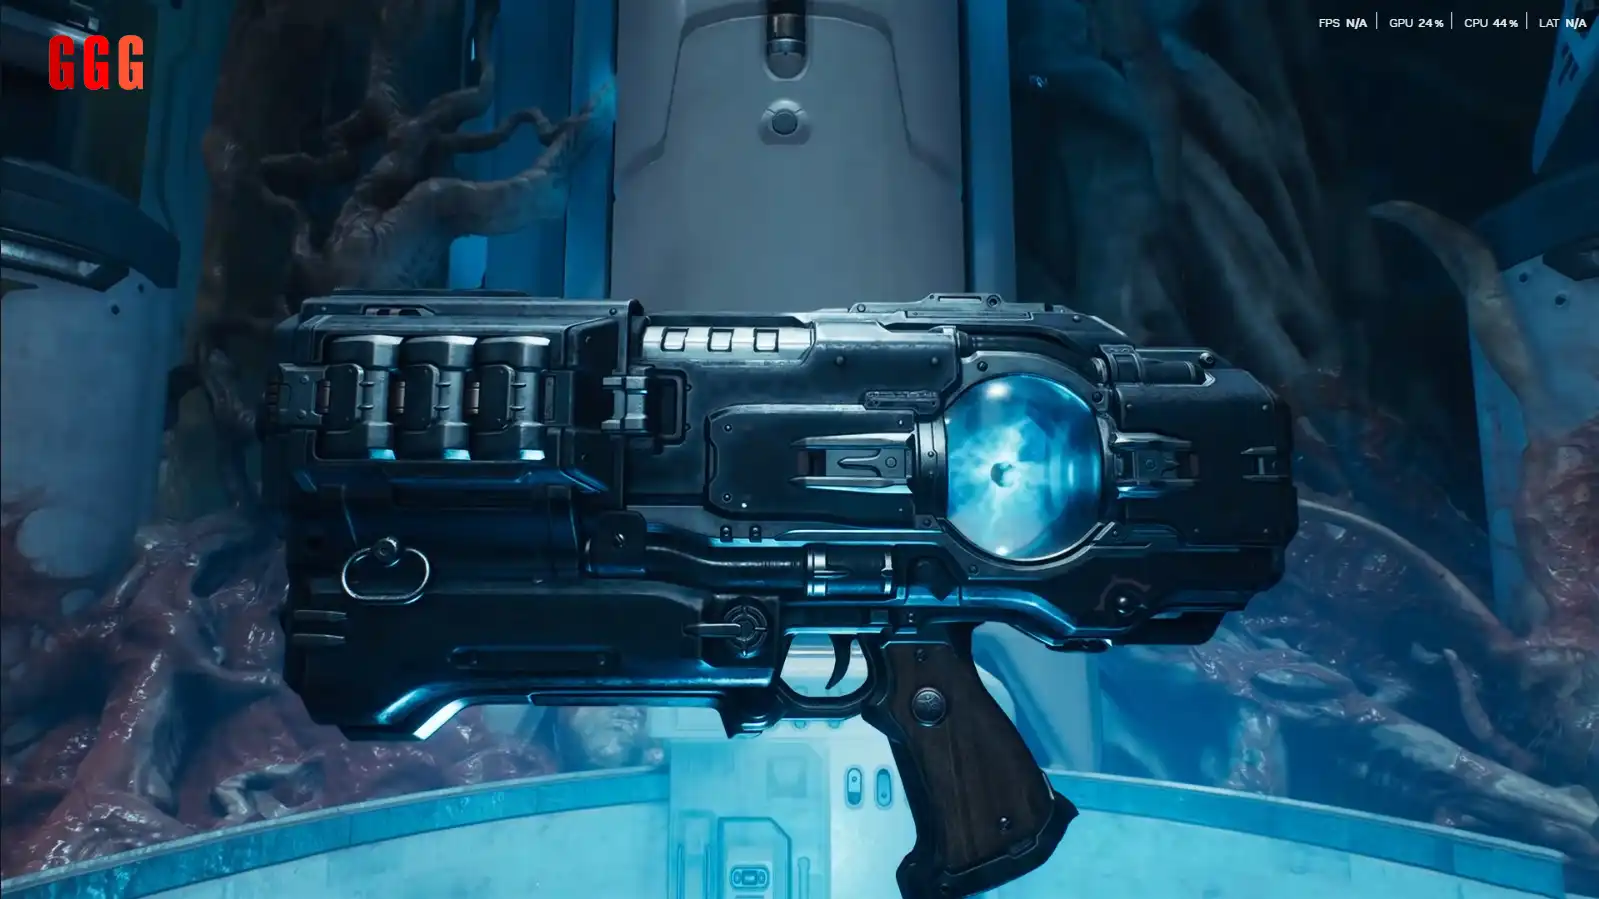
Say hello to the Accelerator—your new toy! It’s not my fave (I prefer the shotgun’s punch), but it’s great for dropping energy shields. Toss your shield at shielded enemies to nullify their defense, then blast ‘em. You can upgrade your shield later to do the same, but for now, use the Accelerator to clear the area. Grab some gold and ammo nearby!
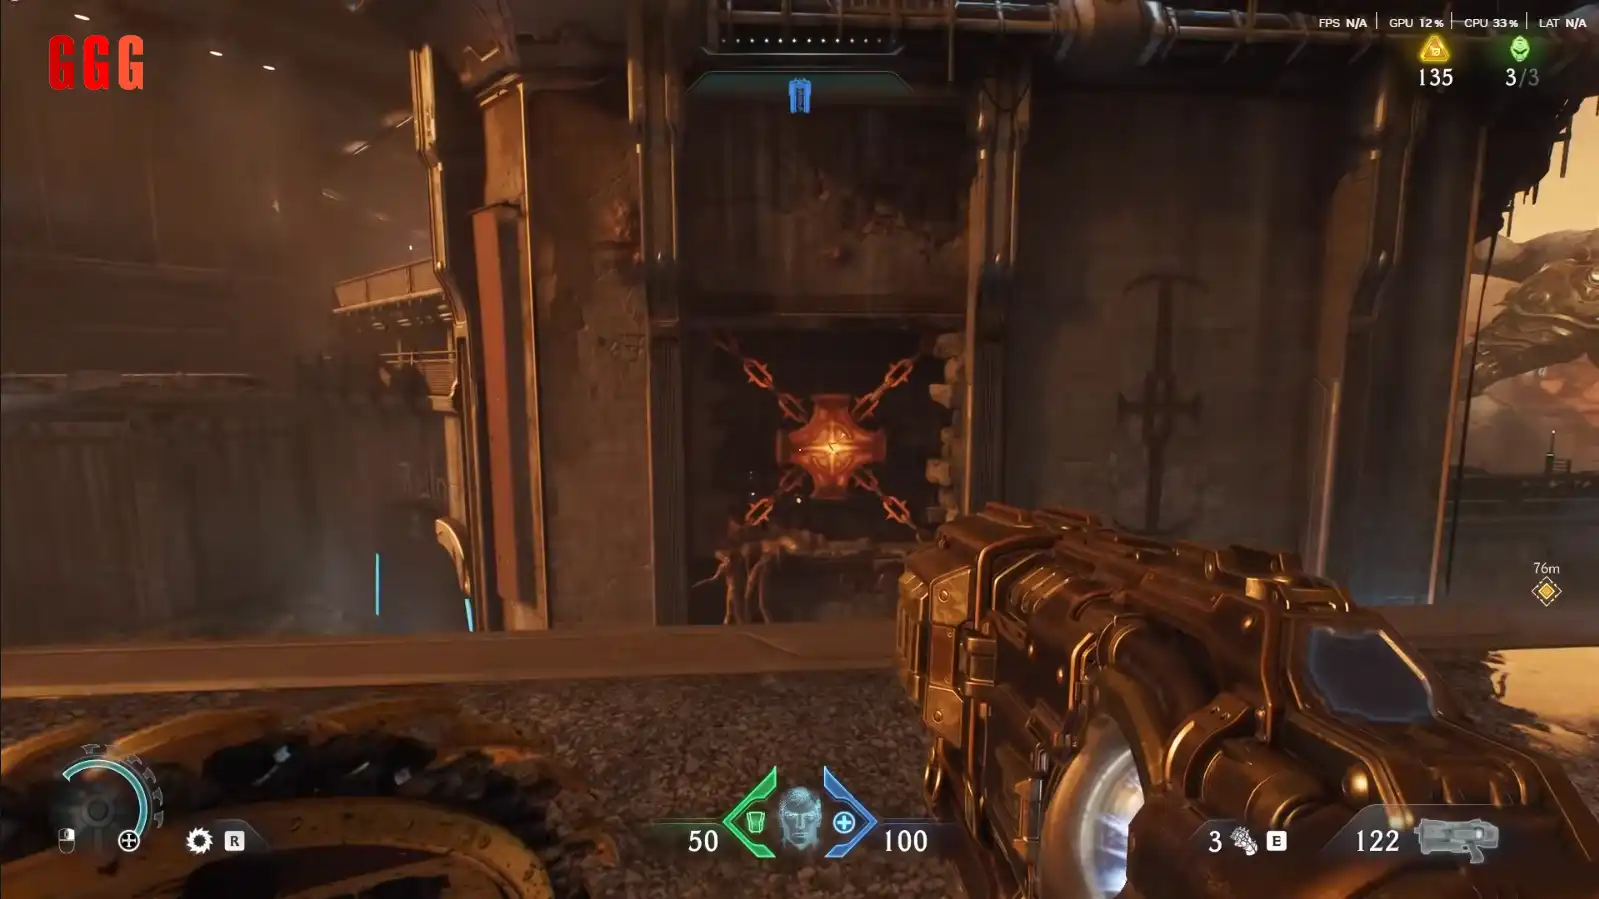
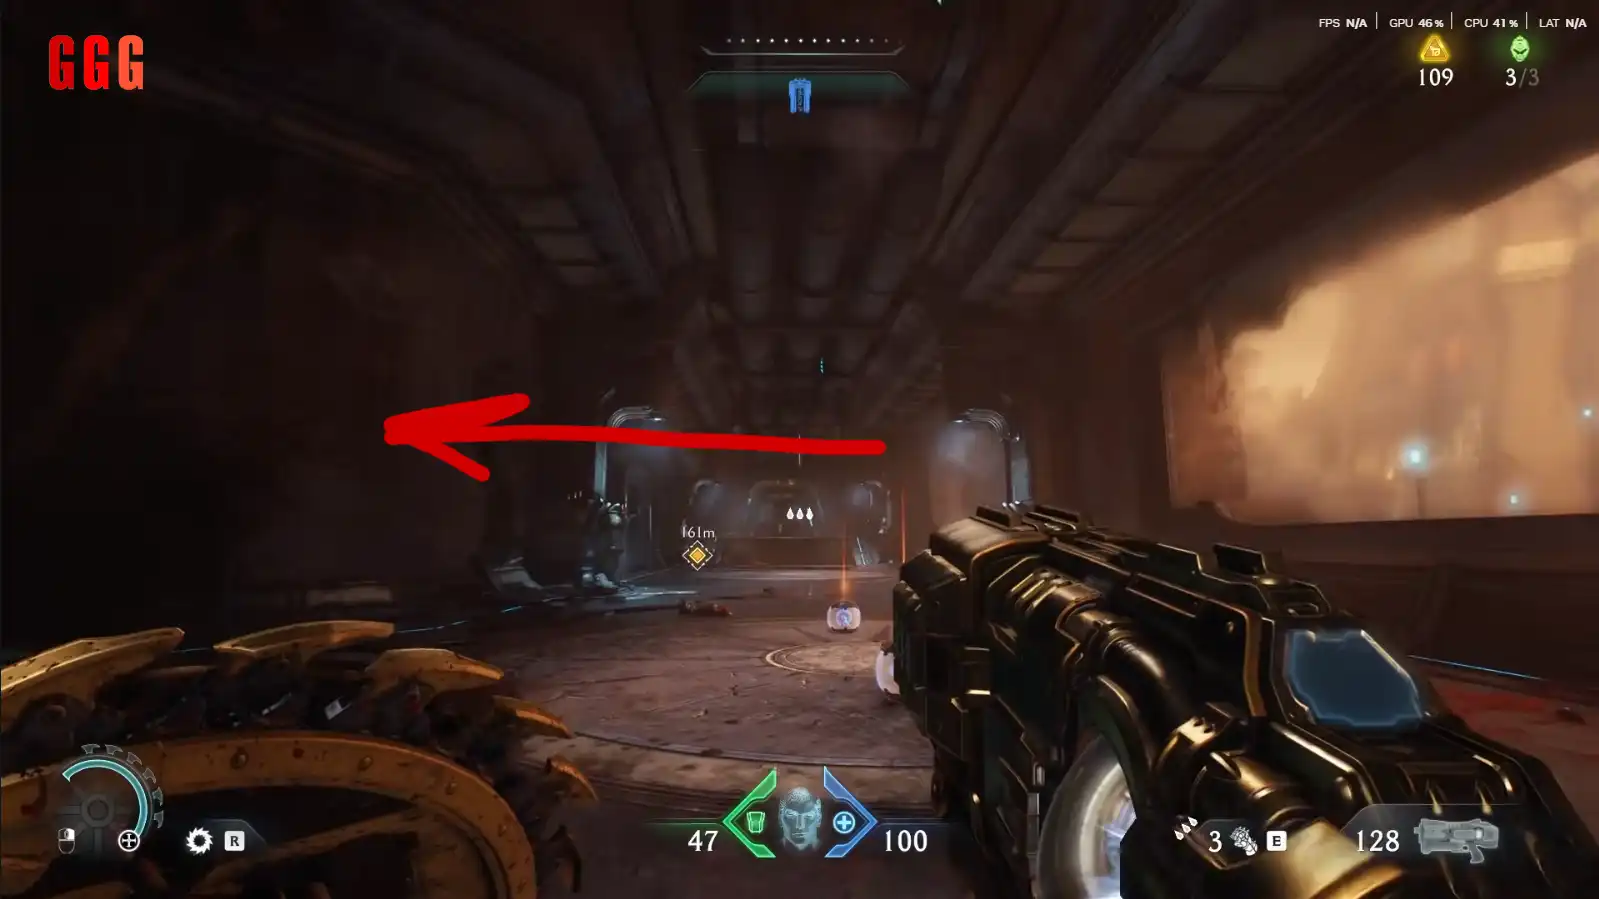
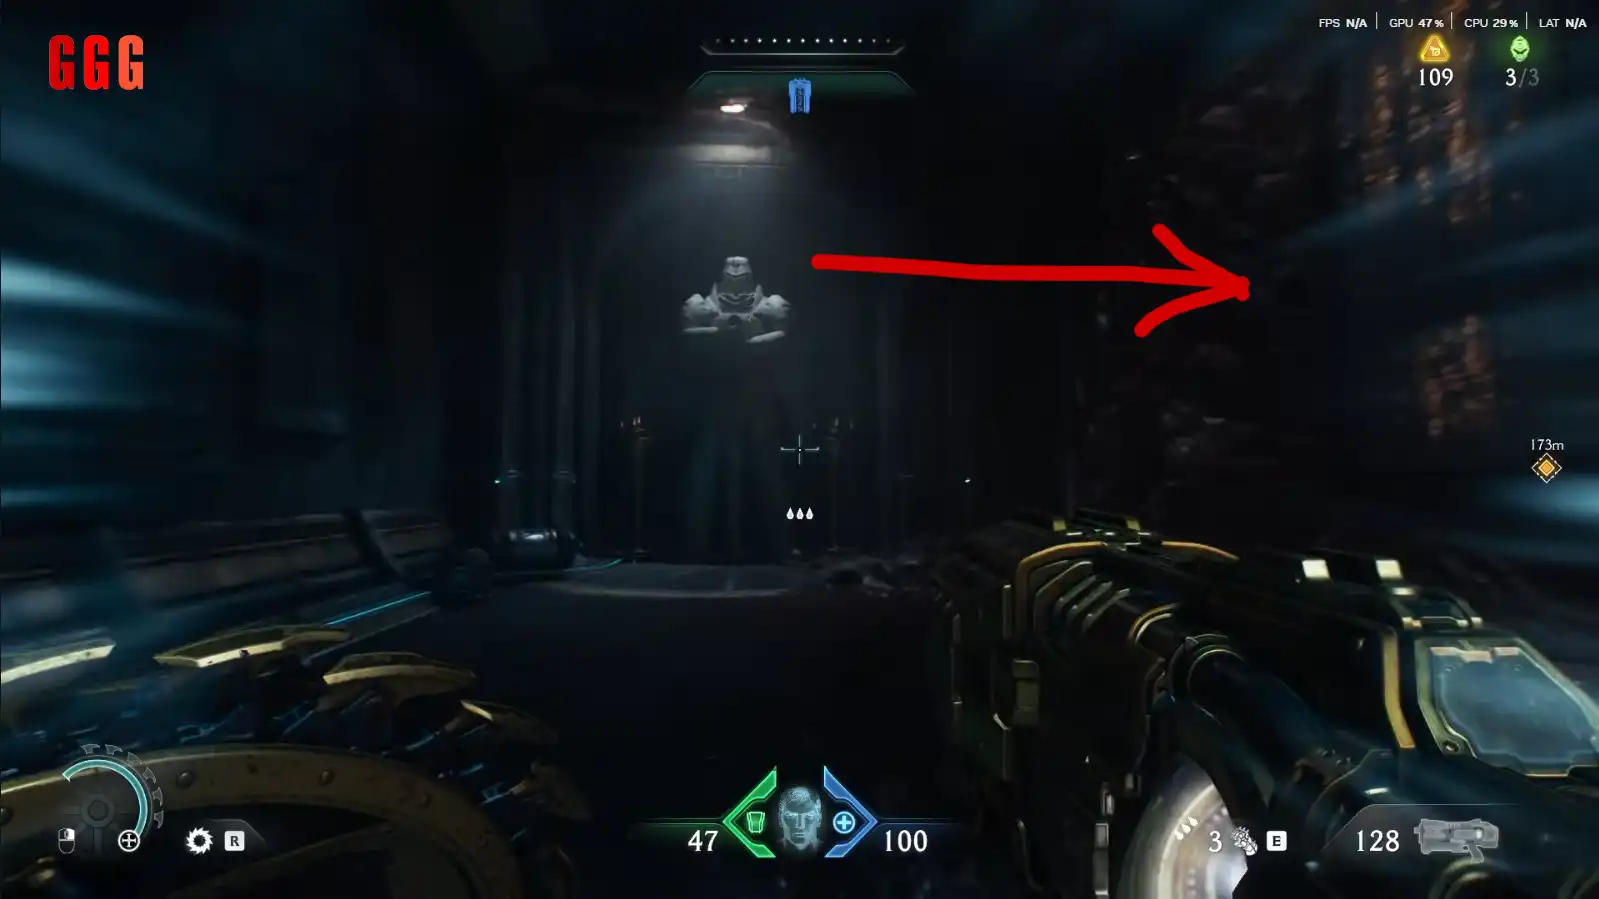
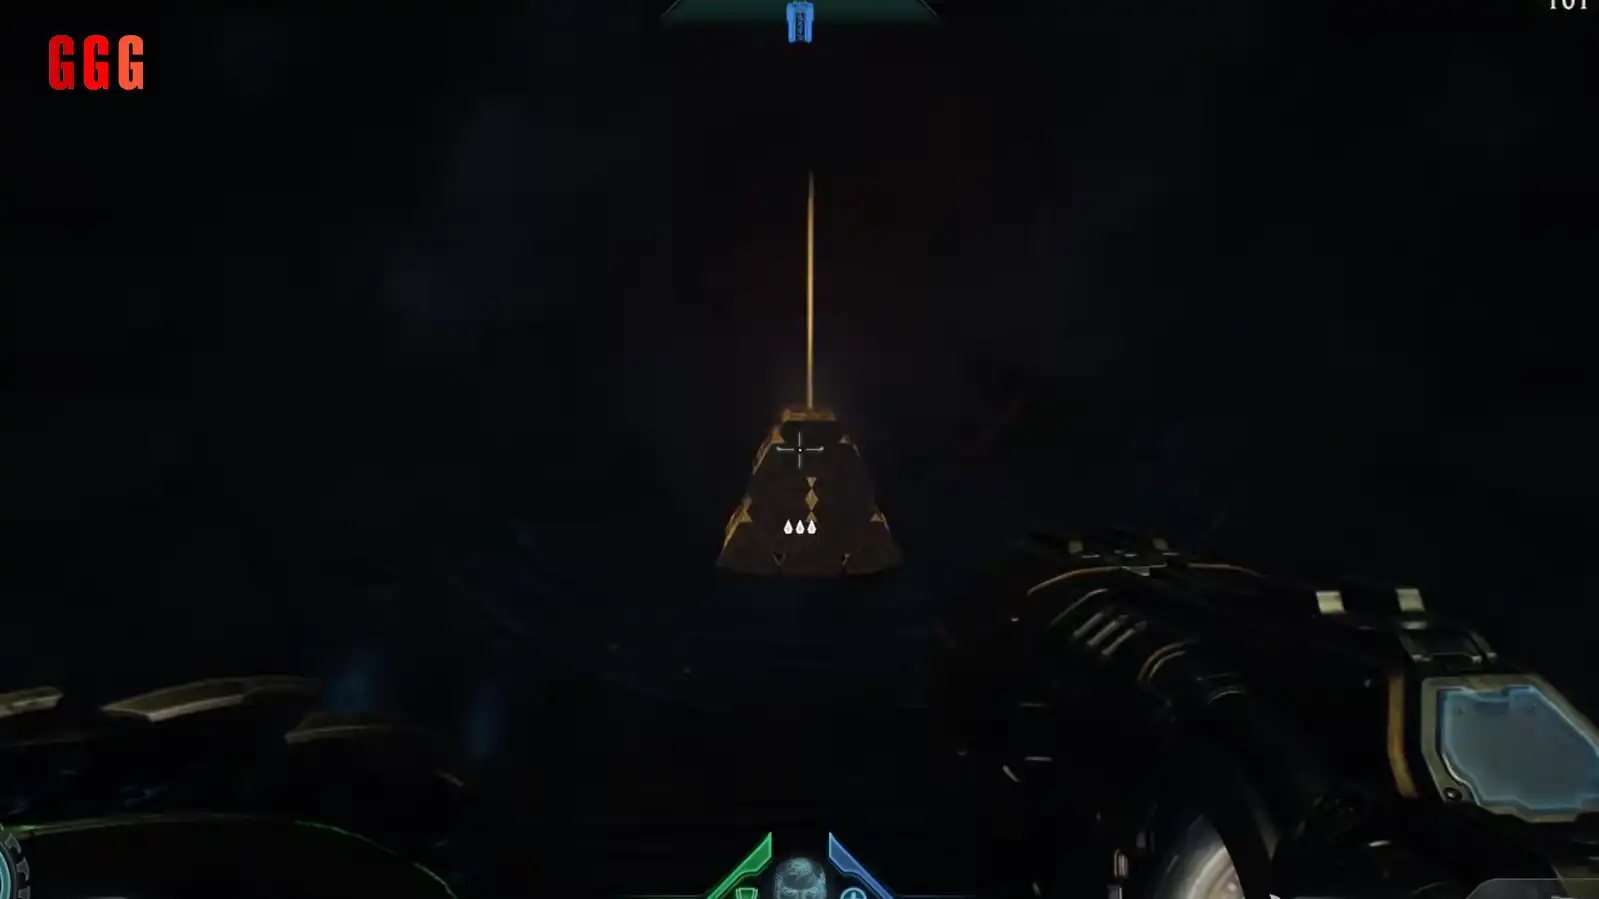
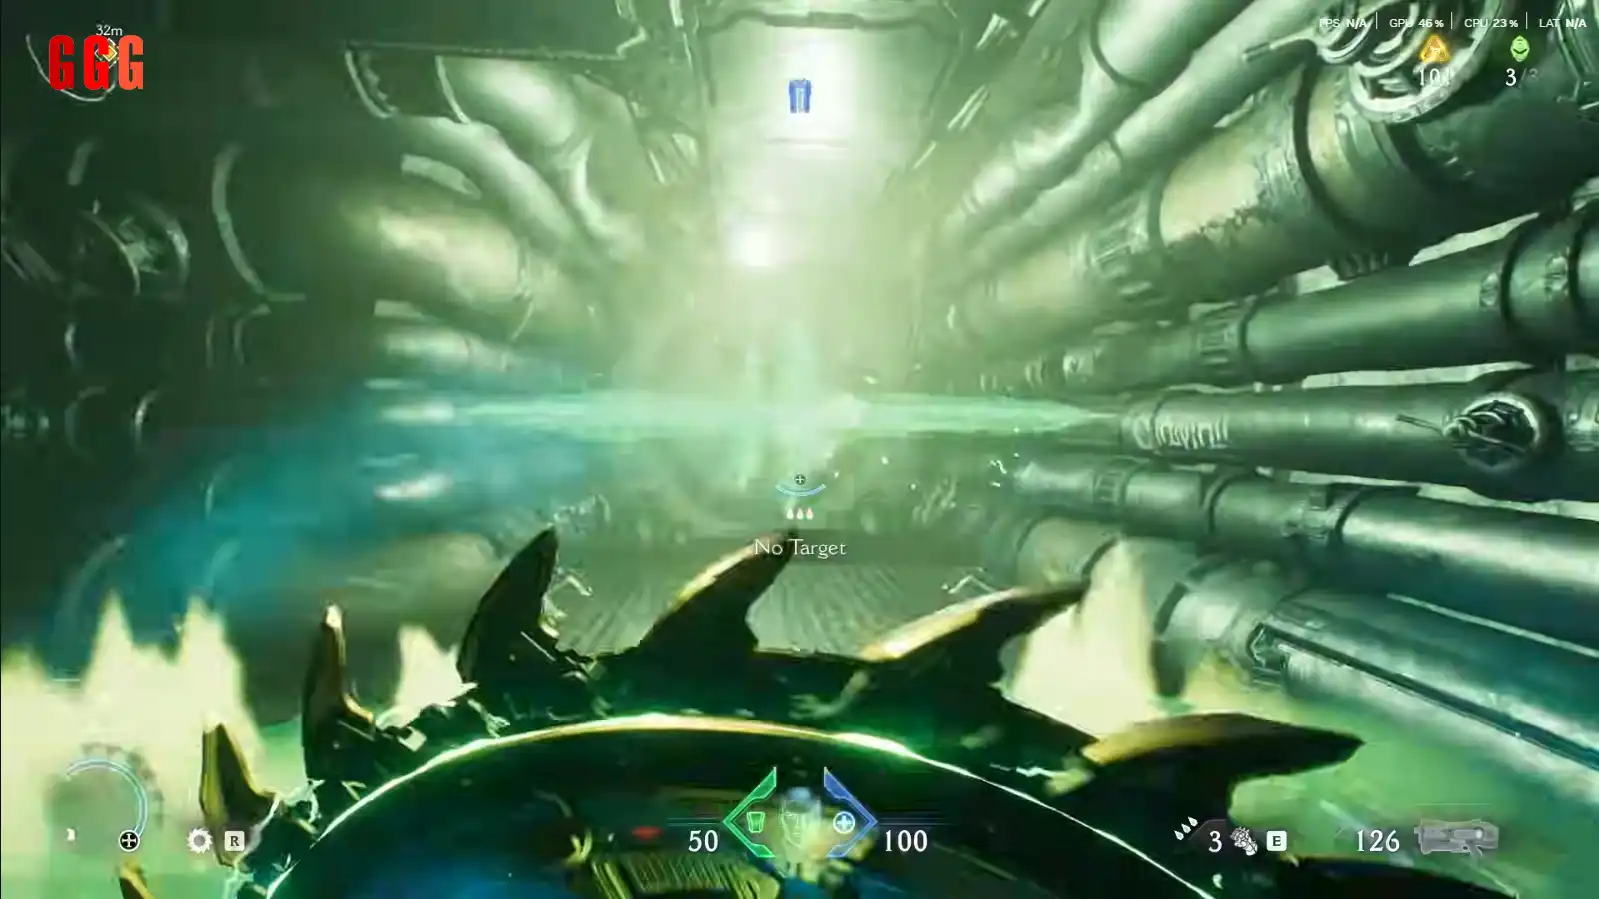
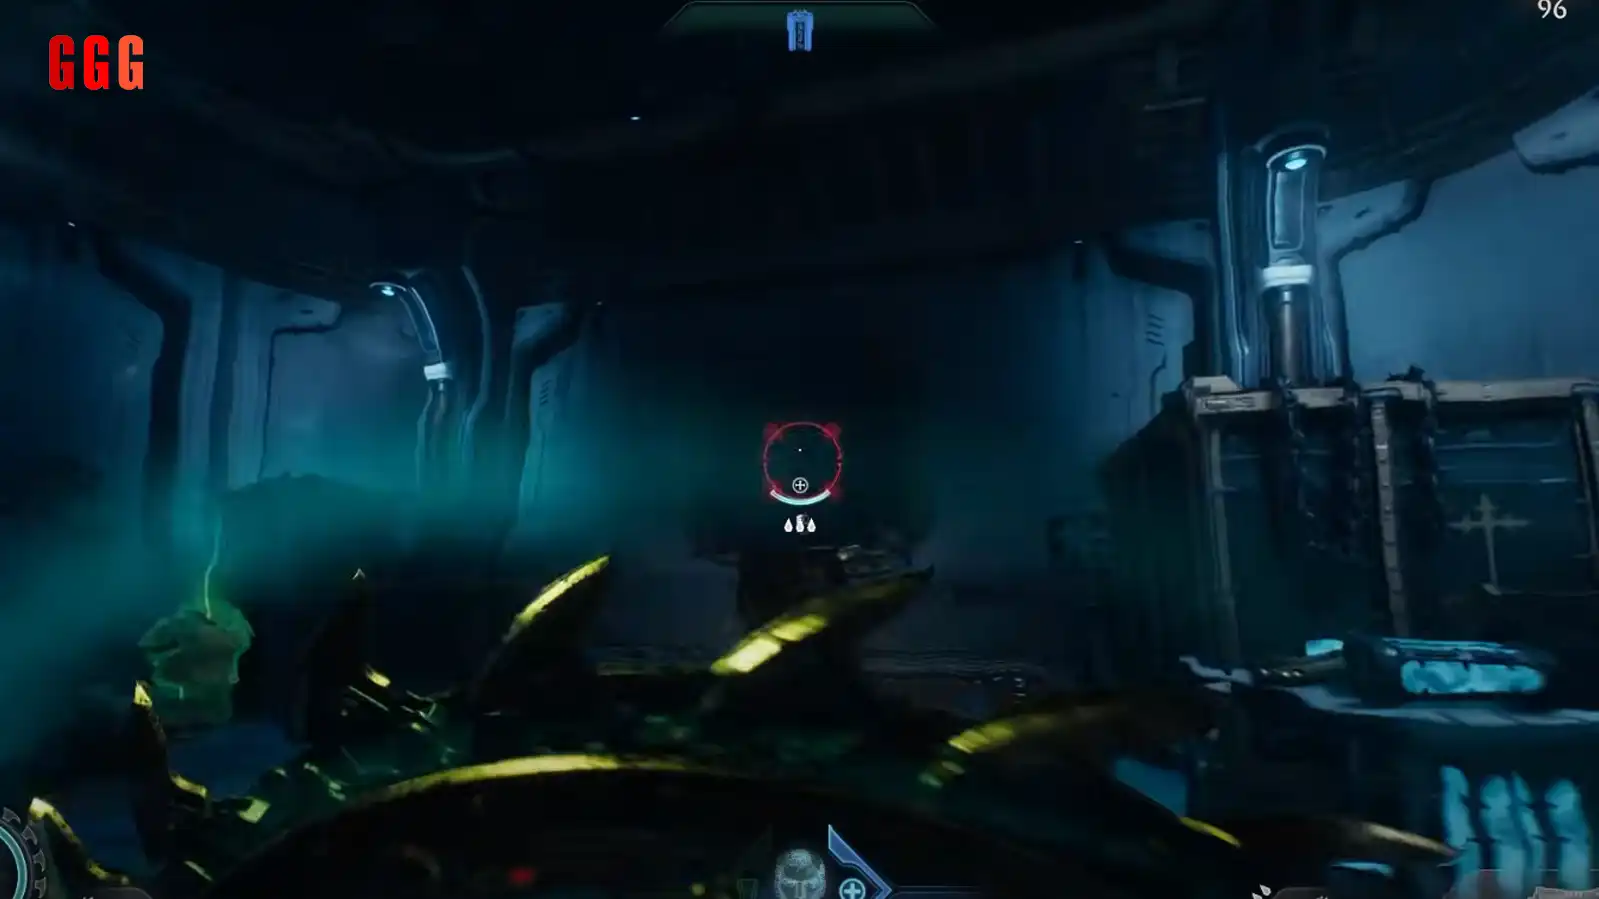
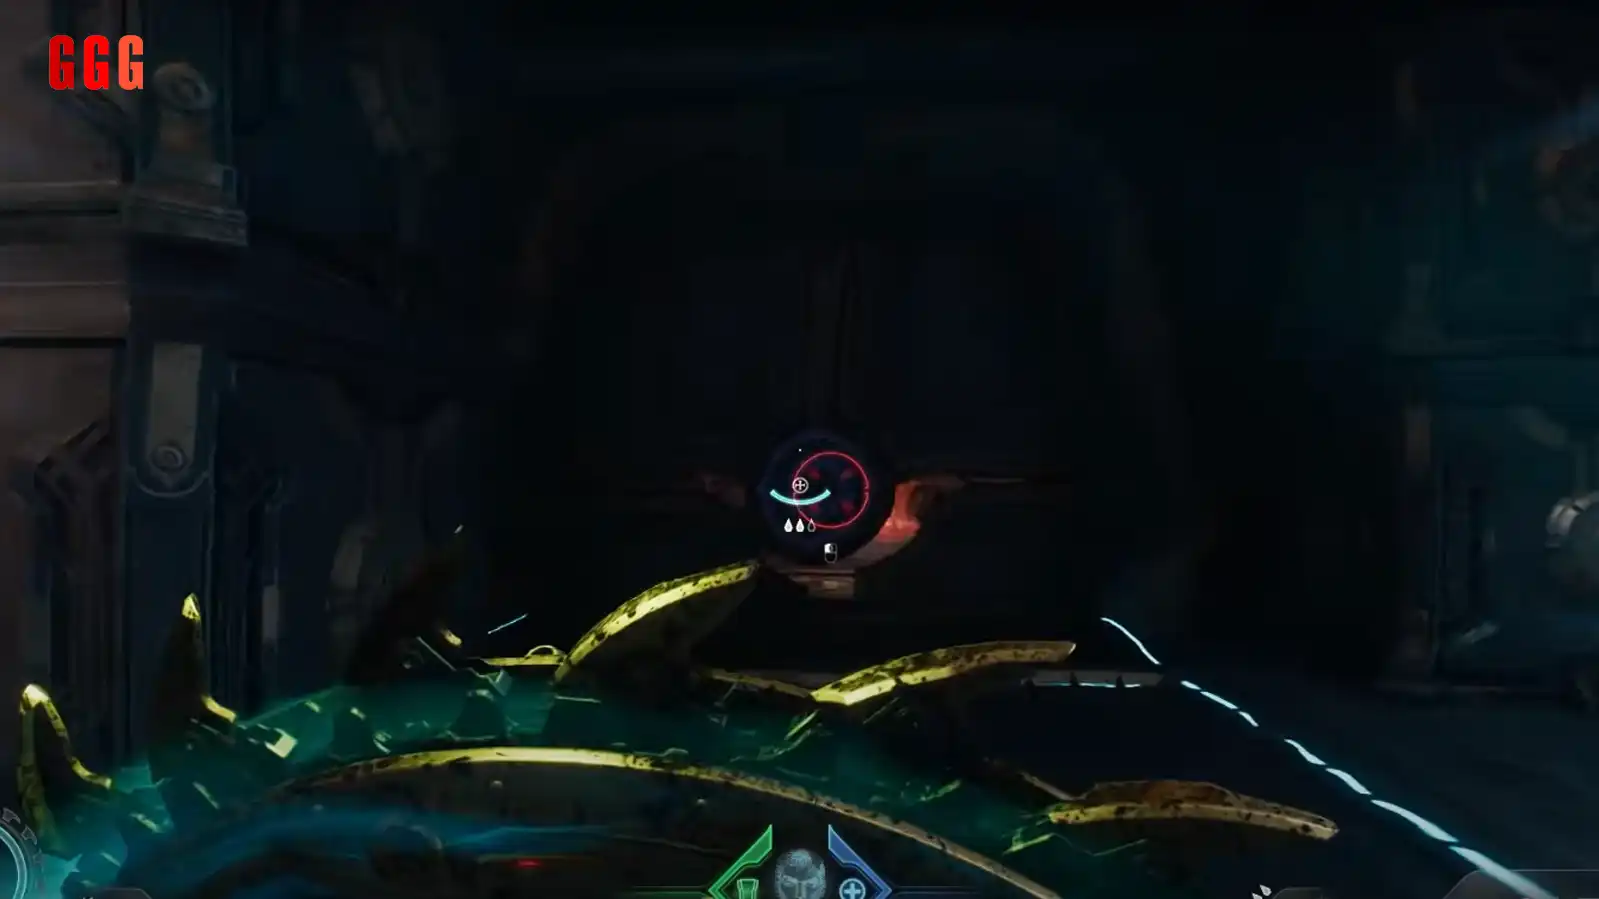
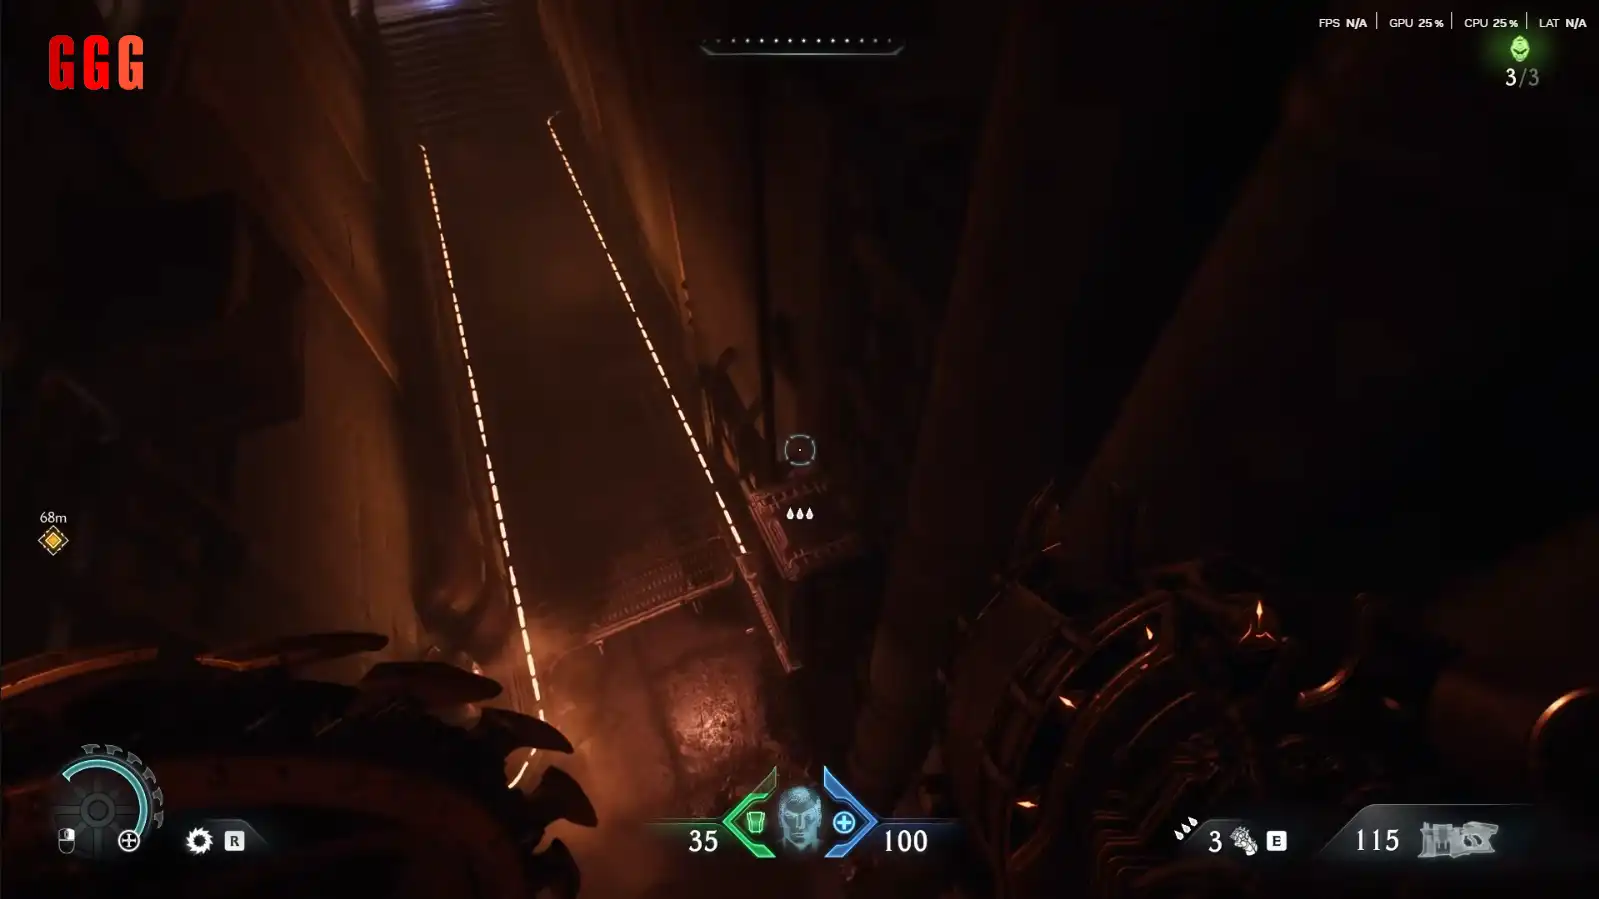
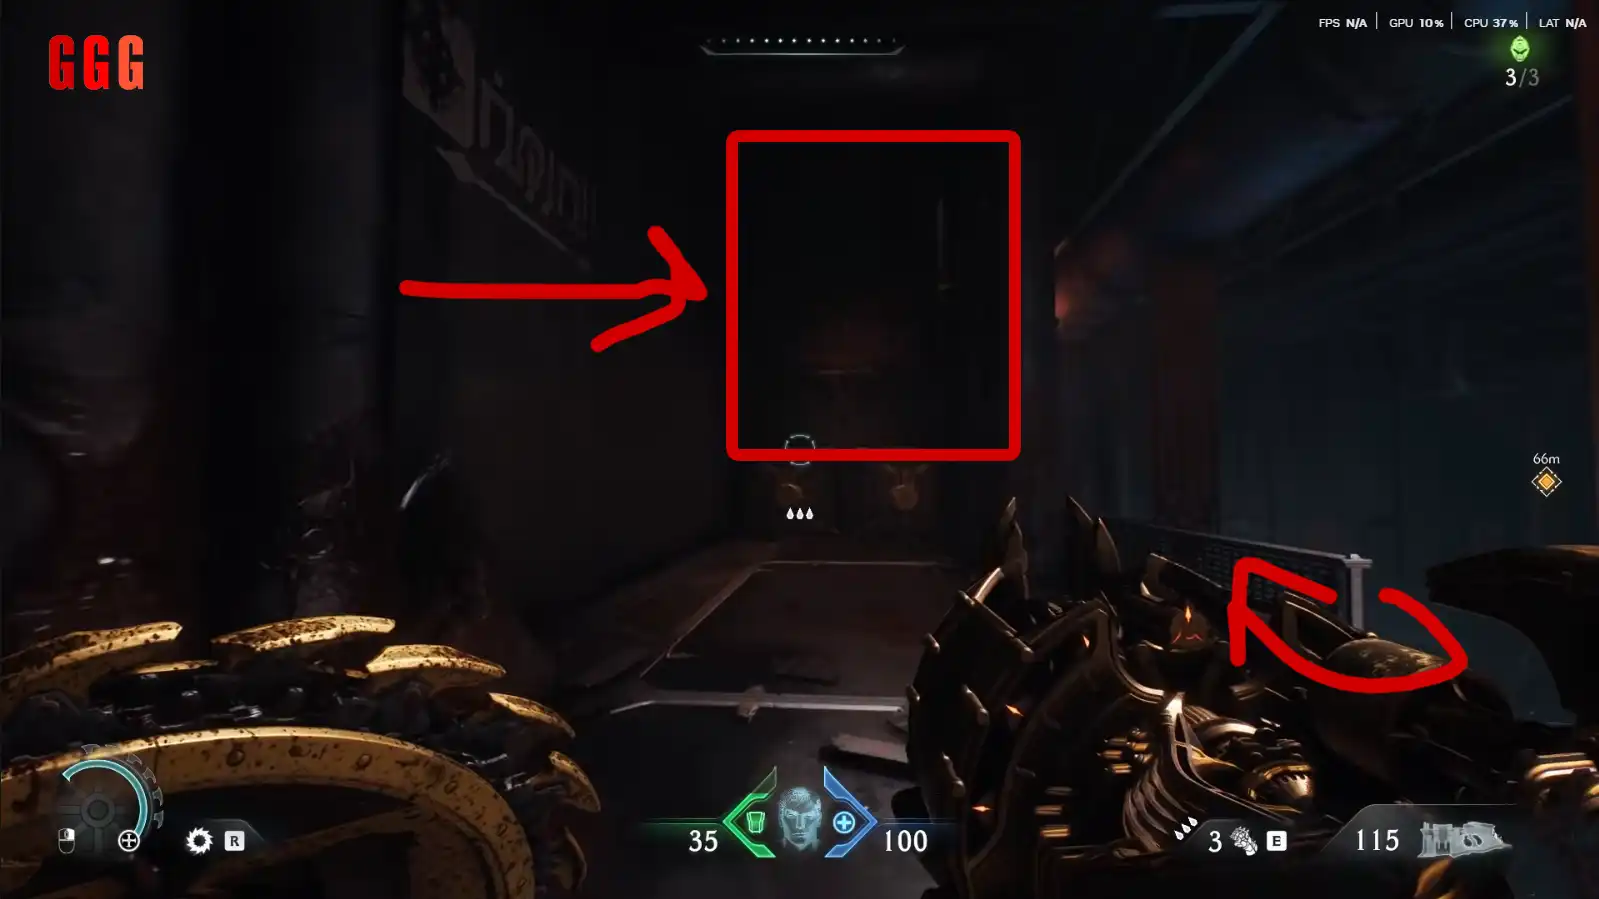
Blue Key Hunt: Unlock the Path
Find the Blue Key after clearing a group of enemies—watch out for those energy shields (shield toss works best!). Use the key to progress, but don’t rush. Backtrack to a secret area near a big horn projection for more gold, a Life Sigil, and some ammo. Enemies might spawn when you grab loot, so stay sharp—shield bash ‘em if they get too close!
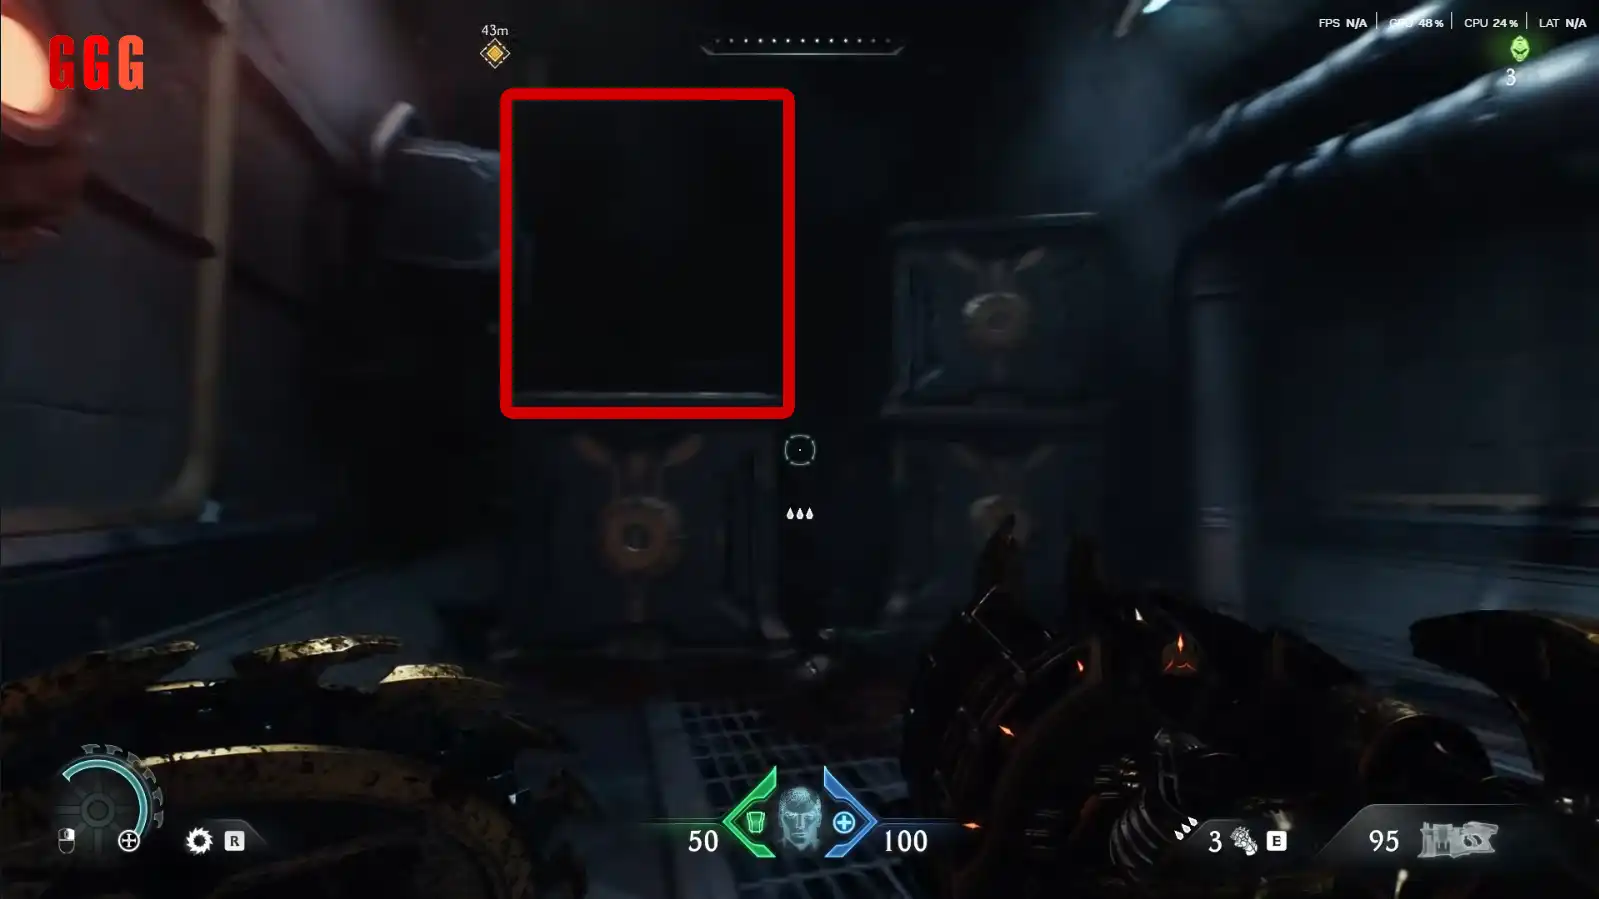
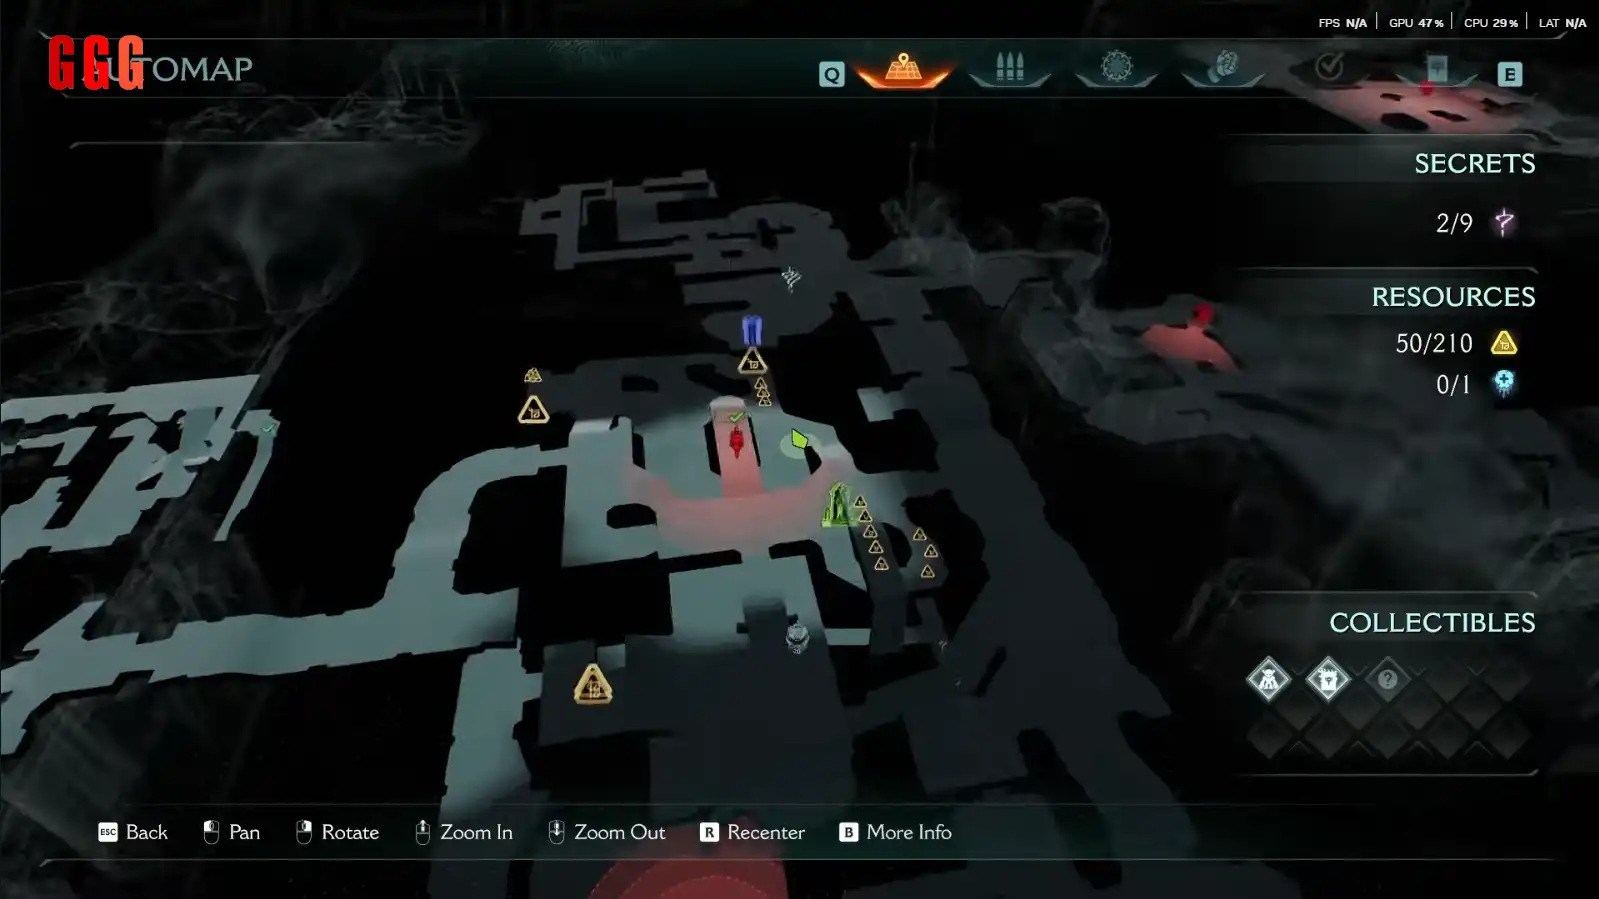
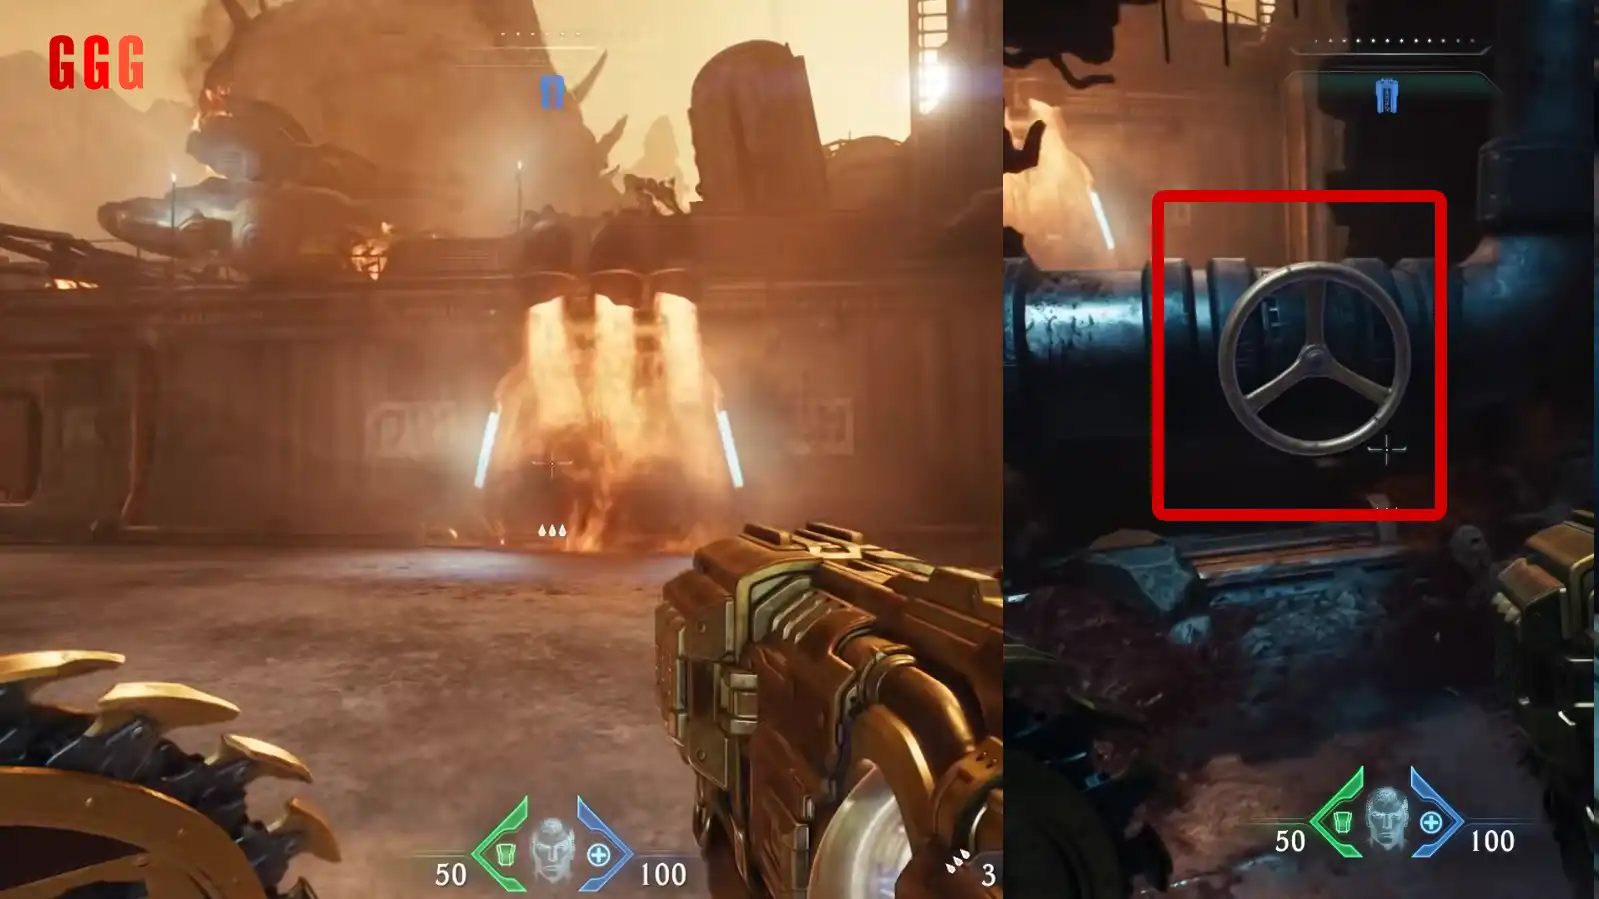
Points of No Return: Don’t Miss These Secrets
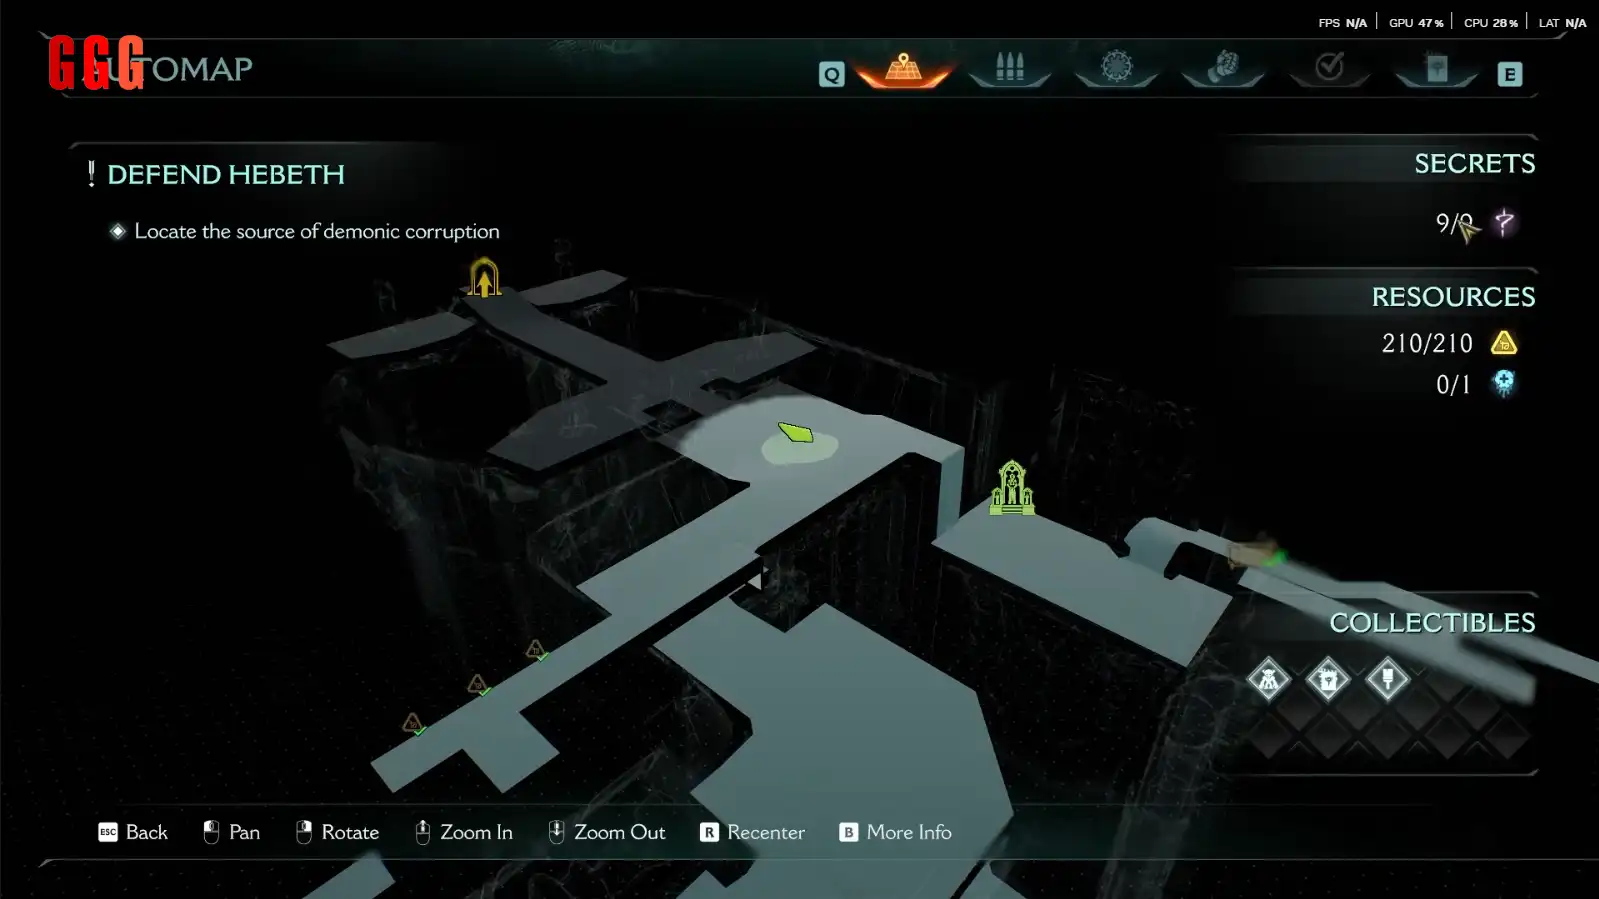

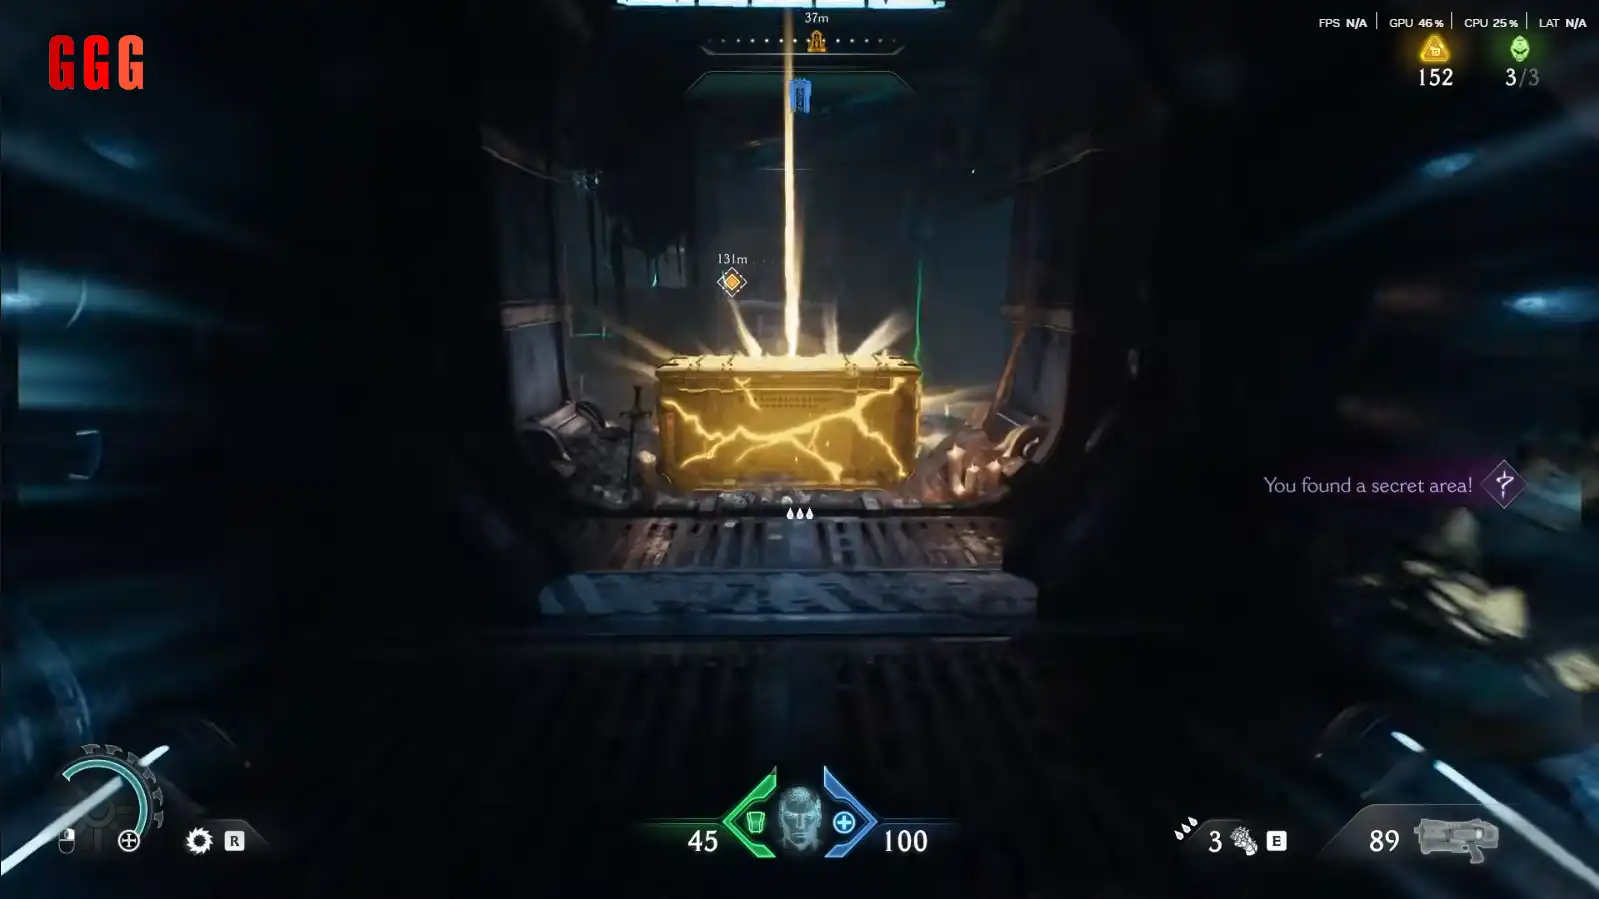

Chapter 2 has a few “points of no return”—check your map before moving on! Scramble up a wall to find a secret with gold bars, then turn a crank to disable flames and access another secret area with more gold and a Life Sigil. Before the final point, grab a weapon skin for your rifle (looks cool, even if it’s not game-changing). You should have all collectibles by now—nice work!
Final Fight: Take Down the Mancubus
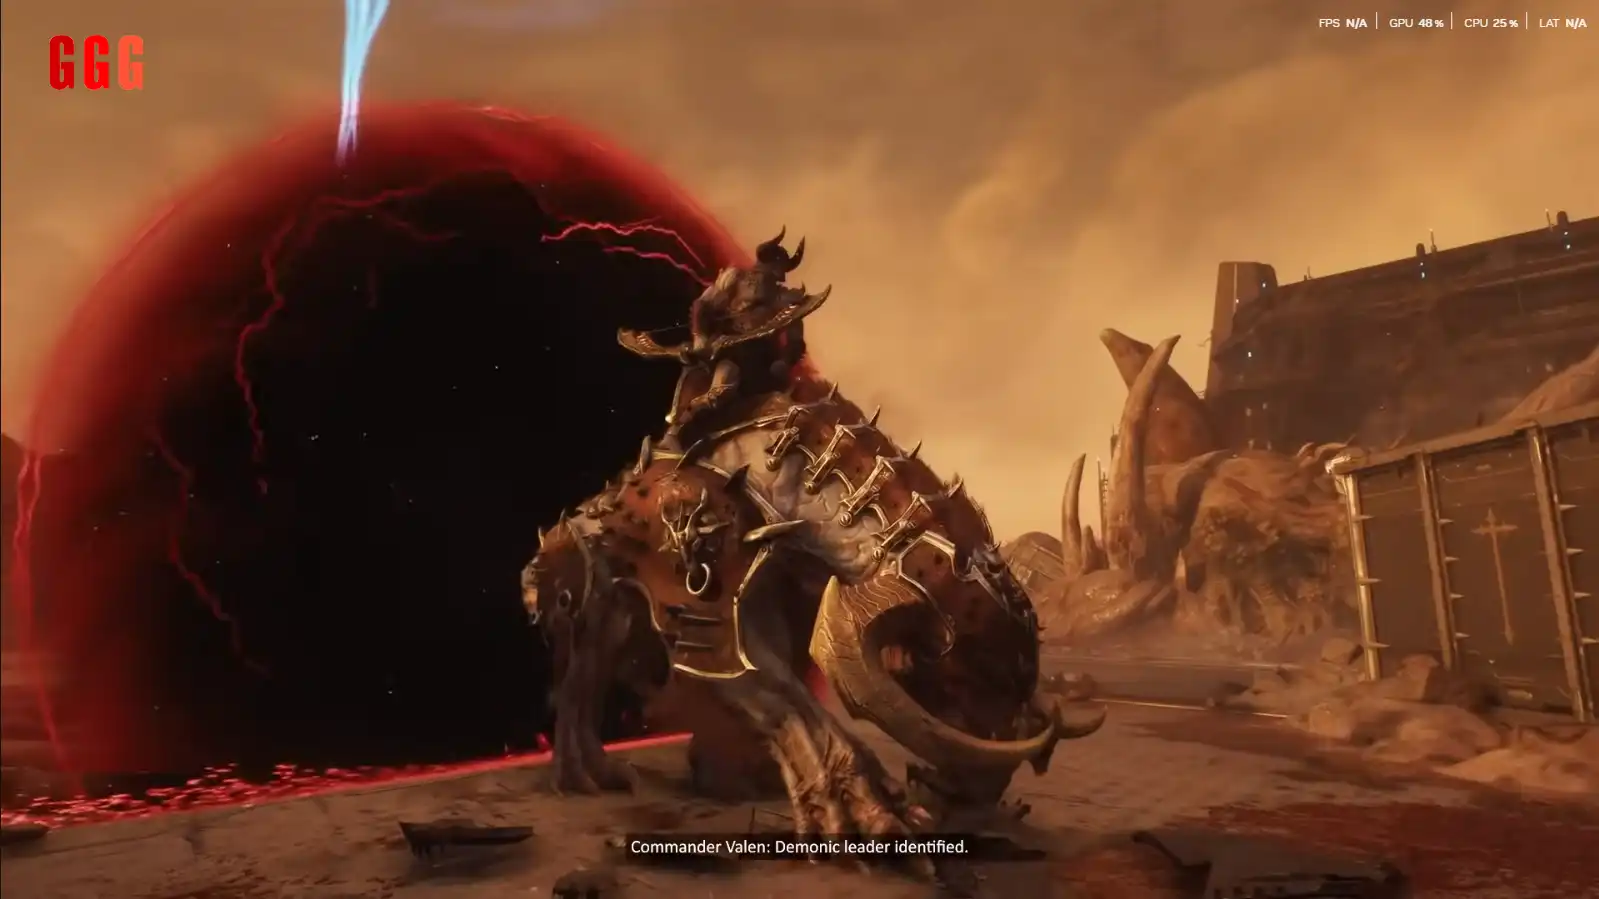
End Chapter 2 with a boss fight—an elite Pinkie and a Mancubus! Focus on the big guys first—smaller enemies spawn until they’re down. Shield bash the Pinkie to stagger it, then unload with your shotgun (it feels way better than the Accelerator). Watch for orange glows—damaging enemies then gives extra armor. Finish with a max health upgrade—sweet reward!