Defeat HIVE LORD in Helldivers 2: Can You Solo This Monster?
Yo, Helldivers! Ready to defeat HIVE LORD in Helldivers 2 and become a legend? This skyscraper-sized, acid-spewing Terminid worm is no joke, but with the right stratagems, Best weapons, and some slick teamwork (or solo swagger), you can send this beast back to the dirt.
trust me, the XP and bragging rights are worth it! Let’s break down everything you need to squash this bug, courtesy of tips from gggamer.net.
Know Your Enemy: Hive Lord Breakdown

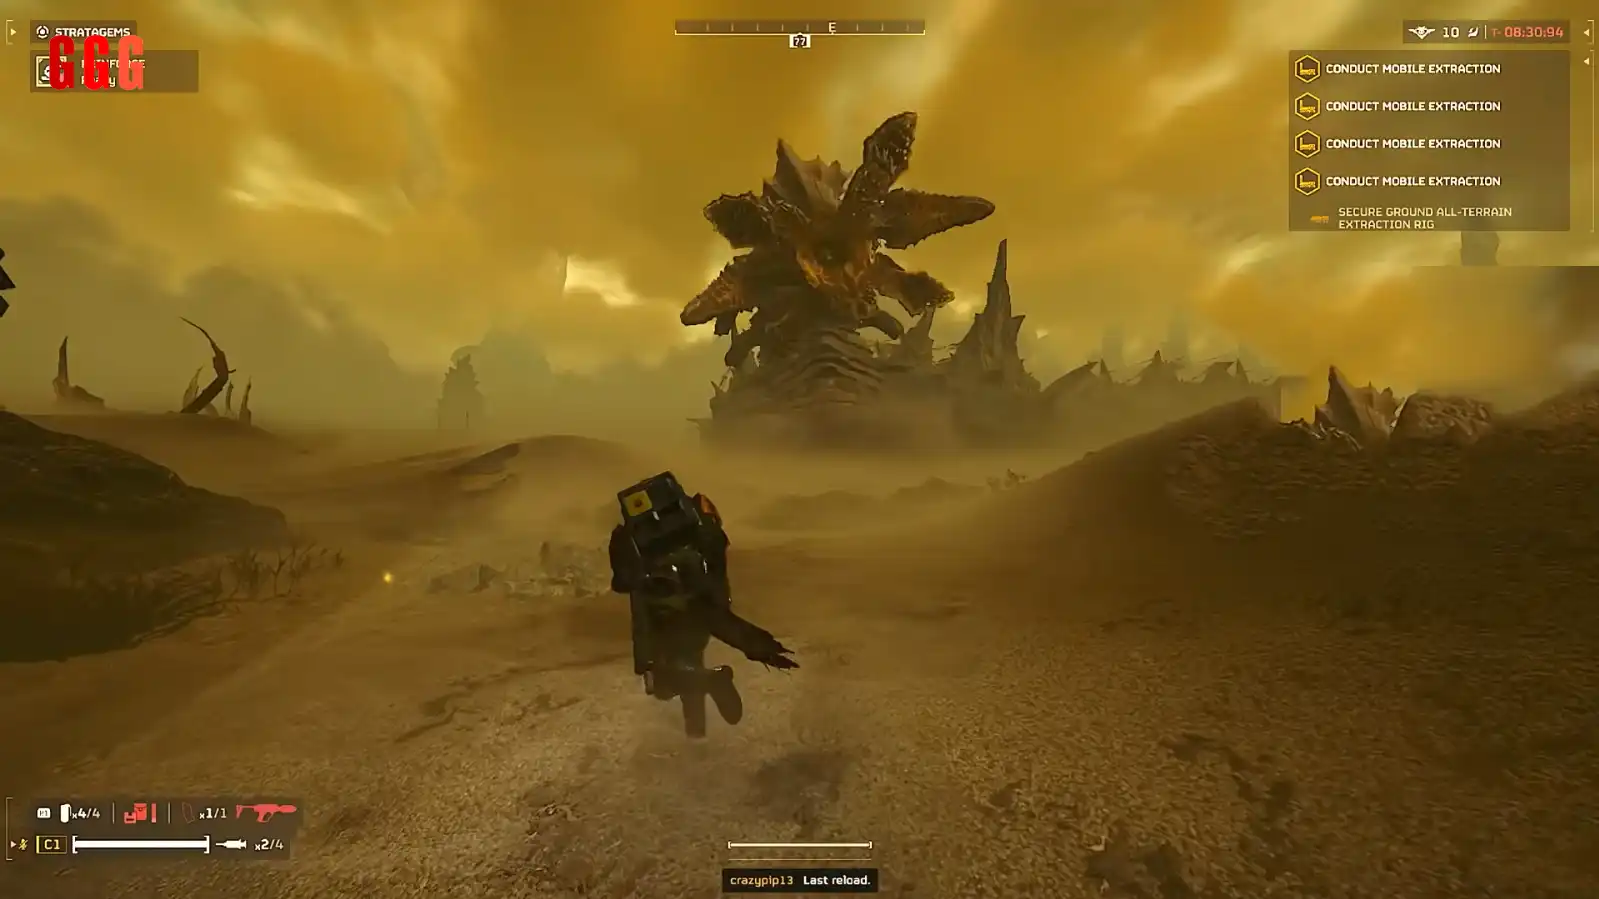
The Hive Lord is a colossal worm with 150,000 HP and heavy armor (Tank 1 body, Tank 2 head). It burrows underground, pops up with tremors, and unloads devastating attacks:
Ground Ripples: Sand waves signal its tunneling—dodge or get knocked flat.
Emergence Eruptions: It bursts out within 100m, crushing anything nearby. Watch for falling rocks!
Bile Spray: Acid covers huge areas, melting you fast.
Body Slam: A close-range insta-kill if you’re not moving.
Its weak spots? The open mouth (light armor) and exposed flesh after breaking armor plates. I hit the mouth with an Ultimatum shot once, and it chunked a solid bit of HP—felt like a movie moment!
Best Solo Build to Defeat HIVE LORD in Helldivers 2
Soloing a Hive Lord is tough but doable with this loadout:
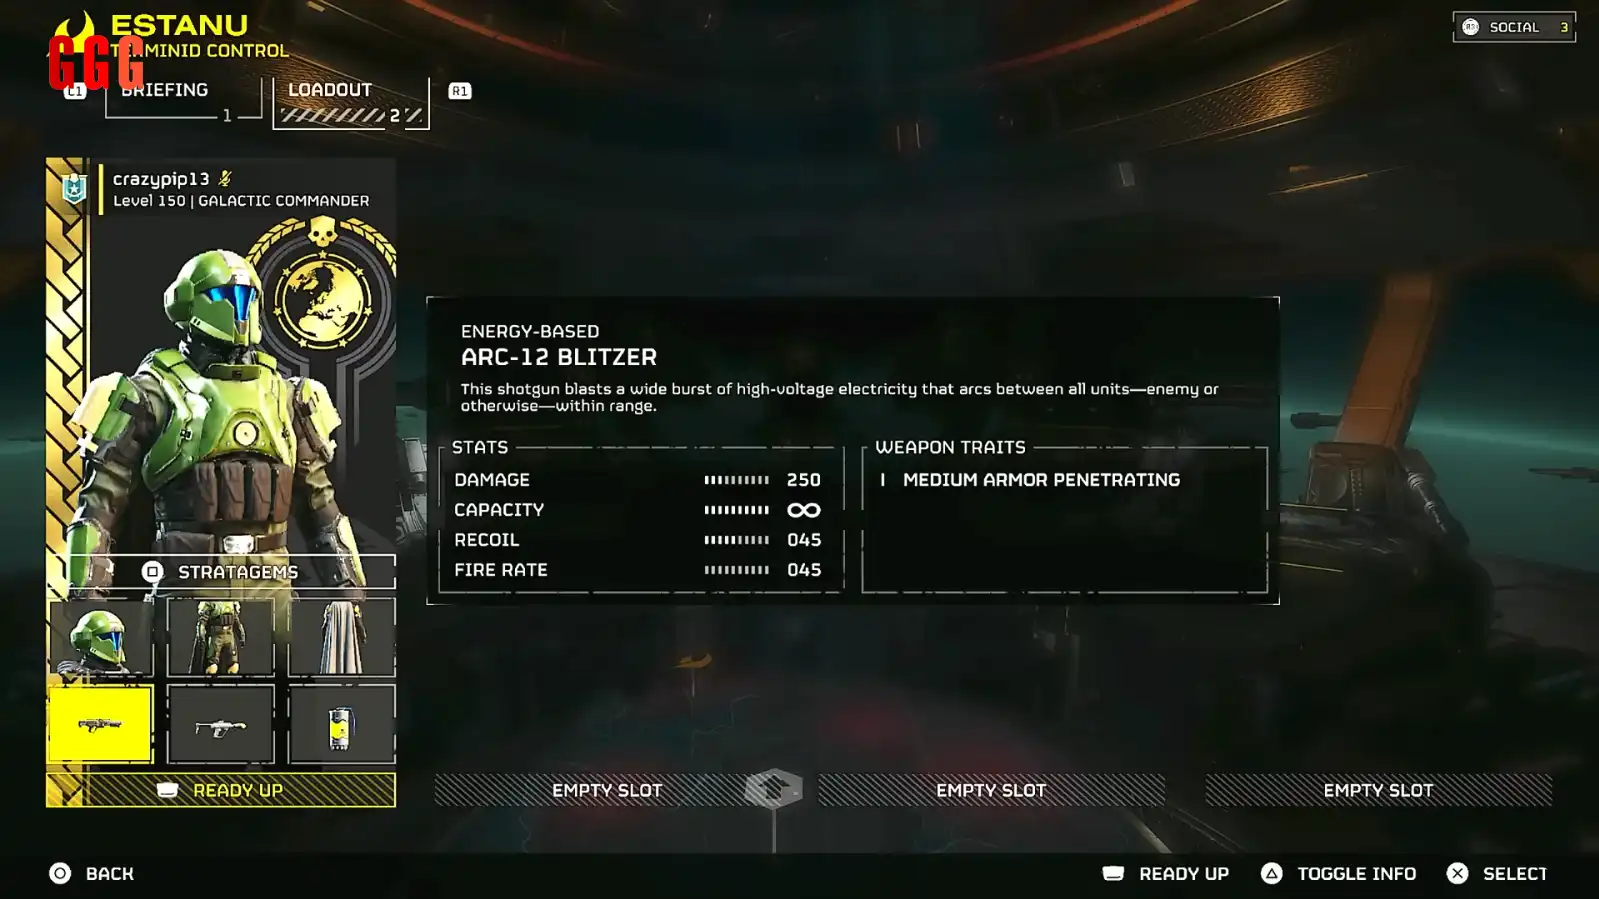
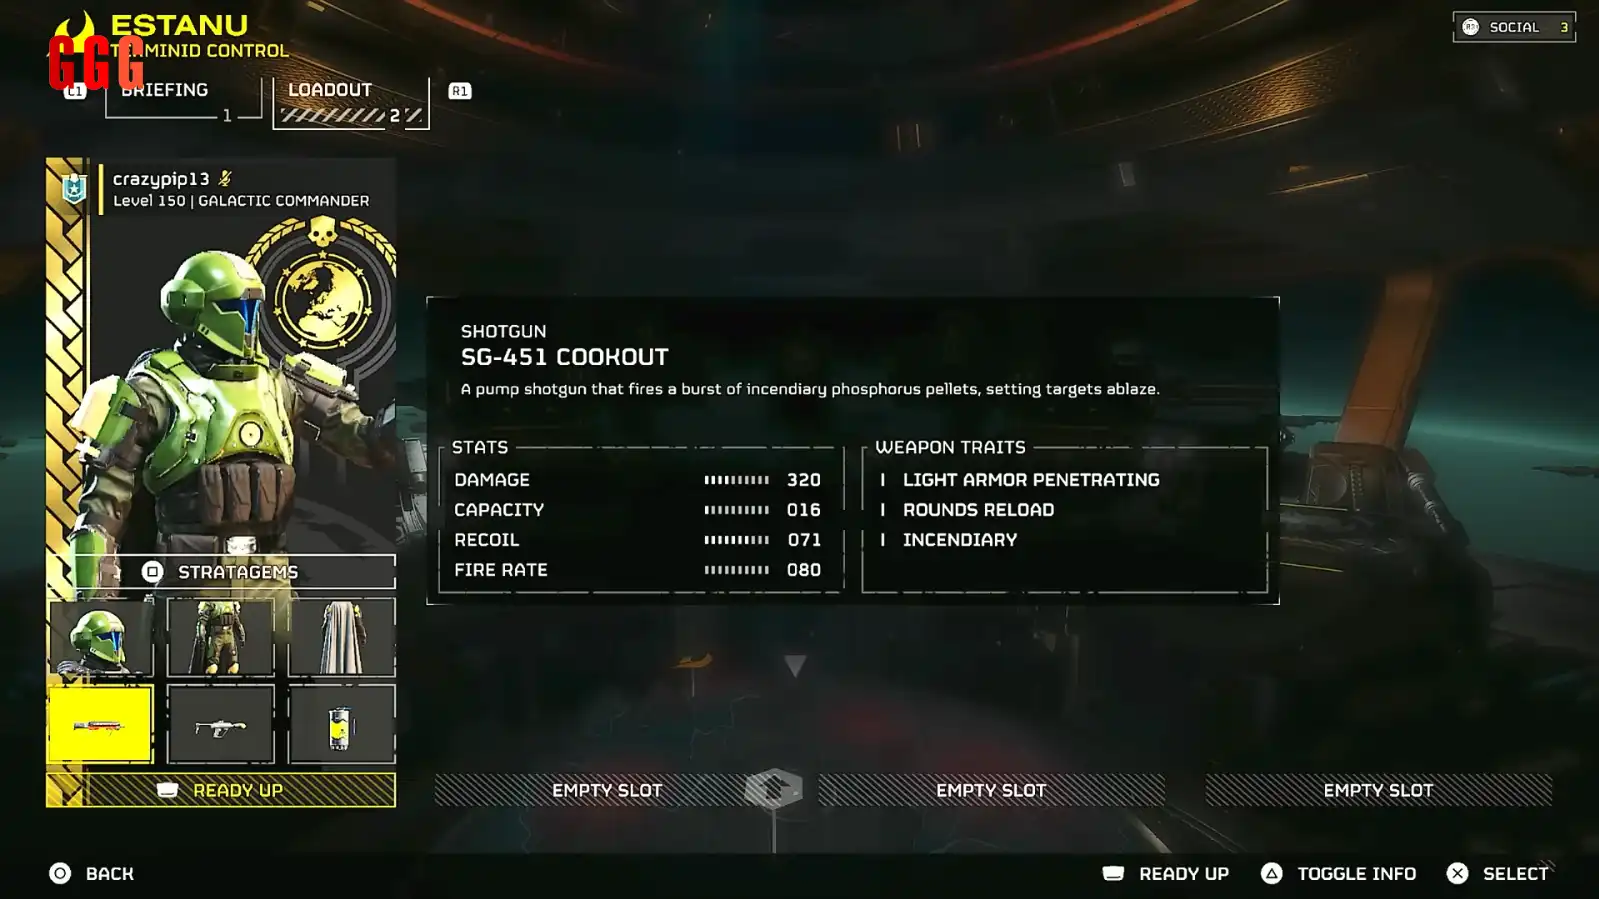
Primary Weapon: Cookout (great ammo economy, staggers smaller bugs) or Blitzer (easier to use for crowd control). Cookout saved me when Shriekers swarmed mid-fight.
Secondary Weapon: Ultimatum for high-damage shots to the mouth or broken armor.
Grenades: Gas Grenades for crowd control—keeps smaller bugs off you while you focus the Lord.
Stratagems:
Orbital Gatling Barrage: Fast, consistent damage.
Orbital Precision Strike: Pinpoint armor-breaking power.
Eagle Strafing Run: Quick hits between cooldowns (watch friendly fire!).
Eagle 500KG Bomb: Swappable with Precision Strike for massive bursts.
Armor: Medium armor with Extra Padding for survivability. I tanked a bile spray thanks to this!
Optional Swap: Trade the 500KG for a Supply Backpack to spam grenades and keep ammo topped up.
Team Build: Spread the Pain
If you’re rolling with a squad, split the stratagems:
Two players take Anti-Tank Emplacement (Urban Legends Warbond, 39,000 damage per use).
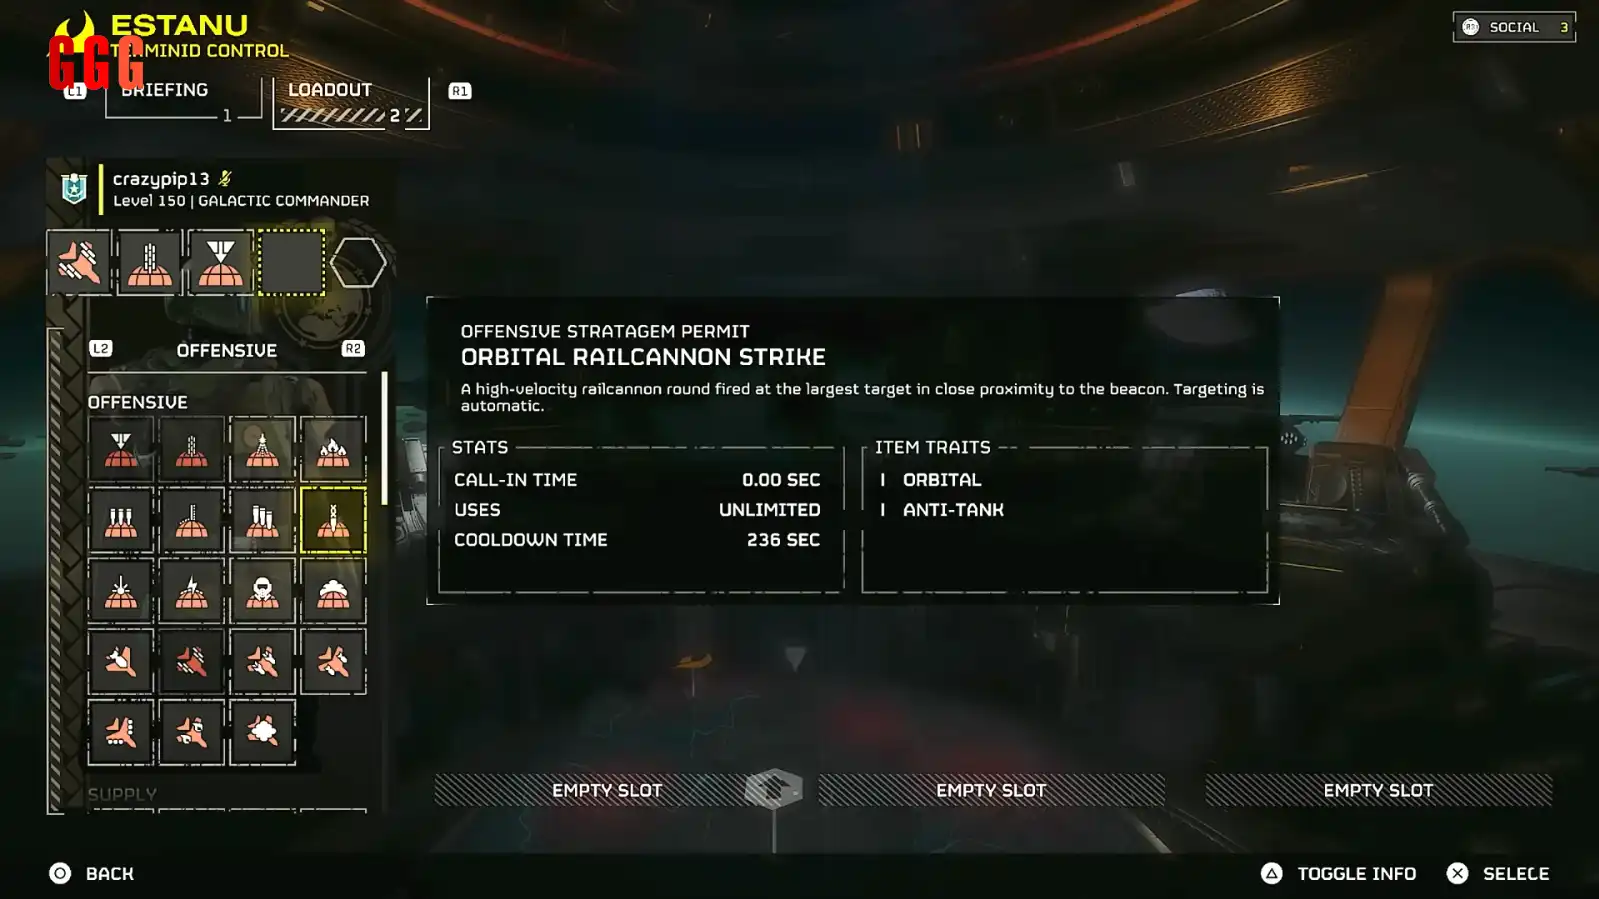
One grabs Orbital Railcannon Strike or Eagle 500KG Bomb for big hits.
One runs Supply Backpack and Recoilless Rifle for ammo support and armor-breaking.
Coordinate via voice chat—my squad once dropped three Hellbombs in sync, and the Hive Lord was shook.
Battle Plan: How to Defeat HIVE LORD in Helldivers 2
Here’s the step-by-step to defeat HIVE LORD in Helldivers 2:
Prep: Drop Resupply Pods on cooldown. Scatter them across the map to grab ammo fast.
Positioning: Stay 50-100m away to avoid slams and bile. Dive to dodge tremors or rocks.
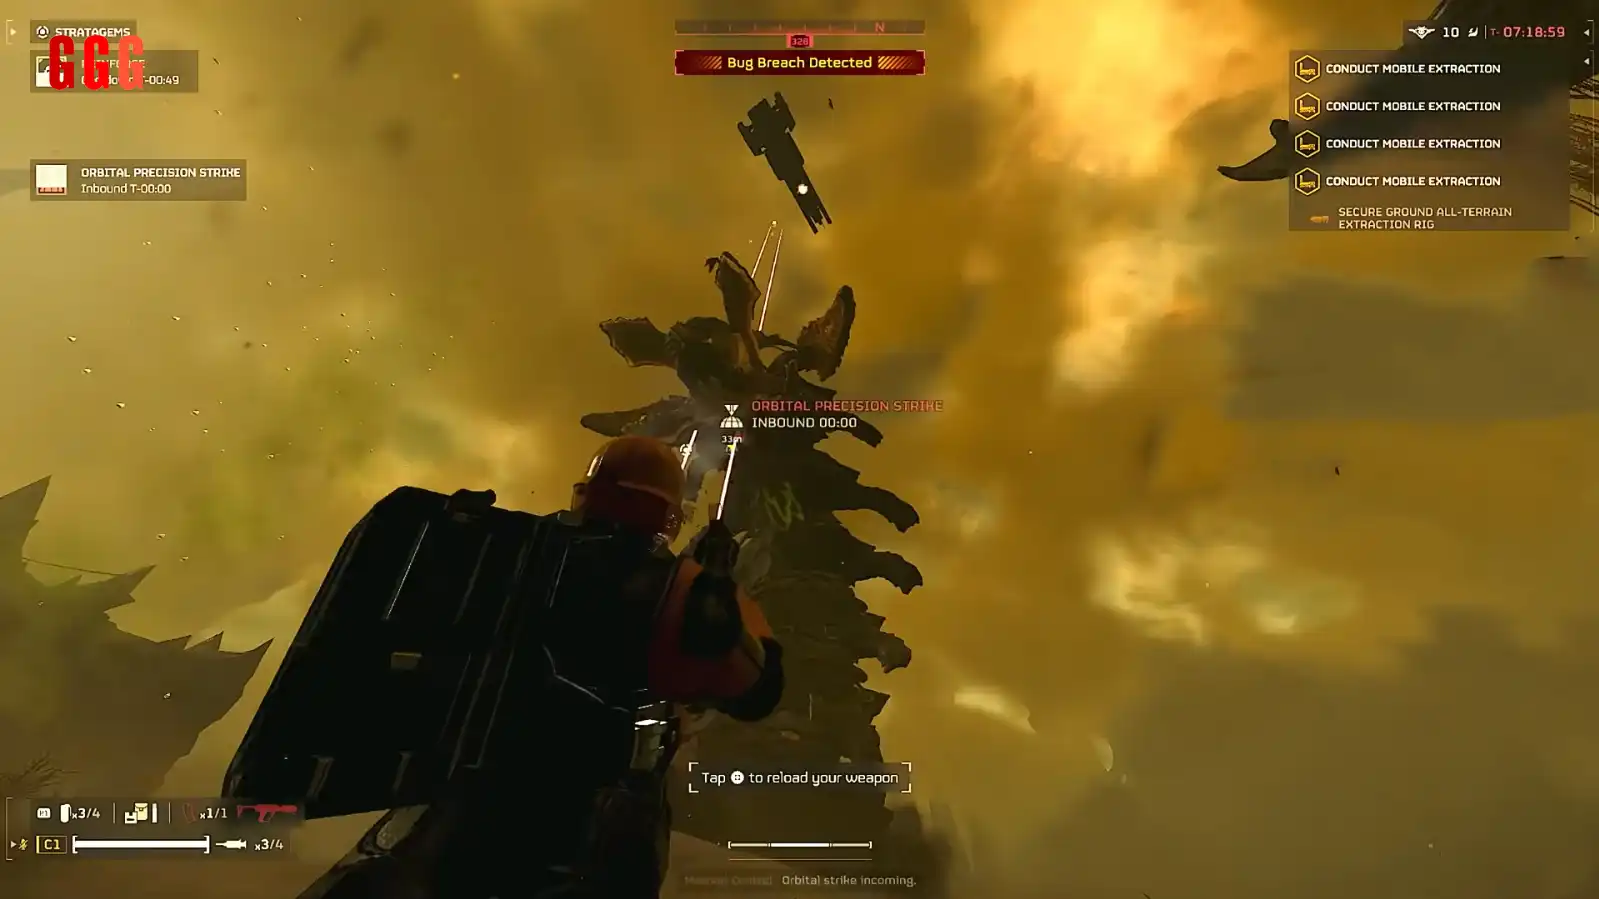
DPS Phase: Wait for the Hive Lord to surface and pause (usually after a slam). Unleash Orbital Gatling, Precision Strike, and Ultimatum shots to the mouth or broken armor.
Crowd Control: Use Gas Grenades to slow smaller bugs. Cookout’s stagger helps here too.
Repeat: Keep moving, reload, and hit again when it surfaces. It took me 10+ Hellbombs and a ton of Ultimatum shots to solo one—patience is key!
Pro tip: If it burrows, watch the sand ripples and reposition. I got caught once standing still and ate a rock to the face—ouch.
Survival Tips: Don’t Get Squashed
Stay Mobile: Never stop moving. The Hive Lord’s slam and bile are deadly if you’re static.
Use Terrain: Caves can block bile sprays, but don’t get cornered—it can collapse tunnels!
Teamwork: Spread out to avoid AOE wipes. One buddy died to friendly fire from my 500KG bomb—sorry, bro!
Resupply: Keep ammo flowing. I burned through 5 Ultimatum mags in one fight.
Why Bother Killing the Hive Lord?
It’s a grind, but you get 222 XP for the kill (only non-mission-target enemy with XP). Plus, the thrill of taking down a skyscraper-sized worm is unmatched. My first kill had me yelling “FOR DEMOCRACY!” at my screen. Check gggamer for more Helldivers 2 guides to keep your squad dominating!