Stuck on the Moonbird Story Puzzle in The Midnight Walk?
The Moonbird Story Puzzle in The Midnight Walk isn’t just another light-the-thing puzzle—it’s a wild, shadowy memory test that hits you mid-flight in Chapter 2. Most puzzles in this creepy clay-crafted adventure are chill… but this one? It’s here to mess with your head just enough to make you second-guess your matchstick moves.
If you're struggling to get the right mural order (or tired of hearing that same Moonbird line over and over), don’t worry—I’ve got your back.
How to Solve the Moonbird Puzzle – Step-by-Step
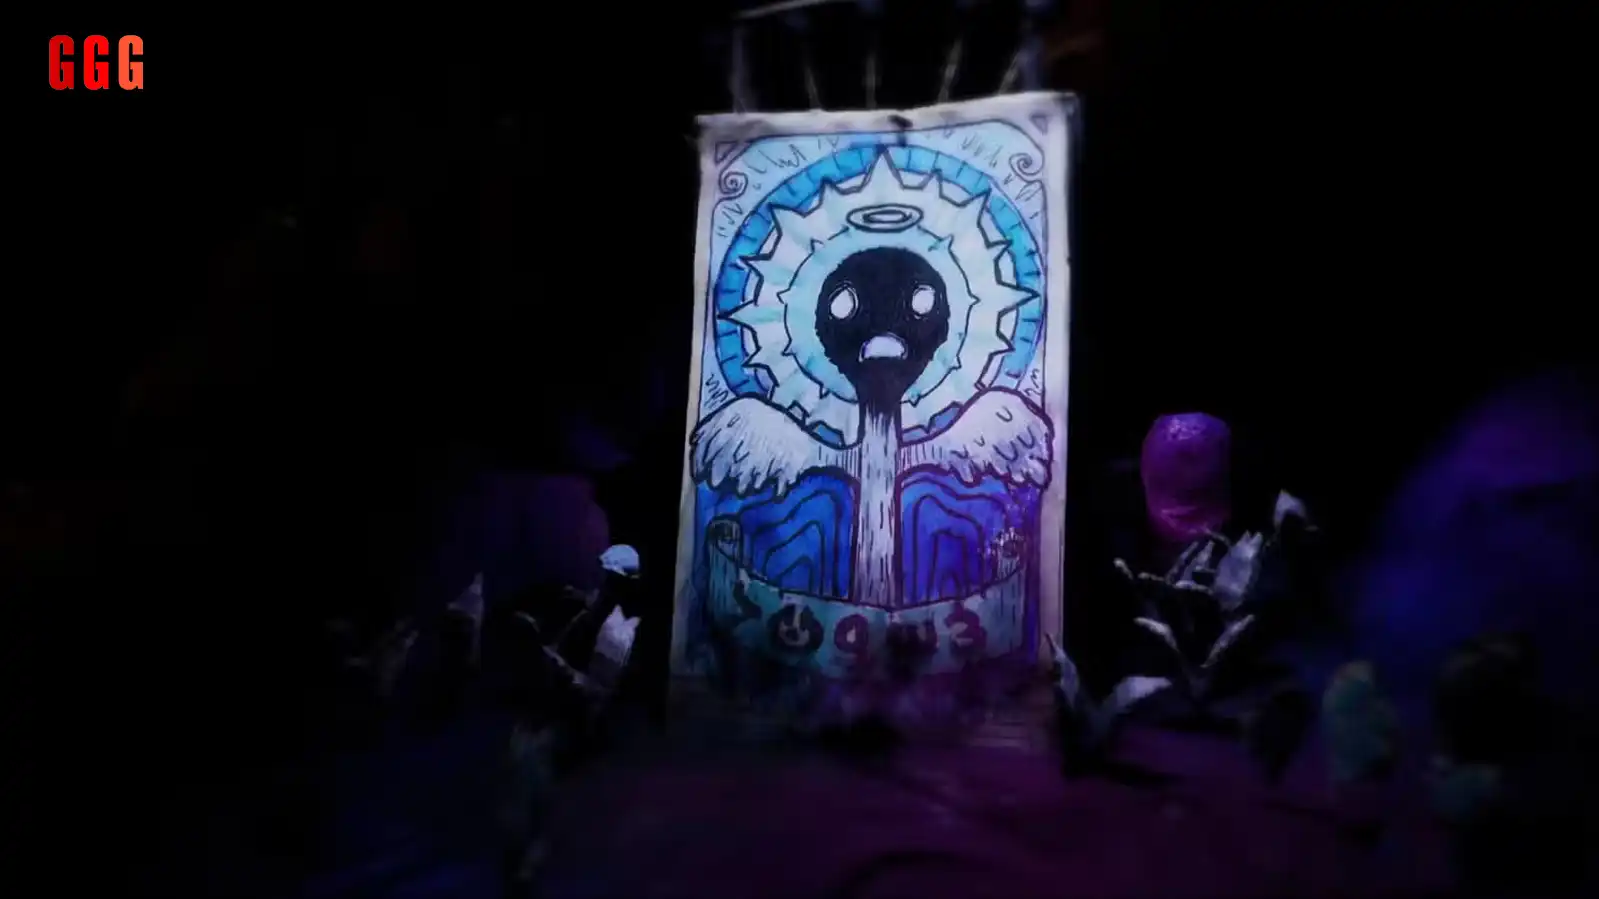
After your second big flight scene in Chapter 2, you’ll crash-land near a tree. Suddenly, bam—everything fades to black. The Moonbird appears on a high branch and tells you to light the story murals in the right order. Simple in theory, but there’s a twist.


Here’s the correct mural order to complete the story:
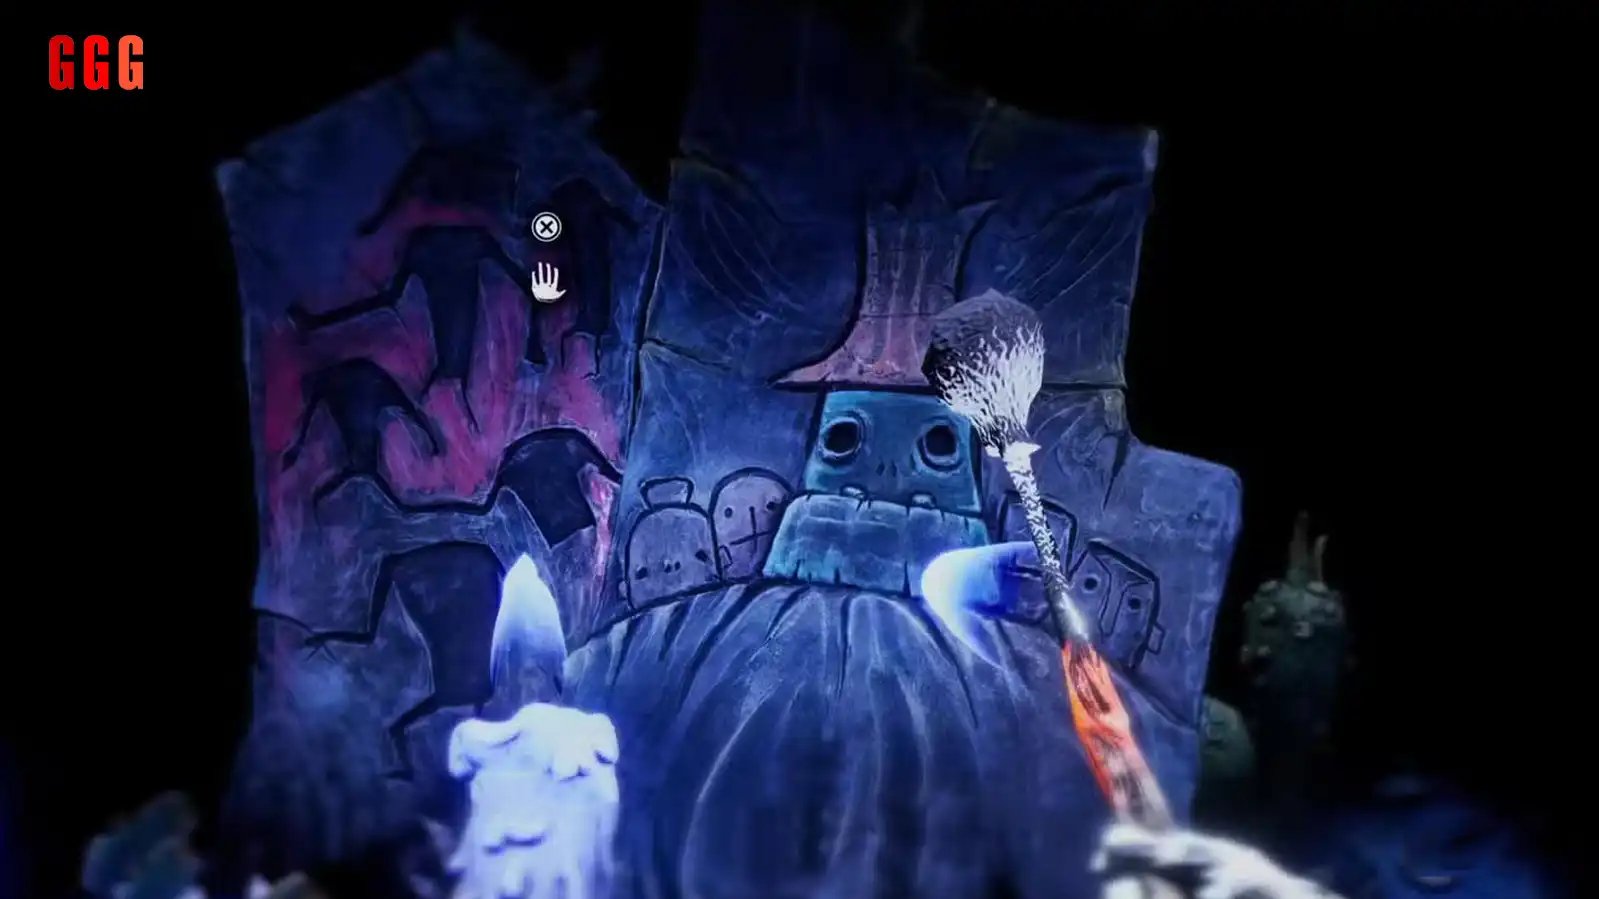
Second mural from the left: A campfire with two Molgrims chilling.
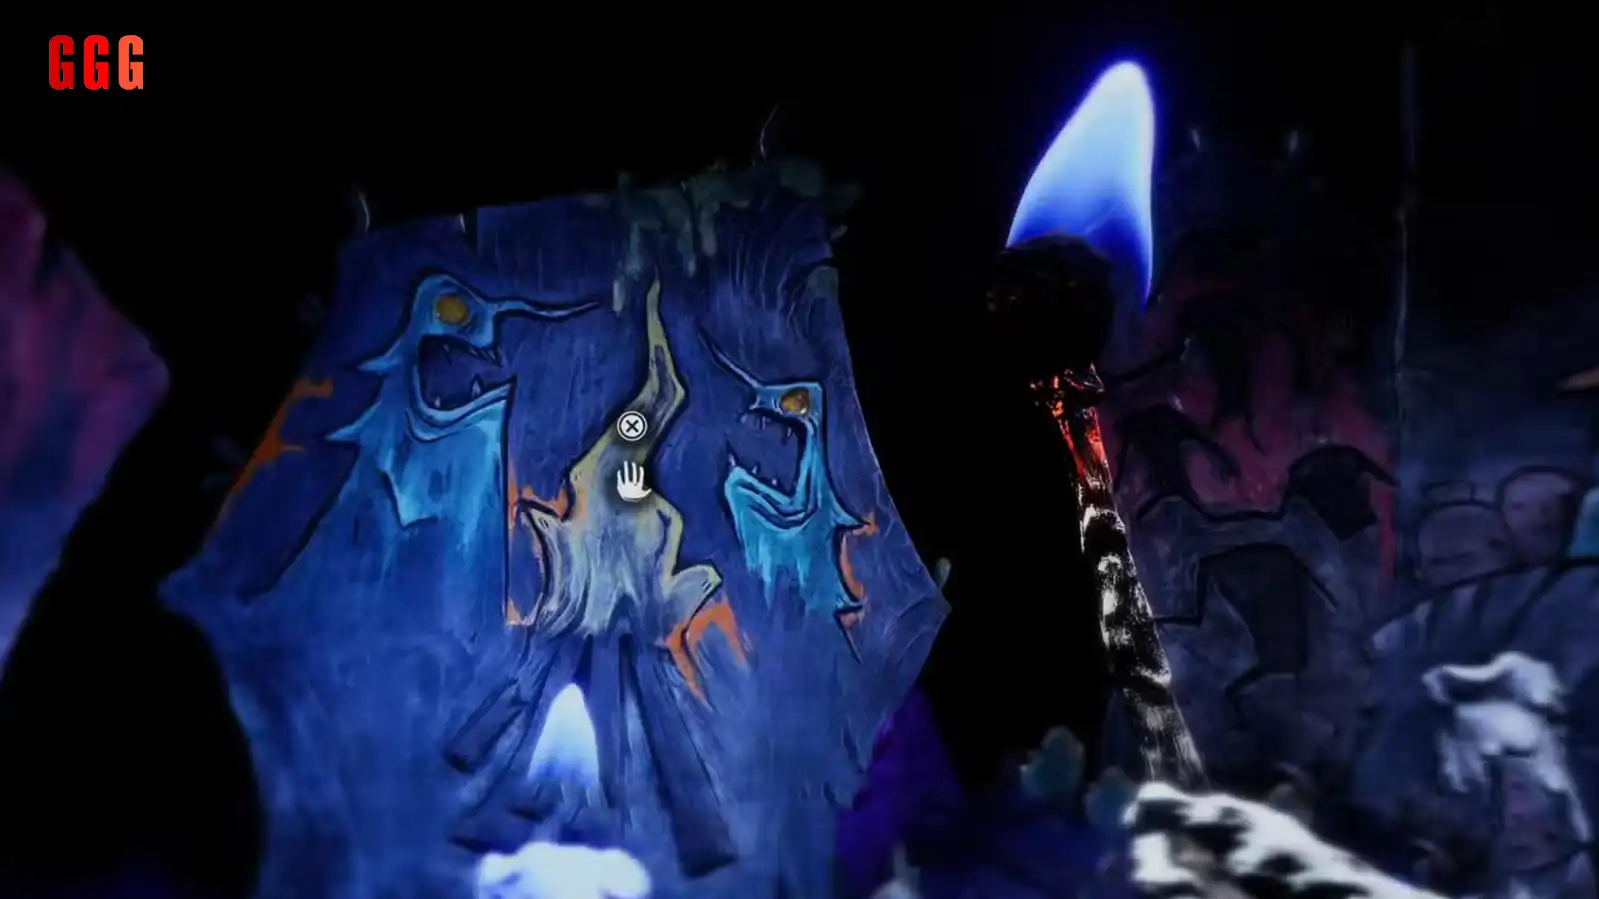
Second mural from the right: The Somebodies are battling Molgrims.
Right of the previous: Somebodies now fighting each other.
Dead center mural: The infamous Great Gruesome Beheading.
First on the left: Scared heads watching the last Molgrim.

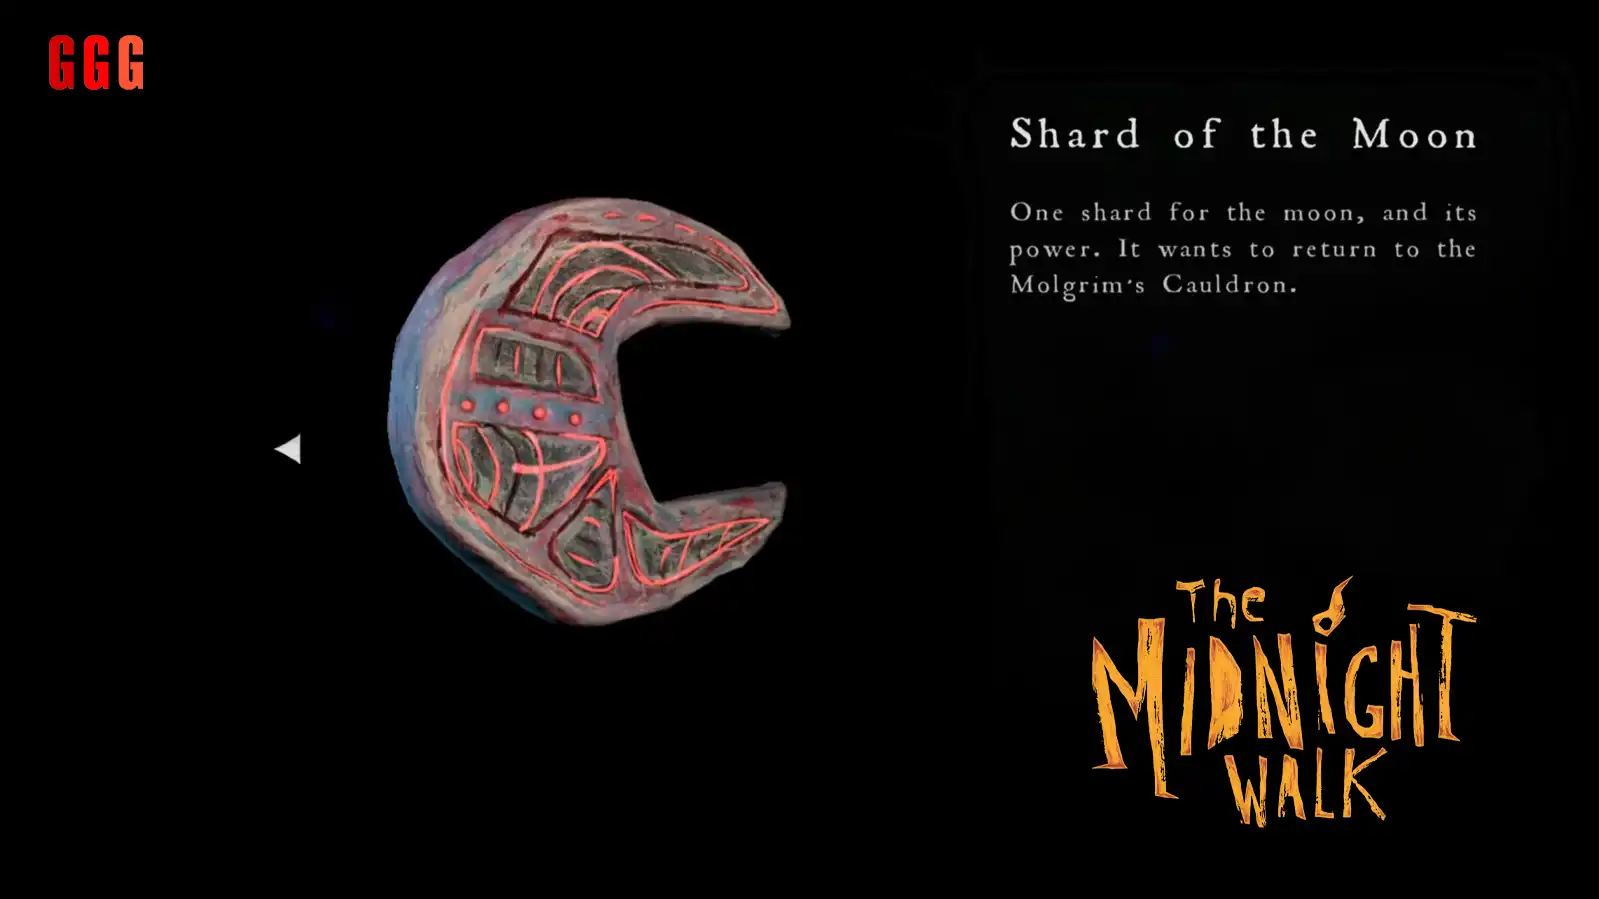
Once you get the order right, Moonbird will retell the entire twisted tale and reward you with a Shard of the Moon—the last piece you need to complete the cauldron ritual in Molgrim’s lair.
What Makes This Puzzle So Memorable?
This isn’t just about lighting stuff up—it’s about piecing together a hidden narrative using environmental storytelling. The claymation style makes every mural feel like part of an ancient myth, and the fact that you have to observe and interpret? Chef’s kiss. It’s one of the most immersive puzzle moments in the game.
Whether you're playing in VR or on a regular screen, this section alone proves The Midnight Walk is more than just a spooky stroll.
