The Complete Guide to Battlefield 6 TR-7 Loadouts
We have delved into all the important aspects: a damage profile, range engagement bands, and most importantly, managing that notoriously troublesome recoil. By the end of this analysis, you won't just know about the Tier Seven—you will understand it fundamentally, and most importantly, how to secure consistent kills. We want you to perform better with the right attachments and to learn the simple control tricks.
the High-Risk, High-Reward Weapon
The undeniable truth is that the TR-7 is one of the most overpowered weapons in Battlefield 6, possibly the most overpowered. The developers knew it was inherently overpowered and applied a series of intentional penalties to keep it relatively balanced. The most overt penalty lies in the overly aggressive recoil, which forces many players to drop the weapon all too prematurely.
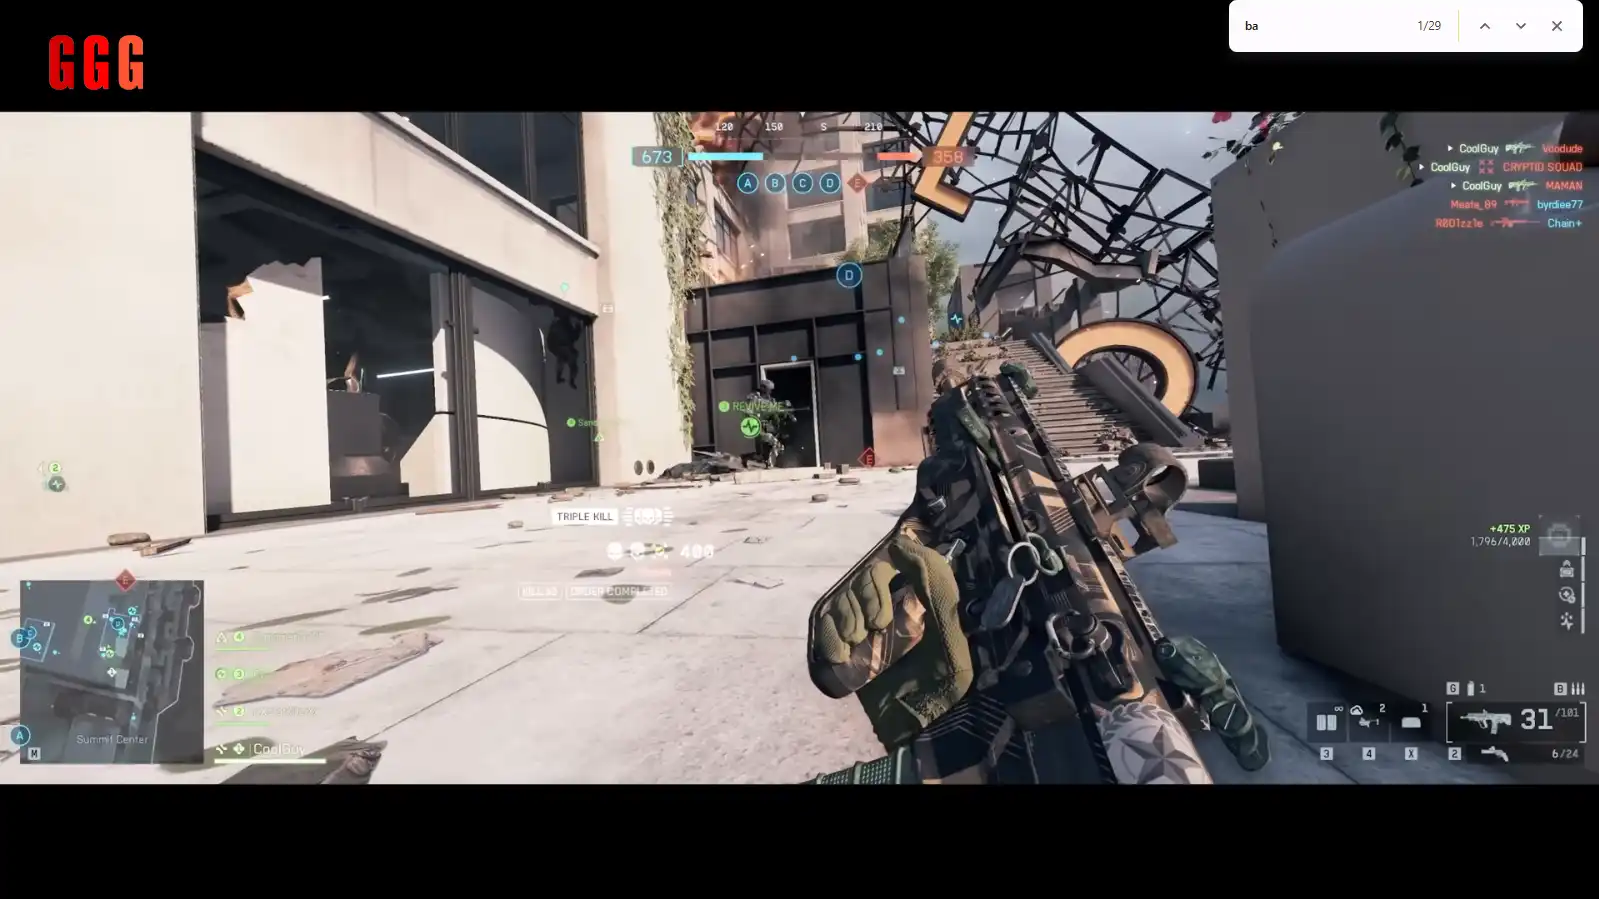
My Experience with the TR-7: If you've ever felt the TR-7 was uncontrollable, you weren't wrong; however, the trick isn't fighting the recoil—it's making the recoil work in your favor. Very few rifles in the game can terminate a fight before it even begins, and virtually no other weapon can dispatch multiple targets as rapidly as the Battlefield 6 TR-7 can. This is your chance to become truly dangerous with it.
Damage Profile and The Golden Number
The path to optimal Battlefield 6 TR-7 Loadout requires that you first master the rifle's damage profile and range bands.
The core strength of the TR-7 lies in its high damage across close and mid-range, all centered around a key critical benchmark—the Three-Bullet Kill (3BC).
Max Damage Range (0 to 21.5 meters): The rifle offers 33.6 damage to the body. With its high Rate of Fire of 720 RPM, it will take three bullets to eliminate a standard enemy. The resulting TTK is just 0.167 seconds. At this range, only one other weapon barely outpaces, but it makes the TR-7 stand supreme in close combat.
Optimal Mid-Range (21.5 to 36.5 meters): Damage drops to 25 (requires four body shots), but remains tied for the fastest TTK in the game at this range. Since most engagements end within 36 meters, the TR-7 enjoys peak efficiency in most fights.
Long Range (Beyond 75 meters): The damage drops even further to 20, which makes the rifle much less reliable, while its performance for nearly all other relevant ranges is either the best or second-best, making it extremely potent.
Hollow Point Ammunition Advantage
Aggression increases considerably with the use of Hollow Point rounds when inside the 21.5 meter max damage range.
Hollow Points allow the TR-7 to deal 50 damage to the head.
This translates to a Two-Shot Headshot Kill with a very fast TTK of 0.083 seconds (83 milliseconds), which is faster than average human reaction time.
This capability allows the TR-7 to win engagements it has no right to, such as recovering from a successful flank, instantly dropping one enemy, and transitioning to the next.
The Recoil Mechanism: Precision versus Control
True mastery of the TR-7 requires an understanding of its unique balancing mechanics: the overt one is high recoil; the hidden one is Precision.
Precision dictates how tightly your bullets group inside your aim point (dispersion or "bloom"). A low Precision stat equals more spread.
| Weapon Stat Comparison | TR-7 | Standard Assault Rifle - e.g. KORD |
| Base Precision Stat | 17 | 31 |
| Max Precision Cap | 19 | sim42 |
Precision for the TR-7 is capped at 19 regardless of attachments, which was an intentional design choice by the developers to limit overall accuracy. As such, we cannot and should not try to improve Precision, and instead work solely on fixing the Recoil Control.
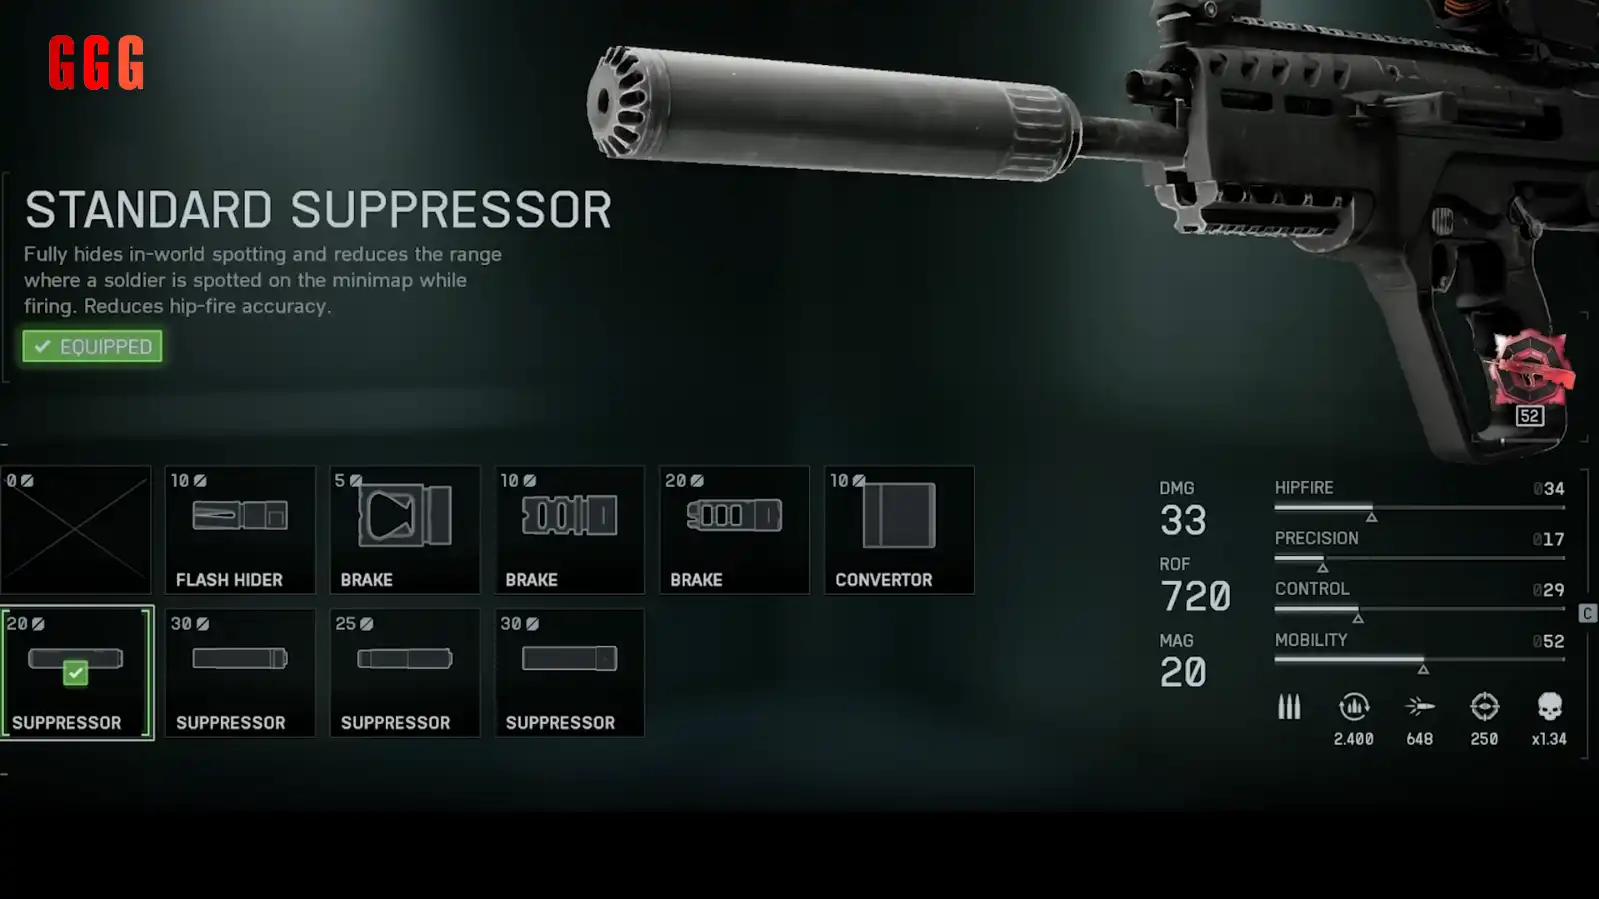
Mastering Battlefield 6 TR-7 Recoil with Movement and Muzzles
The muzzle is the critical factor as it defines the base recoil pattern. We've identified three key muzzles that drastically reduce the initial jarring horizontal pull common to the rifle:
20 Point Compensated Brake: Reduces vertical and horizontal recoil by \approx 15\% each
10 Point Converter: Reduces horizontal recoil by \approx 35\%, making the pattern significantly more vertical.
30 Point Light Suppressor: Reduces recoil build-up and improves recovery from recoil, making it excellent for sustained fire.
What all three have in common is the way they group the first three bullets—your 3BC TTK zone—closely together.
The Recoil Control Trick (Controller/M&K):
Since the base pattern jumps hard left and then climbs top-left you need to use your movement to counteract this.
Action 1 (Counter-Strafe): Hold the fire button and strafe hard to the right while engaging a target.
Result: This strafe perfectly counteracts the natural pull of the weapon to the top-left, making the aim point highly stable. The recoil then feels predominantly vertical.
Action 2 (Final Input): Your mouse or right stick input only needs to apply small downward pressure—like dragging from 12 o'clock to 5:30 on a clock face—to compensate for the vertical climb.
By strafing to the right, you remove the harshest part of the recoil and allow the most critical first three bullets to hit on target.
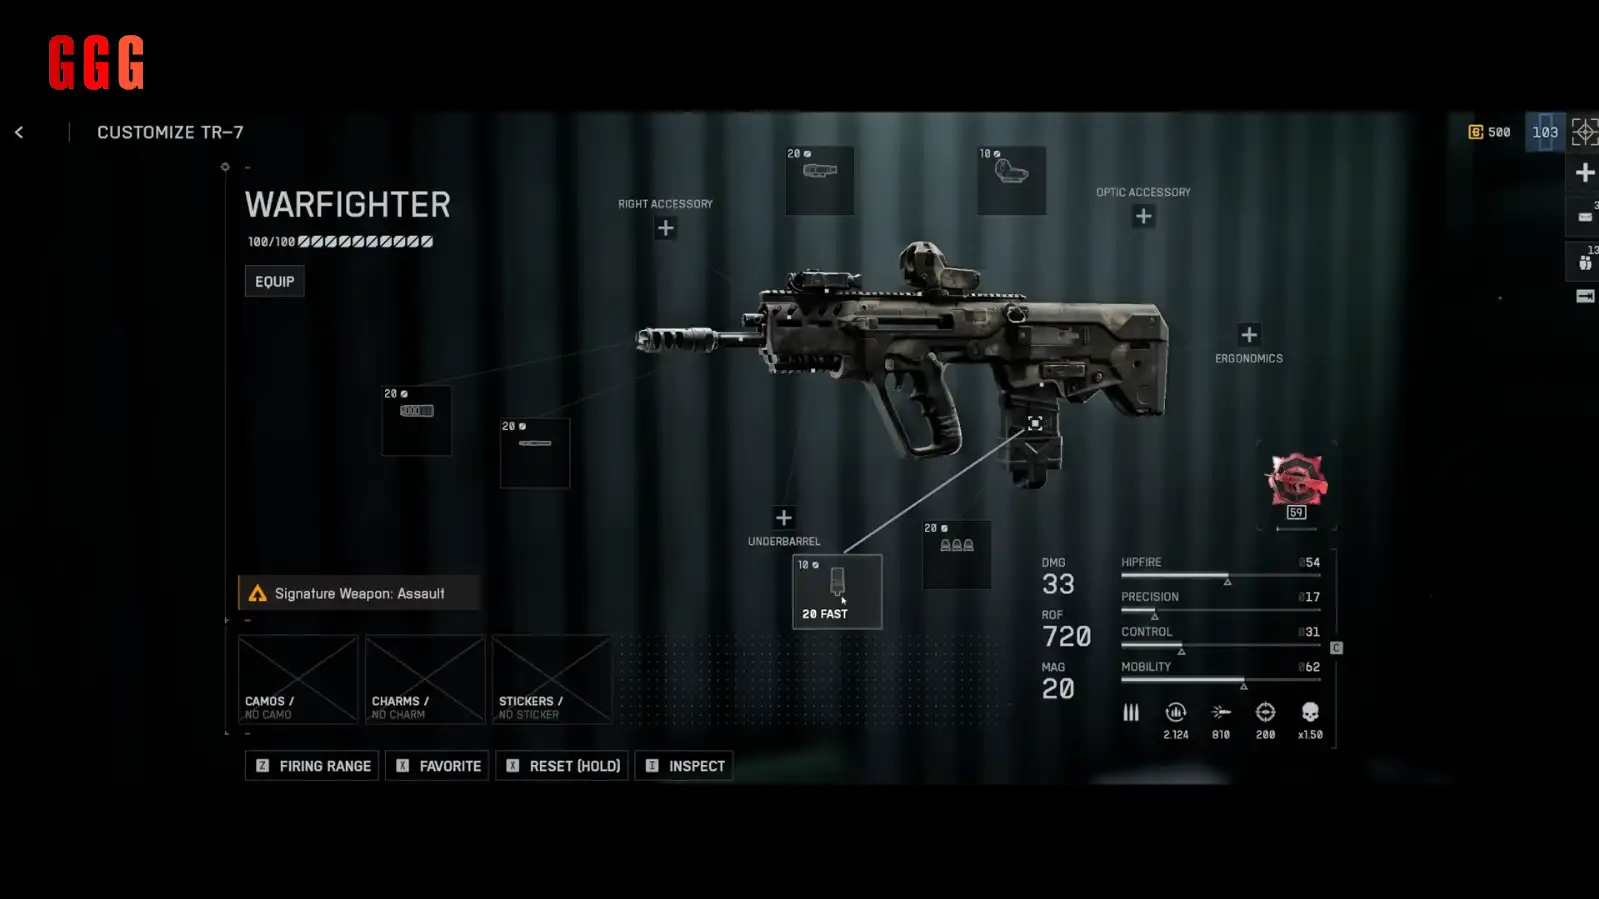
Recommended Battlefield 6 TR-7 Loadout
The following configurations optimize the counter-recoil methods and specialize the rifle for various engagement styles. The aim is always to keep the control stat in the mid-thirties, i.e., 34-36.
The All-Purpose Control Build (Recommended for M&K)
This build focuses on verticalizing the recoil and maximum control to achieve precise strafing and aiming.
Muzzle: 10 Point Converter (Increases verticality)
Barrel: Fluted Barrel (Improves ADS accuracy while moving)
Underbarrel: Classic Vertical (Increases Control to \approx 36)
Magazine: 25-Round Magazine, Standard Bullets
Optic: Low-zoom sight (\leq 1.5x highly recommended)
The Close-Quarters Dominance Build
This setup sacrifices long-range viability for maximum hip-fire lethality inside 30 meters.
Muzzle: 5 Point Brake (Slight Horizontal Recoil Reduction)
Barrel: Short Barrel (Improves hip fire accuracy)
Underbarrel: Ribbed Stubby (Control and ADS help)
Laser: 30MW Green Laser (Best base hip fire accuracy)
Magazine: 20-Round Base Mag, Standard Bullets
Optic: Side of choice
The Two-Tap Hollow Point Build
This is the "unnecessarily necessary" build, designed to abuse the two-shot headshot TTK inside 21.5 meters.
Muzzle: 20 Point Compensated Break (Reduces both horizontal/vertical recoil)
Barrel: Light Barrel (Improves ADS accuracy while moving)
Laser: 50MW Blue Laser (Improves sustained ADS accuracy while moving)
Magazine: 20-Round Fast Mag, Hollow Points
Optic: Low-zoom sight
The Battlefield 6 TR-7 is not a casual weapon; it's a weapon that rewards intentional practice and understanding of its unique mechanics. Master the straight-right strafing technique, commit to landing those first three rounds, and you'll be dominating with one of the most potent rifles in the game.